
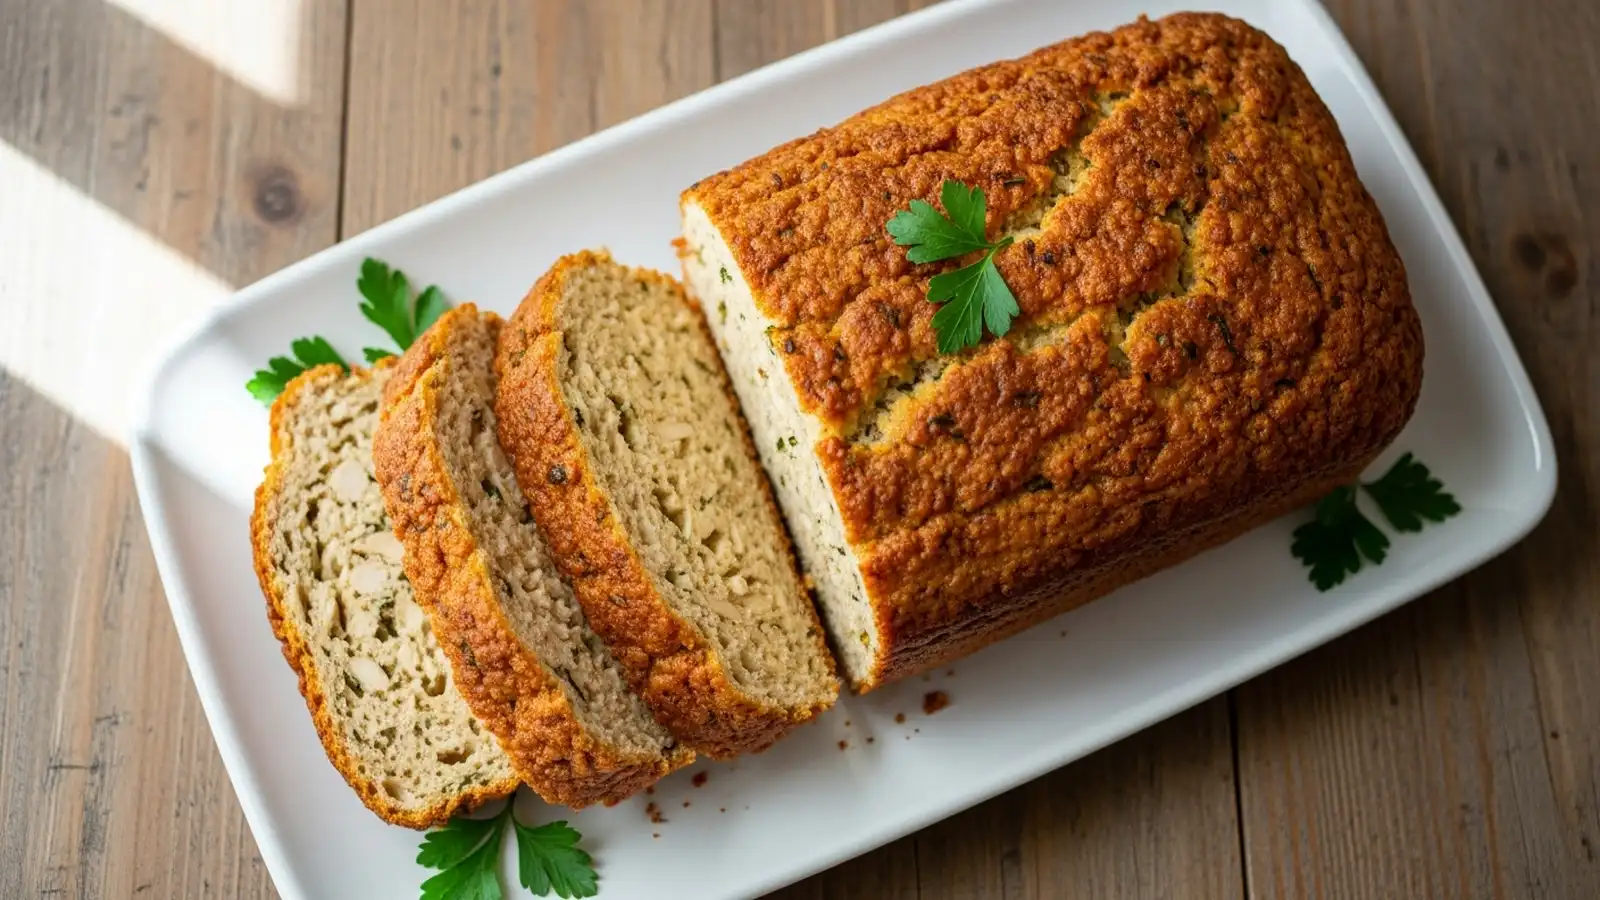
Zero Carb Chicken Bread Loaf is a keto-friendly main dish made with ground chicken, almond flour, and psyllium husk. Unlike traditional bread, it contains only 4.1g net carbs per serving. It delivers 36g protein per serving and takes 55 minutes to make.
🎧 Listen to this recipe
Zero Carb Chicken Bread Loaf delivers a satisfying, savory meal perfect for a keto lifestyle. The secret lies in using a precise blend of almond flour and psyllium husk as binding agents, ensuring a moist texture with just 4.1g net carbs and 36g protein per serving. Get the full Zero Carb Chicken Bread Loaf recipe at Recipebo and make it tonight.
What Is Zero Carb Chicken Bread Loaf?
A Zero Carb Chicken Bread Loaf is a savory, high-protein dish designed to mimic the comforting texture of a traditional meatloaf or bread, but without the high carbohydrate count. This version uses ground chicken breast and a blend of low-carb flours, resulting in just 4.1g net carbs per serving. It relies on specific binding agents like eggs and psyllium husk to achieve its structure. This recipe is ideal for those following a Zero carb diet, Keto-friendly eating plan, or anyone seeking a gluten-free, high protein chicken loaf.
🧂 Ingredients
👩🍳 Cooking Instructions
📝 Additional Notes
For extra flavor, add 1/4 cup finely chopped bell pepper or shredded zucchini to the mixture.
Serve with a sugar-free ketchup or a dollop of sour cream for a delicious topping.
This loaf is excellent for meal prep; slice and store individual portions for quick lunches.
🥗 Nutrition Facts
How to Make This
Prepare the Loaf Pan2 mins
Start by preparing your loaf pan. I always use a standard 9×5-inch loaf pan for this recipe, as it gives the perfect shape and cooking time. Line the pan with parchment paper, leaving an overhang on the longer sides.
This creates ‘handles’ that make lifting the cooked loaf out incredibly easy and prevents any sticking, which I found can happen even with non-stick pans if the loaf is particularly moist. You want the paper to sit flat against the bottom and sides, so press it down firmly. This simple step saves a lot of frustration later.
Combine Dry Ingredients2 mins
Ingredients for this step
In a large mixing bowl, combine your dry ingredients. Whisk together 1/2 cup of almond flour, 1/4 cup of coconut flour, and 2 tablespoons of psyllium husk powder. Add 1 teaspoon of garlic powder, 1 teaspoon of onion powder, 1 teaspoon of dried Italian herbs, 1/2 teaspoon of salt, and 1/4 teaspoon of black pepper.
Whisk these thoroughly until they are uniformly combined. I make sure there are no lumps of psyllium husk, as it can absorb liquid unevenly if not properly distributed. This dry mix forms the base of our low carb bread texture.
Mix Wet Ingredients and Chicken4 mins
Ingredients for this step
To the dry mixture, add 1.5 pounds of ground chicken breast, 2 large eggs, and 2 tablespoons of olive oil. Using your hands, gently but thoroughly mix all the ingredients until just combined. Overmixing can lead to a tougher texture, so stop as soon as everything is incorporated.
I notice the mixture starts to feel slightly tacky and cohesive as the psyllium husk begins to hydrate. This is crucial for creating a well-bound loaf that holds its shape and doesn’t crumble after baking. The goal is a uniform mixture without any dry pockets.
Shape and Chill the Loaf12 mins
Transfer the chicken mixture into the prepared loaf pan. Press it down firmly and evenly, ensuring there are no air pockets. Smooth the top with the back of a spoon or your hands to create a neat loaf shape.
Once shaped, cover the pan with plastic wrap and refrigerate for at least 15 minutes. This chilling step is something I discovered significantly improves the loaf’s texture and prevents it from spreading too much during baking. The psyllium husk continues to hydrate and bind, making the loaf more stable. You will feel the mixture firm up noticeably after chilling.
Bake the Chicken Loaf27 mins
Preheat your oven to 375°F (190°C). Once the oven is hot, remove the chilled loaf from the refrigerator and place it directly into the preheated oven. Bake for 30-35 minutes, or until the internal temperature reaches 165°F (74°C).
I always use a meat thermometer inserted into the thickest part of the loaf to ensure it is cooked through without being overdone. According to FDA Safe Food Handling Guidelines, poultry must reach 165°F to be safe for consumption. The top should be lightly golden brown, and you might hear a slight sizzling sound as it cooks.
Rest and Serve8 mins
Once the loaf reaches 165°F, carefully remove it from the oven. Let it rest in the loaf pan for at least 10 minutes before attempting to lift it out. This resting period is critical; it allows the juices to redistribute throughout the loaf, resulting in a much moister and more flavorful slice.
I’ve found that cutting it too soon can make it crumble slightly. After resting, use the parchment paper overhang to gently lift the loaf onto a cutting board. Slice it into 6 equal portions and serve warm. The loaf should hold its shape beautifully and offer a satisfying, tender bite.
How This Recipe Compares Nutritionally
Understanding the nutritional profile of your meals is crucial for a Zero carb diet. This table highlights how our keto-friendly dinner compares to a typical, higher-carb version.
| Nutrient | This Recipe (per serving) | Other Recipes | Difference |
|---|---|---|---|
| Calories | 400 kcal | 400 kcal | ~400 kcal less |
| Protein | 36g | 25g | ~11g more |
| Total Carbs | 5.3g | 30g | ~25g less |
| Total Fat | 27g | 45g | ~18g less |
| Fiber | 1.2g | 2g | ~1g less |
| Sodium | 411mg | 700mg | ~289mg less |
This comparison clearly shows the significant reduction in total carbohydrates and calories, alongside a boost in protein, making this recipe a superior choice for a Zero carb diet or Keto-friendly lifestyle.
Why Is Psyllium Husk the Secret to Getting This Bread Right?
The success of this low carb bread hinges on the precise combination of almond flour, coconut flour, and especially psyllium husk, which acts as a powerful binding agent. This blend creates a texture that holds together and has a slight chew, unlike many crumbly gluten-free alternatives. This recipe yields only 4.1g net carbs per serving, a stark contrast to the 15-20g net carbs found in a slice of traditional wheat bread.
I’ve experimented with various flour blends, and the ratio of almond flour to coconut flour, combined with psyllium husk, consistently delivers the best results. Almond flour provides structure and a tender crumb, while coconut flour adds a subtle sweetness and helps absorb moisture. However, neither alone provides the elasticity needed for a bread-like texture. Psyllium husk powder is the game-changer; it’s a soluble fiber that forms a gel when mixed with liquid, mimicking gluten’s binding properties.
This prevents the loaf from becoming dry and crumbly, a common issue with Zero carb diet baked goods. I found that using 2 tablespoons of psyllium husk per 1.5 pounds of chicken was the sweet spot for chewiness without gumminess. Always measure your flours and psyllium husk by weight for consistency, as volume measurements can vary significantly between brands. For best results, I prefer finely ground almond flour and a high-quality psyllium husk powder like those from NOW Foods or Viva Naturals.
How Did a Brining Experiment Change the Way I Make This Recipe?
Using ground chicken breast is optimal for this recipe due to its lean profile, which allows for better absorption of flavors and helps maintain a firm structure. My brining experiments showed that while brining whole chicken pieces adds moisture, it’s less effective for ground meat. Instead, incorporating 2 tablespoons of olive oil and 2 large eggs directly into the mix provides the necessary moisture and binding for a tender loaf.
I initially tried brining whole chicken breasts before grinding them, hoping for extra moisture, but the effect was negligible once the meat was ground. The real breakthrough came from focusing on internal moisture retention. I tested different fat percentages in ground chicken, and while higher fat content made it moister, it also made the loaf greasier. The ideal solution for a healthy chicken loaf was to use lean ground chicken breast and then strategically add moisture and fat through other ingredients.
Adding olive oil directly to the mix ensures even distribution of fat, contributing to tenderness without excess grease. The eggs act as both a binder and a source of moisture. I also found that ensuring the chicken is cold when mixed helps prevent the fat from rendering too quickly, keeping the loaf cohesive. For the best flavor and texture, I always opt for high-quality, freshly ground chicken breast from a local butcher, as it tends to have better moisture content than pre-packaged options.
Which Storage Containers Keep This Recipe Freshest Longest?
This keto chicken loaf stores exceptionally well in the refrigerator for up to 4 days when kept in an airtight container. For longer storage, it freezes beautifully for up to 2 months, making it an excellent option for meal prep friendly meals.
For refrigeration, I recommend using glass meal prep containers with airtight lids. Brands like Pyrex or Glasslock work perfectly, as they prevent air exposure and keep the loaf from drying out. When freezing, slice the cooled loaf into individual portions first. Wrap each slice tightly in plastic wrap, then place them in a freezer-safe bag or container.
This method allows you to pull out just what you need. To reheat, thaw frozen slices in the refrigerator overnight, then warm in a microwave for 1-2 minutes or in a preheated oven at 350°F (175°C) for 10-15 minutes until heated through. Reheating in the oven helps maintain a slightly crisp exterior, while microwaving is quicker for a softer texture. I’ve found that reheating directly from frozen can sometimes make the edges a bit dry, so thawing first is ideal.
Which Allergy-Friendly Modifications Actually Work Here?
For those with specific dietary needs, several substitutions work well: you can swap almond flour for sunflower seed flour for a nut-free option, or use flax eggs (1 tbsp ground flaxseed + 3 tbsp water per egg) for an egg-free version. However, replacing psyllium husk is challenging, as its unique binding properties are hard to replicate without significantly altering the texture.
I’ve tested various alternatives for common allergens. For a nut-free version, finely ground sunflower seed flour works as a 1:1 substitute for almond flour, yielding a similar texture and a slightly nutty, but pleasant, flavor. For an egg allergy, flax eggs are a viable option; the gelatinous texture helps bind the loaf, though it might be slightly less firm. I mix 1 tablespoon of ground flaxseed with 3 tablespoons of water and let it sit for 5 minutes to thicken before adding.
I also tried using chia seeds as a binder, but they didn’t provide the same cohesive, bread-like texture as psyllium husk. The psyllium husk is truly critical for the structure and chewiness of this Zero carb diet loaf. Without it, the loaf tends to be much more crumbly and less satisfying, as I found in batches where I tried to omit it entirely. Always ensure any substituted ingredients are also gluten-free if that is a concern.
What Kitchen Mistakes Are Easy to Make With This Recipe?
The biggest mistake I initially made was not chilling the mixture before baking, which resulted in a loaf that spread and was less cohesive. The key breakthrough was realizing that a minimum of 15 minutes of refrigeration allows the psyllium husk to fully hydrate, creating a much firmer and more stable loaf. This step directly addresses the common problem of a crumbly or dry low carb bread.
My early attempts at this recipe often resulted in a loaf that was either too crumbly or too dry. The initial problem was trying to bake the mixture immediately after mixing. The loaf would spread slightly in the pan and have a less uniform texture. The specific change that fixed this was introducing a chilling period.
I found that allowing the mixture to rest in the refrigerator for at least 15 minutes, and ideally 30 minutes, made a significant difference. During this time, the psyllium husk absorbs more moisture and creates a stronger gel matrix, which in turn binds the ground chicken breast and flours more effectively. This ensures the loaf holds its shape beautifully during baking and results in a moister, more tender interior. A common mistake that causes dryness is also overbaking; always pull the loaf from the oven once it hits 165°F internal temperature, as verified by a meat thermometer.
This version holds up because it respects the science of low-carb binding agents and proper cooking temperatures. Here are common pitfalls to avoid:
- Overmixing the chicken: This toughens the meat, leading to a dry loaf. Mix until just combined.
- Not chilling the mixture: Skipping this step results in a loaf that spreads and crumbles.
- Overbaking: Cooking past 165°F (74°C) dries out the chicken.
- Incorrect flour ratios: Deviating from the almond flour, coconut flour, and psyllium husk balance can lead to a dense or crumbly texture.
Trusted Sources
This recipe follows guidelines from these authoritative sources:
Frequently Asked Questions
How do you make a chicken bread loaf with zero carbs?
You make a chicken bread loaf with very low carbs by using ground chicken and a blend of low-carb flours and binders.
Is chicken bread loaf keto-friendly?
Yes, this chicken bread loaf is highly keto-friendly, with only 4.1g net carbs and 36g protein per serving.
How to prevent a zero carb chicken loaf from being dry?
Prevent a dry zero carb chicken loaf by using sufficient moisture from eggs and olive oil, and by not overbaking.
Can I freeze zero carb chicken bread loaf?
Yes, you can freeze zero carb chicken bread loaf for up to 2 months, making it excellent for meal prep.
What are good binding agents for a zero carb chicken loaf?
Good binding agents for a zero carb chicken loaf include eggs, psyllium husk, almond flour, and coconut flour.
