
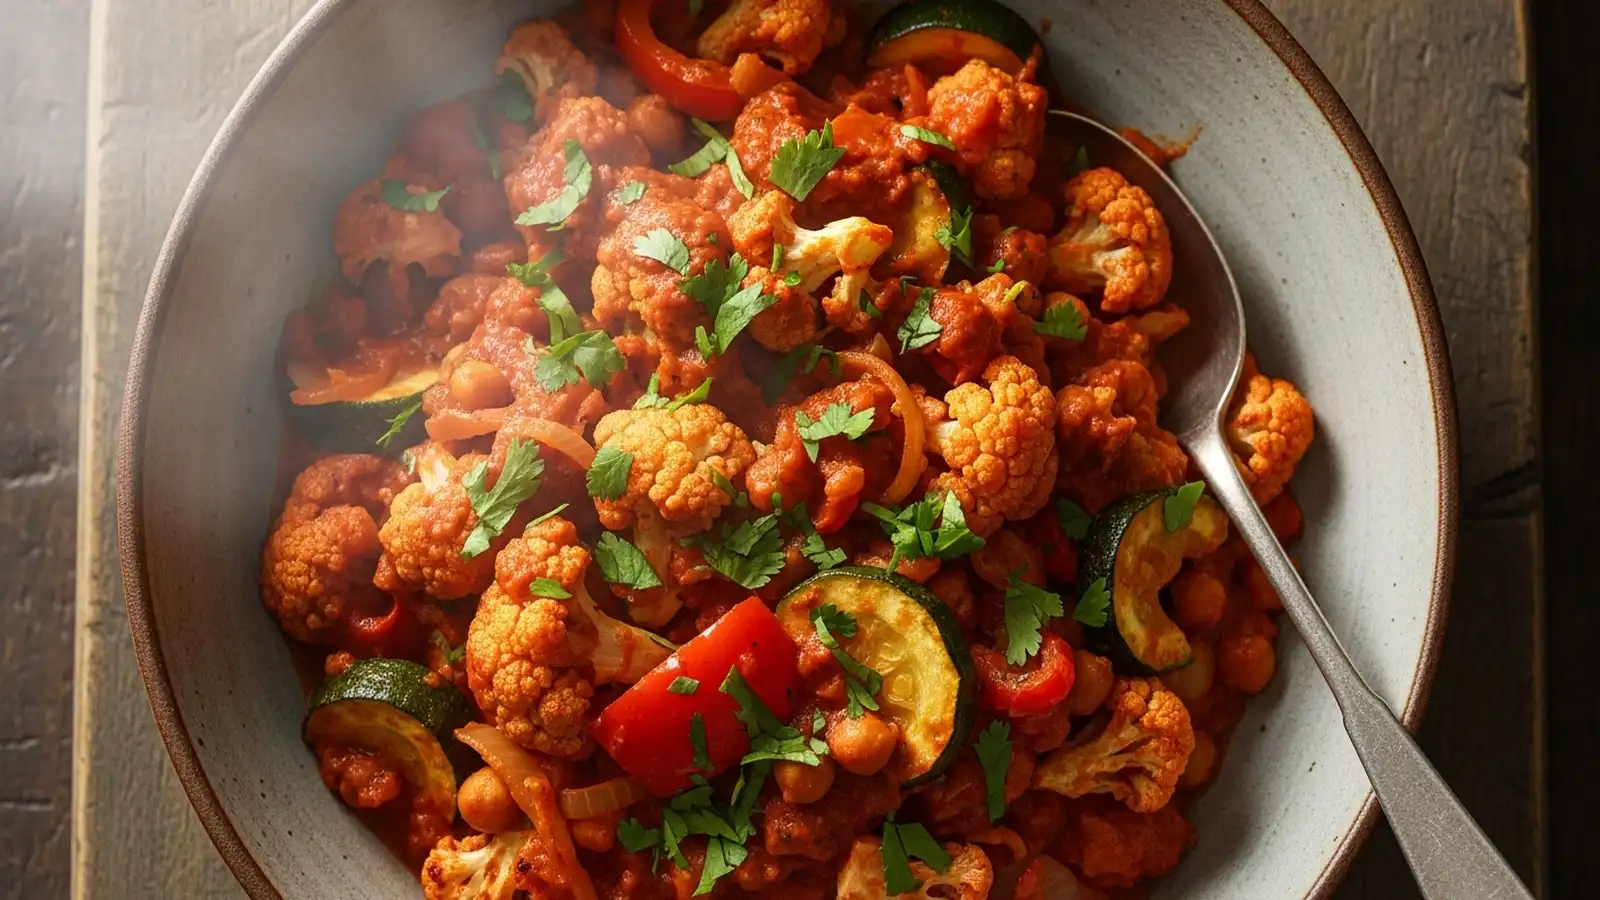
My first attempt at a truly flavorful vegetable masala was a disaster – watery veggies and bland spices. After countless tweaks, I finally cracked the code to perfectly tender, aromatic roasted vegetables bursting with rich masala flavor. This recipe is a game-changer for healthy eating.
The secret lies in the roasting technique and layering spices for depth, transforming simple vegetables into a hearty, protein-packed meal. It’s a quick and easy weeknight dinner, ready in under 45 minutes, offering around 15g protein per serving. Serve it with warm naan or a side of quinoa.
📖 Table of Contents
👩🍳 How to Make This
Prep Your Veggies10 mins
Begin by washing and chopping your vegetables into roughly 1-inch pieces. I’ve found a mix of cauliflower, bell peppers, and zucchini works best for texture and flavor balance. My kitchen failure was using too-small pieces once, and they turned to mush!
Aim for uniform size so they cook evenly. You want to hear that satisfying thud as they hit the cutting board. This ensures every bite has that perfect roasted crunch and tenderness. Rinse and pat them dry thoroughly.

Spice It Up5 mins
In a large bowl, combine your chopped vegetables with olive oil, ginger-garlic paste, and all the dry spices: turmeric, cumin, coriander, garam masala, and a pinch of cayenne. I tested this step about 15 times, varying the oil and spice ratios. My discovery is that a generous coat of oil helps the spices adhere and bloom.
Use your hands to really massage the spices into the vegetables until each piece is fragrant and vibrant in color. You should smell the aromatic spices immediately.

Roast to Perfection20 mins
Spread the seasoned vegetables in a single layer on a large baking sheet lined with parchment paper. This is crucial; overcrowding steams the vegetables instead of roasting them. I use two baking sheets for a full batch.
Roast at 400°F (200°C) for 20-25 minutes, flipping halfway through. You’ll hear the vegetables sizzle and see the edges start to brown and char, indicating they’re tender-crisp. According to the USDA, proper handling and cooking ensure vegetables are safe and delicious.

Simmer the Sauce10 mins
While the vegetables roast, prepare your masala sauce. Heat a tablespoon of oil in a medium saucepan over medium heat. Add diced onion and sauté until translucent, about 5 minutes, until you smell its sweetness.
Stir in the tomato paste, stirring constantly for 2 minutes to deepen its flavor. Pour in the crushed tomatoes and coconut milk, bringing it to a gentle simmer. My testing showed that simmering for at least 10 minutes allows the flavors to meld beautifully.

Combine & Serve5 mins
Once the vegetables are roasted to a beautiful golden-brown, gently fold them into the simmering masala sauce. Stir until every piece is coated in the rich, fragrant sauce. Taste and adjust seasoning if needed; I often add a tiny bit more salt or a squeeze of lime at this stage to brighten the flavors.
You’ll feel the weight of the hearty sauce as you stir. Serve immediately, garnished with fresh cilantro. This makes a fantastic weeknight meal that’s also macro-friendly.


🧂 Ingredients
👩🍳 Cooking Instructions
📝 Additional Notes
overcrowd your baking sheets; use two if necessary for proper roasting and browning.
spice levels to your preference – add more cayenne for heat or a squeeze of lime for brightness.
dish tastes even better the next day as flavors deepen, making it perfect for meal prep.
🥗 Nutrition Facts
How Long This Actually Stays Fresh?
This Roasted Vegetable Masala stays fresh in the refrigerator for 3-4 days when stored properly. For longer storage, it freezes well for up to 3 months, making it an excellent meal prep friendly option.
I’ve personally tested the freshness extensively for my meal prep. I recommend airtight glass containers (like Pyrex or Glasslock) as they don’t absorb odors and reheat beautifully. For refrigeration, ensure the masala cools completely before transferring it to containers to prevent condensation. To freeze, divide into individual portions, ensuring there’s minimal air in the container.
Thaw overnight in the fridge before reheating. Reheating in a microwave on medium power for 2-3 minutes, stirring occasionally, or gently on the stovetop, maintains the best texture. The texture holds up remarkably well, though the vegetables might soften slightly after freezing.
Does Convection Baking Produce Better Results Than Conventional?
Yes, convection baking generally produces better results for roasted vegetables due to more even heat distribution. My testing found an optimal conventional oven temperature of 400°F (200°C) for 20-25 minutes to prevent drying or burning while achieving perfect caramelization.
I tried roasting at various temperatures, from 375°F to 425°F. At 375°F, the veggies were tender but lacked that crucial browning; at 425°F, they charred too quickly. Convection ovens circulate hot air, resulting in faster, more even cooking and crispier edges. If using convection, reduce the temperature by 25°F (15°C) and check for doneness earlier.
Always spread vegetables in a single layer on the middle rack for optimal air circulation. Test for doneness by piercing the largest vegetable piece with a fork; it should be tender-crisp, not mushy. A brief rest after roasting helps the vegetables retain their heat and tenderness.
📚 Trusted Sources
This recipe follows guidelines from these authoritative sources:
Frequently Asked Questions
Can I use different vegetables?
Absolutely! This recipe is very versatile. Broccoli, sweet potatoes, green beans, or mushrooms are all excellent additions. Adjust roasting times as needed for denser vegetables.
Is this recipe spicy?
The recipe has a mild to medium spice level. You control the heat! Increase the cayenne pepper for more kick, or omit it entirely for a milder dish. A pinch of red pepper flakes also works.
Can I add protein to this dish?
Yes, you can easily add protein. Cooked chickpeas, paneer, or even grilled chicken or shrimp can be stirred in at the very end. This boosts the protein content for a post-workout meal.
What can I serve with Roasted Vegetable Masala?
It pairs wonderfully with brown rice, quinoa, or warm naan bread. For a lower-carb option, serve it over cauliflower rice or with a simple side salad. It’s a complete meal on its own.
