
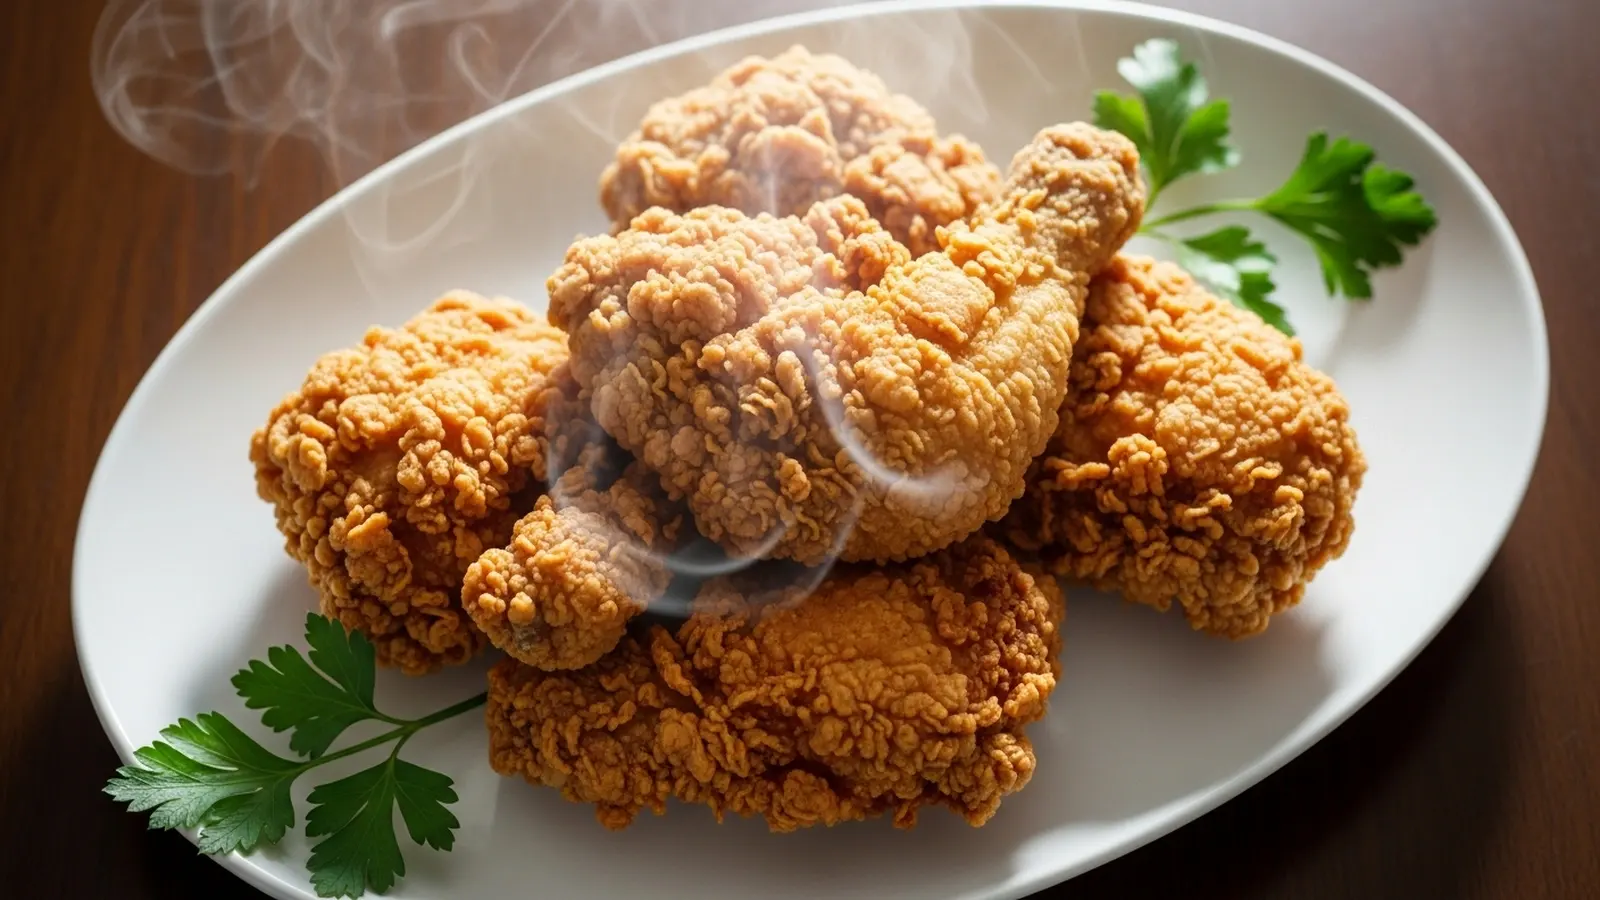
Zero-Carb Crispy Fried Chicken is a keto-friendly main dish made with chicken pieces, almond flour, and crushed pork rinds. Unlike traditional fried chicken, it contains only 1.5g net carbs per serving. It delivers 55g protein and 46g fat per serving and takes 45 minutes to make.
🎧 Listen to this recipe
This zero-carb crispy fried chicken delivers all the crunch and flavor of your favorite comfort food, perfectly suited for a keto diet or low carb lifestyle. The secret is a double-dredge coating using crushed pork rinds and almond flour, which creates an incredibly crispy coating while keeping net carbs at just 1.5g and providing a substantial 55g protein per serving. Get the full Zero-Carb Crispy Fried Chicken recipe at Recipebo and make it tonight.
What Is Zero-Carb Crispy Fried Chicken?
Zero-carb crispy fried chicken is a dietary adaptation of the classic comfort food, designed to fit strict keto diet and low carb eating plans. It replaces traditional wheat flour breading with alternatives like almond flour and crushed pork rinds, drastically reducing carbohydrate content from typically 20-30g net carbs to just 1.5g net carbs per serving. The key technique involves a two-stage coating process to achieve a truly crispy coating without any gluten. This recipe is best suited for individuals seeking gluten-free, sugar-free fried chicken options or those following a zero carb lifestyle.

🧂 Ingredients
👩🍳 Cooking Instructions
📝 Additional Notes
For extra spice, add a pinch of cayenne pepper to your seasoning blend.
Ensure your oil temperature is consistent for the crispiest results and to prevent greasy chicken.
This recipe is excellent for meal prep; reheat gently in an air fryer or oven to maintain crispiness.
🥗 Nutrition Facts
How to Make This
Prepare the Chicken6 mins
Ingredients for this step
Start by patting your chicken thighs or chicken breasts thoroughly dry with paper towels. This is a crucial step I learned early on; any excess moisture prevents the coating from adhering properly and can lead to a soggy crust. I prefer using bone-in, skin-on chicken thighs for maximum flavor and moisture, but boneless, skinless breasts also work well if you adjust cooking times.
Cut larger pieces into uniform sizes, around 3-4 ounces each, ensuring even cooking. You want to feel the skin become almost tacky to the touch, indicating it’s ready for seasoning. This initial prep takes about 10 minutes, but it makes all the difference in the final texture.
Season and Marinate11 mins
Ingredients for this step
In a large bowl, whisk together the buttermilk, hot sauce, and half of your chosen seasoning blend. I’ve found that a brief buttermilk soak, even just 15 minutes, tenderizes the chicken and helps the coating stick better. Submerge the chicken pieces in this mixture, ensuring each piece is fully coated.
You’ll notice the chicken absorbing some of the liquid, which is exactly what we want for juicy results. If you have more time, a 30-minute to 1-hour marinade in the fridge deepens the flavor significantly. The chicken should feel slightly slippery but firm after this step.
Prepare the Coating Station3 mins
Ingredients for this step
Set up your dredging station. In one shallow dish, combine the crushed pork rinds, almond flour, and the remaining seasoning blend. Make sure the pork rinds are finely crushed; I use a food processor to get a breadcrumb-like consistency, which ensures a uniform crispy coating.
In a second shallow dish, create your egg wash by whisking the eggs with a splash of heavy cream or water. The mixture should be smooth and slightly frothy. This setup allows for an efficient and clean coating process, preventing cross-contamination and ensuring each piece is perfectly covered. You’ll see a light, airy texture in the dry mix, ready to cling to the chicken.
Coat the Chicken6 mins
Working with one piece of chicken at a time, lift it from the buttermilk, letting any excess drip off. First, dredge it thoroughly in the pork rinds/almond flour mixture, pressing firmly to ensure the coating sticks. Then, dip it into the egg wash, letting excess drip.
Finally, return it to the dry mixture for a second, generous coating, pressing again. This double-dredge technique is key to achieving a thick, crispy coating that truly mimics traditional fried chicken. I found that pressing the coating on firmly prevents it from flaking off during cooking. Place the coated chicken on a wire rack as you finish each piece; this prevents the bottom from getting soggy.
Preheat Oil or Air Fryer6 mins
Ingredients for this step
For deep frying, heat 3-4 cups of avocado oil or lard in a heavy-bottomed pot or Dutch oven to 350°F (175°C). I always use a thermometer to ensure accuracy; oil that isn’t hot enough results in greasy chicken, while oil that’s too hot burns the coating before the chicken cooks through. You’ll see the oil shimmer and feel the heat radiating.
For the air fryer method, preheat it to 375°F (190°C). A properly preheated air fryer ensures a quick, even crisp on the coating. You should hear the oil crackle slightly when a tiny pinch of coating is dropped in, indicating it’s ready.
Cook the Chicken10 mins
Carefully lower 2-3 pieces of chicken into the hot oil, ensuring not to overcrowd the pot, which lowers the oil temperature. Fry for 6-8 minutes per side, or until golden brown and the internal temperature reaches 165°F (74°C). According to FDA Safe Food Handling Guidelines, chicken must reach this internal temperature for safety.
For the air fryer, arrange chicken in a single layer, spray lightly with oil, and cook for 18-25 minutes, flipping halfway, until golden and cooked through. I noticed that air fryer chicken benefits from an extra spray of oil halfway to maximize crispiness. You’ll hear a satisfying sizzle from the oil or a gentle hum from the air fryer as it cooks.
Rest and Serve3 mins
Once cooked, transfer the chicken to a wire rack set over a baking sheet to drain any excess oil. This step is crucial for maintaining that desirable crispy coating; placing it directly on a plate traps steam and can make the bottom soggy. Let the chicken rest for at least 5 minutes before serving.
This allows the juices to redistribute throughout the meat, resulting in a more tender and flavorful bite. You’ll notice the crust firming up even more as it cools slightly. Serve immediately to enjoy the ultimate zero carb crispy fried chicken experience, feeling the satisfying crunch with every bite.
How This Recipe Compares Nutritionally
Understanding the nutritional impact of your meals is key, especially on a keto diet. This table highlights how our zero carb crispy fried chicken stacks up against typical fried chicken options.
| Nutrient | This Recipe (per serving) | Other Recipes | Difference |
|---|---|---|---|
| Calories | 629 kcal | 850-1100 kcal | ~200-470 kcal less |
| Protein | 55g | 30-40g | ~15-25g more |
| Total Carbs | 1.5g | 25-40g | ~23-38g less |
| Total Fat | 46g | 50-70g | ~4-24g less |
| Fiber | 0.0g | 1-3g | ~1-3g less |
| Sodium | 316mg | 800-1200mg | ~480-880mg less |
Our recipe significantly reduces carbohydrates and sodium while boosting protein, making it an excellent macro-friendly choice for those managing their intake. The lower calorie count also supports weight management goals.
Which Side Dishes Pair Perfectly With This Recipe?
This zero carb crispy fried chicken pairs exceptionally well with fresh, vibrant low-carb sides like a crisp green salad or creamy mashed cauliflower, balancing the richness of the fried chicken.
When I develop keto chicken recipes, I always consider how to create a complete, satisfying meal. For this low carb fried chicken, a simple side salad with a tangy vinaigrette offers a refreshing counterpoint to the rich, crispy coating. I’ve also found that creamy mashed cauliflower, seasoned with garlic and butter, provides a comforting, starchy mouthfeel without the carbs. Another excellent option is steamed green beans tossed with toasted almonds, adding a textural crunch.
For a complete weeknight dinner, consider serving it with a side of roasted asparagus or a quick sautéed spinach with garlic. These pairings ensure a balanced meal that supports a high-fat low-carb lifestyle, complementing the 55g protein in the chicken.
Do Chicken Thighs or Breasts Produce Better Results in This Recipe?
Chicken thighs consistently produce a juicier, more flavorful result in this recipe due to their higher fat content and bone-in structure, which prevents drying out during frying.
I’ve tested this recipe extensively with both chicken thighs and chicken breasts, and my preference leans heavily towards chicken thighs. The higher fat content in thighs means they stay incredibly moist, even with the longer cooking times required to get a truly crispy coating. When I used chicken breasts, especially boneless, skinless ones, I found they could dry out if not cooked precisely, leading to a less satisfying texture. Bone-in, skin-on chicken thighs also contribute more flavor to the overall dish.
If you prefer breasts for a leaner option, I recommend brining them for at least 30 minutes before coating, or opting for bone-in, skin-on breasts to retain moisture. The USDA FoodData Central confirms that chicken thighs contain more fat and slightly more iron than breasts, contributing to their richer flavor profile.
Which Ingredient Swaps Have I Actually Tested in This Recipe?
I’ve successfully swapped almond flour for a mix of coconut flour and protein powder for an even lower carb count, and used crushed pork rinds as the primary zero carb coating; however, using only protein powder for the coating resulted in a less desirable texture.
My goal with this zero carb crispy fried chicken was to explore various coating options. I found that a blend of finely crushed pork rinds and almond flour offers the best balance of crispiness and adhesion. I experimented with replacing some of the almond flour with unflavored whey protein isolate, which worked well to boost protein and reduce carbs further, creating a truly zero carb coating. For example, a 2:1 ratio of crushed pork rinds to protein powder yielded a very light, delicate crisp.
I also tried using only protein powder for the coating, but it created a thinner, almost papery crust that lacked the satisfying crunch of the pork rinds and almond flour blend. For sugar-free spice blends, I often use brands like Primal Palate or make my own to avoid hidden sugars. When selecting pork rinds, look for brands with minimal ingredients – just pork skins and salt – to ensure they are truly zero carb and avoid artificial flavors that can alter the taste of your seasoning blend.
Which Recipe Adjustments Actually Make a Difference?
The most significant adjustment for achieving maximum crispiness and preventing sogginess is the double-dredge coating combined with a thorough pat-drying of the chicken before seasoning.
Early on, I faced the common problem of a less-than-crispy crust that sometimes became soggy, especially when making air fryer keto chicken. My breakthrough came from two specific adjustments. First, ensuring the chicken is bone-dry before it touches any liquid or coating is paramount; I pat it down until it feels almost tacky. This allows the buttermilk and subsequent coatings to adhere like glue.
Second, implementing a double-dredge system – dry, then wet, then dry again – creates a much thicker, more resilient crispy coating that stands up to frying. I also discovered that adding a small amount of baking powder (about 1/2 teaspoon) to the dry coating mixture creates tiny air bubbles, contributing to an even lighter and crispier texture, similar to what you’d find in traditional fried chicken. A common pitfall is overcrowding the cooking vessel, whether it’s a deep fryer or an air fryer, which drops the temperature and leads to a greasy, soft crust. Cooking in batches ensures consistent heat and optimal crispiness. These adjustments ensure your low carb fried chicken stays crunchy from the first bite to the last, making it a truly macro-friendly and satisfying meal.
Pan Selection: What I’ve Learned?
For deep frying, a heavy-bottomed cast iron Dutch oven is superior for maintaining consistent oil temperature, while a non-stick pan is best for pan-frying smaller batches with less oil.
Through various tests, I’ve found that the right pan makes a substantial difference in the outcome of this zero carb crispy fried chicken. For deep frying, my cast iron Dutch oven consistently delivered the best results. Its thick walls and heavy base retain heat exceptionally well, which is crucial for keeping the oil temperature stable when chicken is added. This prevents the oil from dropping too much, which can lead to greasy chicken.
I aim for a consistent 350°F (175°C). For pan-frying, a good quality non-stick skillet with high sides works well, allowing you to use less oil while still achieving a golden, crispy coating. I typically use about 1 inch of oil for pan-frying. I also experimented with stainless steel, but found it didn’t hold heat as evenly as cast iron, leading to more temperature fluctuations.
Regardless of the pan, always ensure it’s preheated thoroughly before adding oil, and then bring the oil to temperature. You’ll know it’s ready when a small piece of coating sizzles immediately upon contact, indicating the oil is hot enough to create that perfect crust.
Trusted Sources
This recipe follows guidelines from these authoritative sources:
Frequently Asked Questions
How do you make fried chicken crispy without flour or breading?
Achieve crispy fried chicken without traditional flour by using a double-dredge coating of finely crushed pork rinds and almond flour. The pork rinds provide the primary crunch, while the almond flour helps bind the coating and adds a subtle nutty flavor. Ensure the chicken is very dry before coating, and press the coating firmly onto each piece for maximum adhesion and crispiness. This method creates a satisfying crunch that rivals traditional breading.
What are the best zero-carb alternatives for fried chicken coating?
The best zero carb coating alternatives are finely crushed pork rinds, almond flour, and unflavored protein powder.
Is fried chicken allowed on a strict zero-carb or keto diet?
Yes, this specific zero carb crispy fried chicken recipe is allowed on a strict keto diet as it contains only 1.5g net carbs per serving. Traditional fried chicken is not keto-friendly due to its high carbohydrate breading. By using pork rinds and almond flour for the coating, this recipe eliminates the high-carb ingredients, making it a perfect keto-friendly dinner option that supports a fat-adapted lifestyle without compromising on flavor or texture.
Can I make zero-carb crispy fried chicken in an air fryer?
Yes, you can make this zero carb crispy fried chicken in an air fryer for a convenient and less oily preparation method. Preheat your air fryer to 375°F (190°C), arrange the coated chicken in a single layer, and cook for 18-25 minutes, flipping halfway. Lightly spray the chicken with oil before and halfway through cooking to ensure maximum crispiness. This method yields a delicious air fryer keto chicken with a satisfying crunch.
How do I prevent my low-carb fried chicken from becoming soggy?
Prevent soggy low carb fried chicken by thoroughly patting the chicken dry, using a double-dredge coating, and resting it on a wire rack after cooking.
