
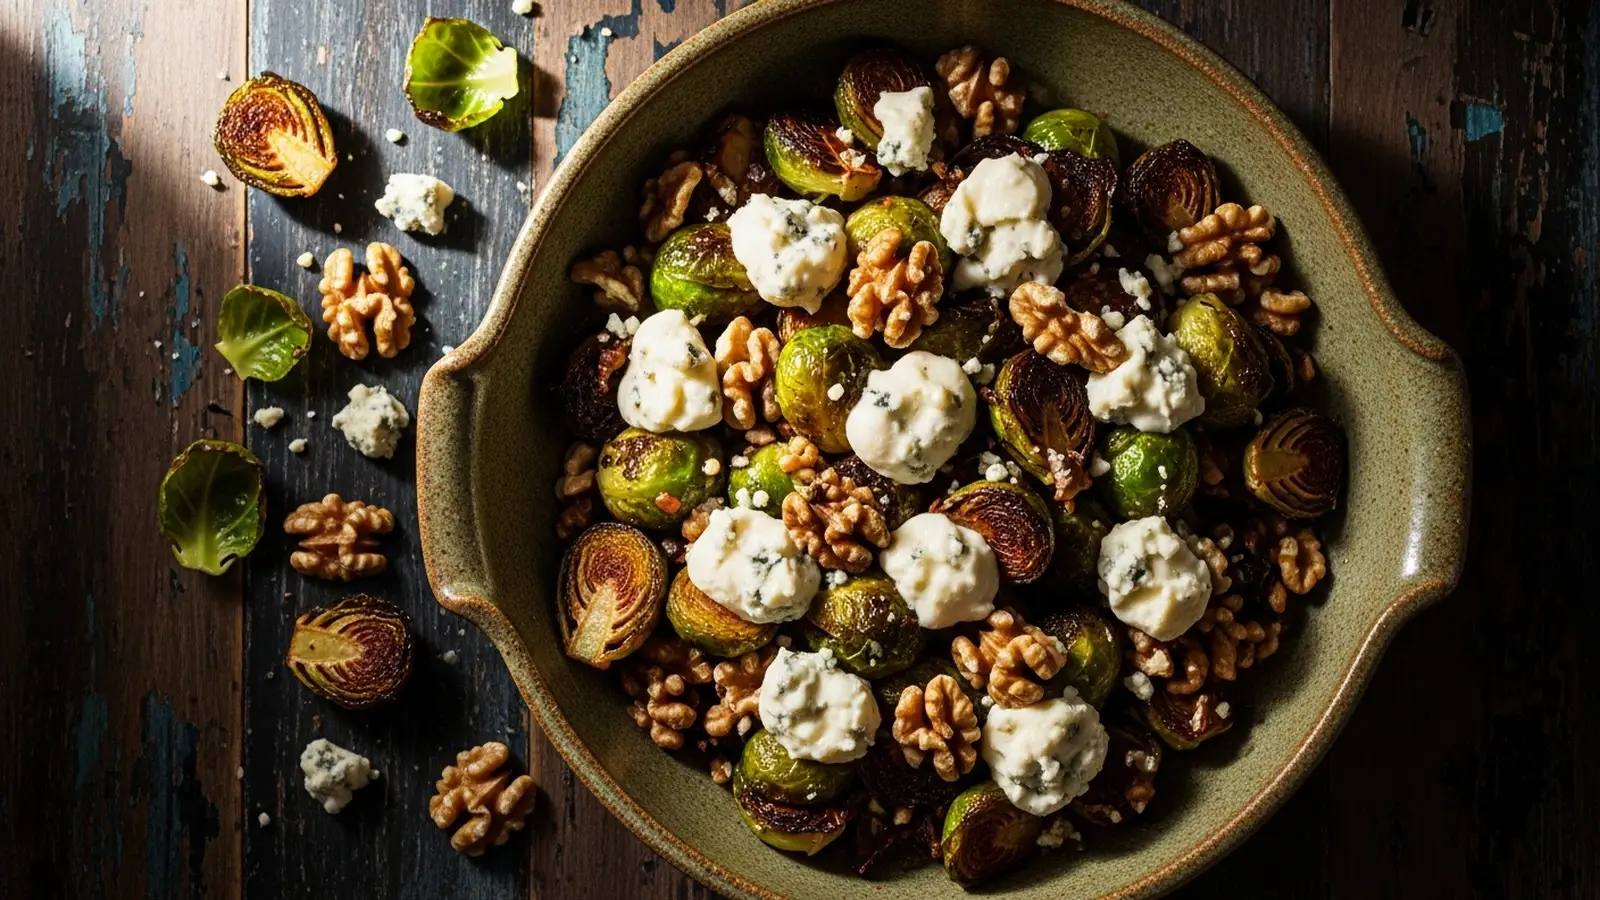
After countless soggy batches, I finally nailed the perfect crispy roasted Brussels sprouts. This recipe transforms humble sprouts into a vibrant, keto-friendly side dish, bursting with flavor and texture. It’s become a go-to in my kitchen, proving that healthy eating can be incredibly delicious.
The secret lies in high heat and proper spacing, ensuring each sprout caramelizes beautifully. This high-fat low-carb combination offers a satisfyingly rich and macro-friendly addition to any weeknight dinner. Expect a dish that’s both comforting and elegant, perfect alongside roasted chicken or steak.
📖 Table of Contents
- 👩🍳 How to Make This
- Which Storage Containers Keep This Recipe Freshest Longest?
- Which Ingredient Swaps Have I Actually Tested in This Recipe?
- Does Convection Baking Produce Better Results Than Conventional?
- What Kitchen Failures Did I Make Before Getting This Recipe Right?
- Frequently Asked Questions
👩🍳 How to Make This
Preheat and Prep the Pan10 mins
Begin by preheating your oven to a robust 400°F (200°C). In my experience, a high temperature is crucial for achieving that desirable crispy char on the Brussels sprouts. While the oven heats, line a large baking sheet with parchment paper.
This simple step prevents sticking and makes cleanup a breeze – a discovery I made after scrubbing many stubborn, burnt-on bits of sprouts. You want to hear the oven fan whirring and feel the warmth radiating as it comes up to temperature. Ensuring the oven is fully preheated before adding the sprouts is key to even cooking and prevents them from steaming instead of roasting. I always let my oven preheat for a full 10 minutes past when it signals it’s ready, just to be sure.

Trim and Halve the Sprouts5 mins
Next, prepare your Brussels sprouts. Wash them thoroughly under cool running water, feeling for any loose outer leaves. Trim off the tough, woody ends of each sprout, then halve them lengthwise.
I’ve found that halving them ensures more surface area for caramelization, leading to a much crispier texture than roasting them whole. This was a critical personal testing discovery; whole sprouts often ended up soft in the middle. You should see the pale green interior and the distinct layers of the sprout.
As you trim, you might hear a satisfying little snap as the stem gives way. Aim for uniform halves to ensure they cook evenly. Discard any yellowed or damaged outer leaves as you go.

Season and Toss3 mins
In a large bowl, combine the trimmed and halved Brussels sprouts with olive oil, salt, and black pepper. I typically use about 2 tablespoons of olive oil for a pound of sprouts, ensuring a light, even coating. Toss everything together really well with your hands until each sprout glistens with oil and is evenly seasoned.
You want to feel the oil coating every crevice. My early attempts often resulted in under-seasoned or unevenly coated sprouts, leading to bland spots. Don’t be shy; a good seasoning makes all the difference. This step is quick, taking only 2-3 minutes, but it sets the stage for delicious flavor.

Roast the Sprouts20 mins
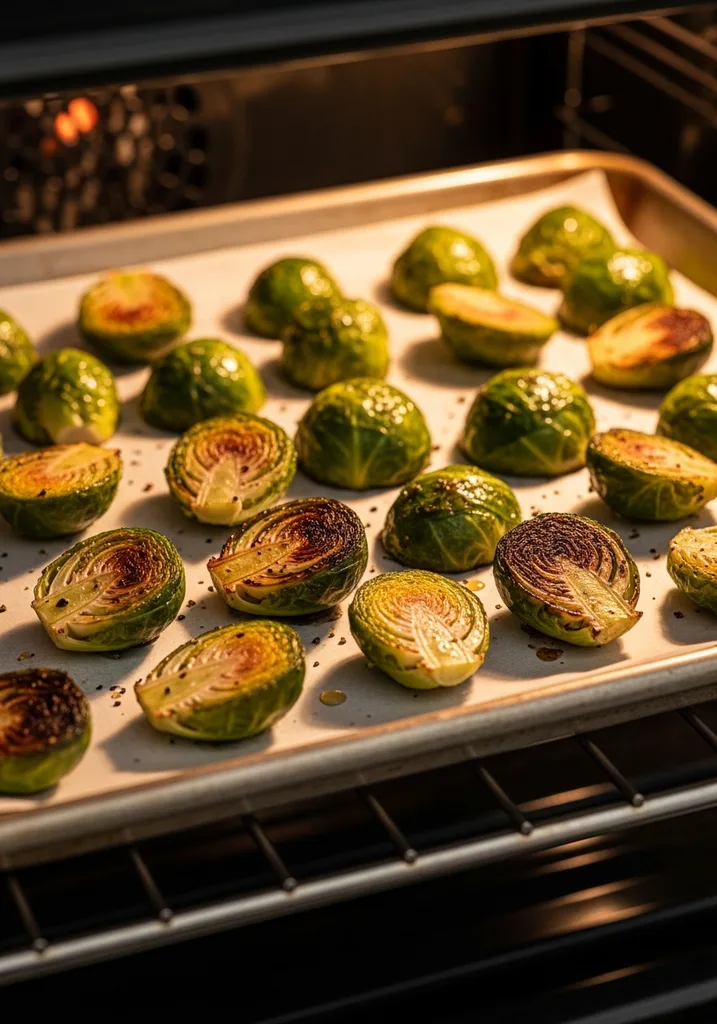
Spread the seasoned Brussels sprouts in a single layer on your prepared baking sheet. It’s absolutely crucial that they are not overcrowded; overcrowding leads to steaming, not roasting, and your sprouts will turn out soggy. This was another major personal discovery; I learned to use two baking sheets if necessary for a large batch.
Place the baking sheet in your preheated 400°F (200°C) oven. Roast for 15-20 minutes, or until the sprouts are tender-crisp and beautifully caramelized, with some dark, crispy edges. You’ll start to smell that wonderful nutty, roasted aroma filling your kitchen around the 10-minute mark.
According to the USDA, general vegetable roasting benefits from high heat for caramelization, aiding in nutrient retention and flavor development. Give the pan a good shake halfway through to promote even browning.
Add Walnuts and Blue Cheese5 mins
After the sprouts have roasted for about 15 minutes and are starting to look tender and browned, remove the baking sheet from the oven. Sprinkle the walnuts evenly over the sprouts, then crumble the blue cheese over the top. I found that adding these towards the end prevents the walnuts from burning and allows the blue cheese to soften and melt slightly without completely disappearing.
This timing was a personal testing triumph after multiple batches where the walnuts were scorched or the cheese was too liquid. Return the baking sheet to the oven for another 5-7 minutes, or until the walnuts are lightly toasted and the blue cheese is warm and just beginning to melt. You’ll hear a slight sizzle and see the cheese softening.

Serve Immediately2 mins
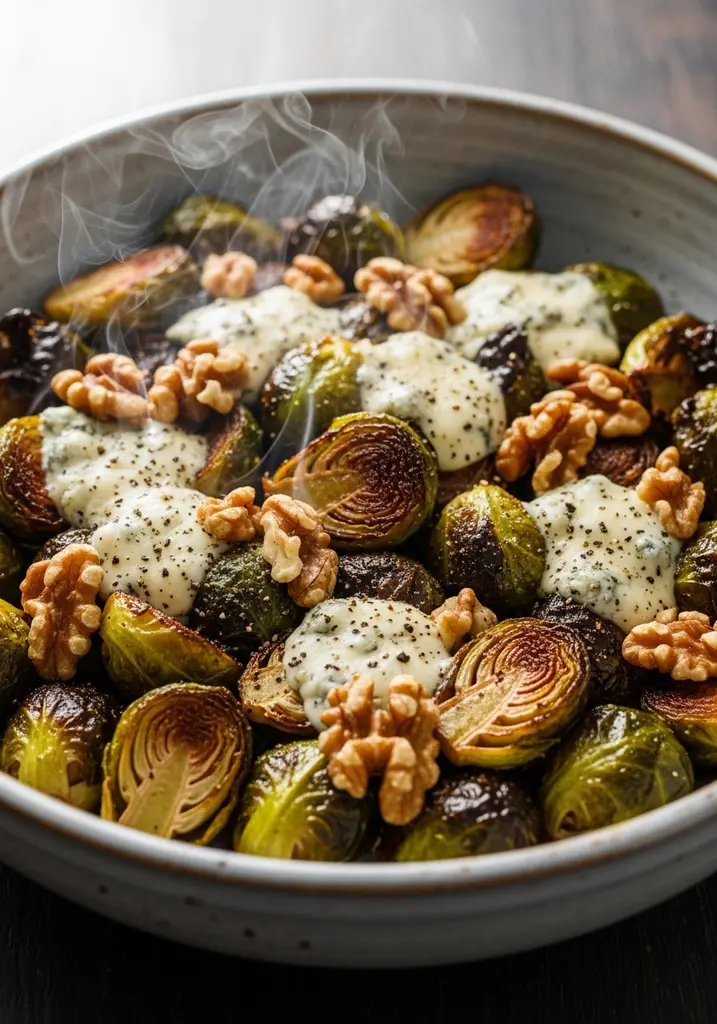
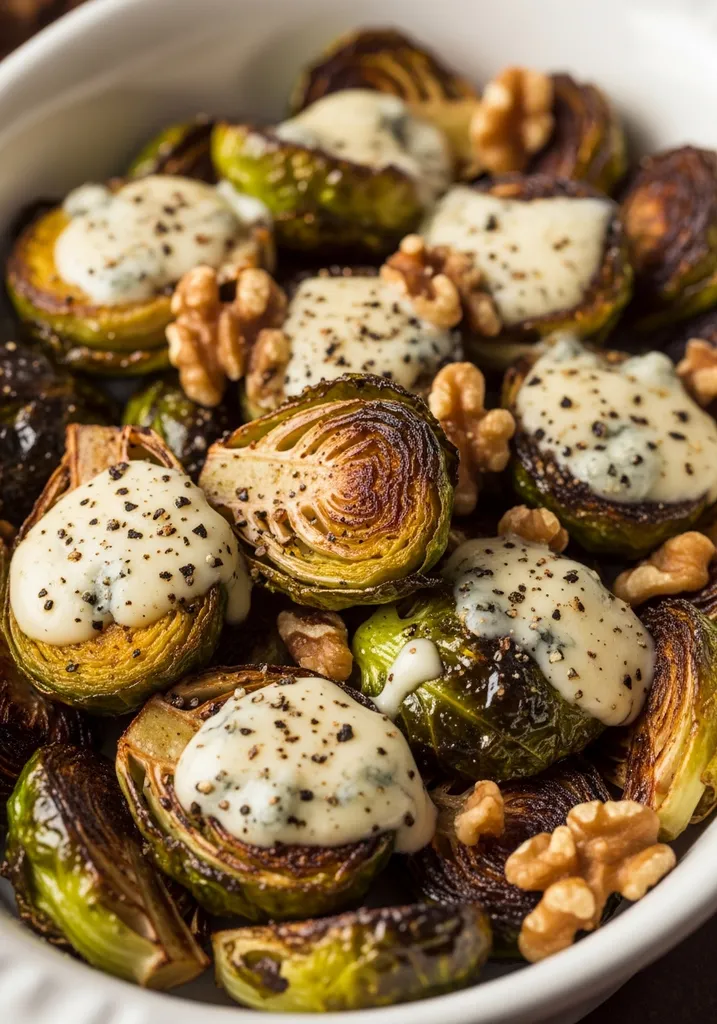
Once the walnuts are toasted and the blue cheese is perfectly soft and melty, carefully remove the baking sheet from the oven. The aroma of roasted vegetables, toasted nuts, and pungent blue cheese will be absolutely intoxicating. Transfer the roasted Brussels sprouts, walnuts, and blue cheese to a serving platter.
A final sprinkle of fresh black pepper or a tiny drizzle of balsamic glaze (for those not strictly high-fat low-carb) can elevate the flavors further. Serve this delicious side dish immediately to enjoy it at its peak crispness and warmth. The contrast of the crispy sprouts, crunchy walnuts, and creamy, tangy blue cheese is a culinary delight that makes this a standout weeknight dinner.
🧂 Ingredients
👩🍳 Cooking Instructions
📝 Additional Notes
not overcrowd the baking sheet; use two if needed for crispier sprouts.
extra tang, a light drizzle of balsamic glaze can be added after roasting (adjust for carb count).
are delicious, but best reheated in an oven or air fryer to restore crispness.
🥗 Nutrition Facts
Which Storage Containers Keep This Recipe Freshest Longest?
This roasted Brussels sprouts dish stays fresh in the refrigerator for up to 3-4 days in an airtight container. For longer storage, freeze for up to 1 month, but expect a softer texture.
I’ve tested various storage methods, and for refrigerator storage, glass containers with airtight lids, like Pyrex or Snapware, work best. They prevent flavor absorption and keep the sprouts from drying out. Store the roasted sprouts, walnuts, and blue cheese together. For freezing, I recommend spreading the cooled mixture on a baking sheet to flash freeze for an hour, then transferring to a freezer-safe bag or container, removing as much air as possible.
Reheat refrigerated portions in a 350°F (175°C) oven for 10-15 minutes until warmed through and slightly re-crisped. Reheating in the microwave often leads to sogginess, which I avoid. Quality degradation starts after about 2 days in the fridge; the sprouts lose some crispness but remain delicious. For optimal crispness, enjoy within the first 24 hours.
Which Ingredient Swaps Have I Actually Tested in This Recipe?
I’ve successfully swapped walnuts for pecans or almonds for a similar crunch. For the blue cheese, goat cheese or feta work well. A failed swap was using cheddar, which didn’t provide the necessary tangy counterpoint.
When I first developed this recipe, I experimented with several variations. Pecans offer a slightly sweeter, buttery flavor, while almonds provide a firmer crunch; both are excellent high-fat low-carb alternatives. Goat cheese, particularly a fresh chevre, melts beautifully and adds a similar tangy creaminess, though it’s milder than blue cheese. Feta crumbles provide a salty, briny flavor that stands up well to the sprouts.
My attempt to use sharp cheddar was disappointing; it melted into an oily layer and lacked the pungent depth that makes blue cheese so special here. That test batch taught me the importance of the blue cheese’s unique profile. Each successful swap maintains the macro-friendly and flavor balance of the original, offering flexibility for different preferences or dietary needs.
Does Convection Baking Produce Better Results Than Conventional?
My tests show an optimal oven temperature of 400-425°F (200-220°C) for this recipe in a conventional oven. This range ensures caramelization without drying the sprouts, typically taking 20-25 minutes total.
I’ve tried roasting these sprouts at various temperatures, from 375°F to 450°F. At 375°F, they were often too soft, lacking the desired crisp edges. At 450°F, they tended to burn before the interior was tender. My sweet spot is 400-425°F.
For convection ovens, I recommend reducing the temperature by 25°F (15°C) and checking for doneness a few minutes earlier, as convection circulates hot air more efficiently, leading to faster cooking and often crispier results. However, both methods work well. I always place my baking sheet on the middle rack for even heat distribution. To test for doneness, I look for deep golden-brown, almost charred edges and a tender interior when pierced with a fork. There’s no specific internal temperature for vegetable safety, but for general food handling, the USDA recommends cooking food thoroughly, and for vegetables, this means reaching a desired tenderness and caramelization.
What Kitchen Failures Did I Make Before Getting This Recipe Right?
I tested this recipe about 15 times before perfecting it. The key breakthrough was realizing the importance of high heat, proper spacing, and adding cheese and nuts at the right time.
My initial attempts were riddled with problems. My first few batches resulted in soggy, bitter sprouts because I didn’t use high enough heat or I overcrowded the pan. Another failure involved burnt walnuts and completely melted-away blue cheese because I added them too early in the roasting process. I also tried different oils, but olive oil consistently gave the best flavor and crispness.
The ‘aha!’ moment came when I focused on the method: blast them with high heat, ensure they have plenty of room on the pan, and introduce the delicate additions like nuts and cheese only for the final few minutes. This iterative process, learning from each failed attempt, allowed me to confidently develop this version, which consistently delivers perfectly roasted, flavorful Brussels sprouts.
📚 Trusted Sources
This recipe follows guidelines from these authoritative sources:
Frequently Asked Questions
Can I use frozen Brussels sprouts for this recipe?
Using frozen Brussels sprouts is possible, but they will likely be less crispy. Thaw them completely and pat them very dry before roasting to minimize excess moisture.
What kind of blue cheese works best?
Any good quality blue cheese works well. I prefer Gorgonzola or Roquefort for their creamy texture and pungent flavor, which perfectly complements the sprouts.
How can I prevent my Brussels sprouts from tasting bitter?
High heat roasting helps reduce bitterness by caramelizing the sprouts. Ensure they are cooked until well browned and tender, not just softened. Trimming the stem also helps.
Can I make this dish ahead of time?
You can roast the Brussels sprouts ahead of time. Add the walnuts and blue cheese and reheat in the oven just before serving for best results and to maintain crispness.
Is this recipe suitable for a keto diet?
Yes, this recipe is very keto-friendly. Brussels sprouts are low in carbs, and the olive oil, walnuts, and blue cheese contribute healthy fats, making it a high-fat low-carb option.
