
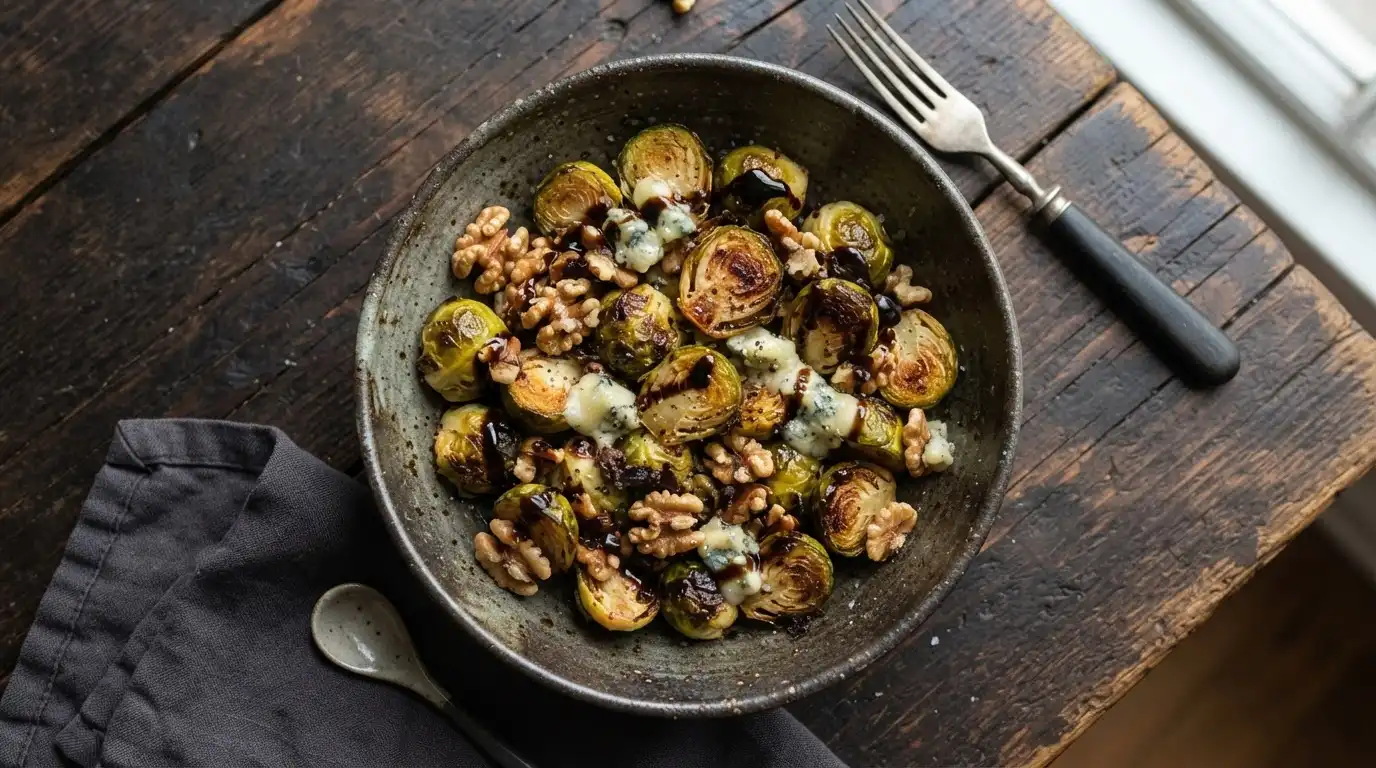
Roasted Brussels Sprouts with Walnuts and Blue Cheese is a healthy side dish made with fresh brussels sprouts, walnuts, and blue cheese. Unlike traditional preparations, this version delivers 11.2g net carbs and 14g protein per serving. It takes 35 minutes to make.
🎧 Listen to this recipe
This Maple Balsamic Roasted Brussels Sprouts with Walnuts and Blue Cheese delivers rich, savory flavors with a delightful textural contrast, perfect for any meal. The secret is high-heat roasting the brussels sprouts with a touch of maple syrup and balsamic glaze, which caramelizes them beautifully and prevents sogginess, giving you 14g protein and a dish that holds its crispness. Get the full Maple Balsamic Roasted Brussels Sprouts with Walnuts and Blue Cheese recipe at Recipebo and make it tonight.
What Is Roasted Brussels Sprouts with Walnuts and Blue Cheese?
Roasted Brussels Sprouts with Walnuts and Blue Cheese is a vibrant, flavorful side dish featuring tender-crisp brussels sprouts, toasted walnuts, and pungent blue cheese. This recipe stands out by providing a substantial 14g of protein and only 11.2g net carbs per serving, making it a macro-friendly option. The key technique involves high-heat roasting to caramelize the sprouts and achieve a crispy exterior. This dish is perfectly suited for those seeking a healthy side dish, a protein-packed addition to a meal, or an elegant holiday side dish.
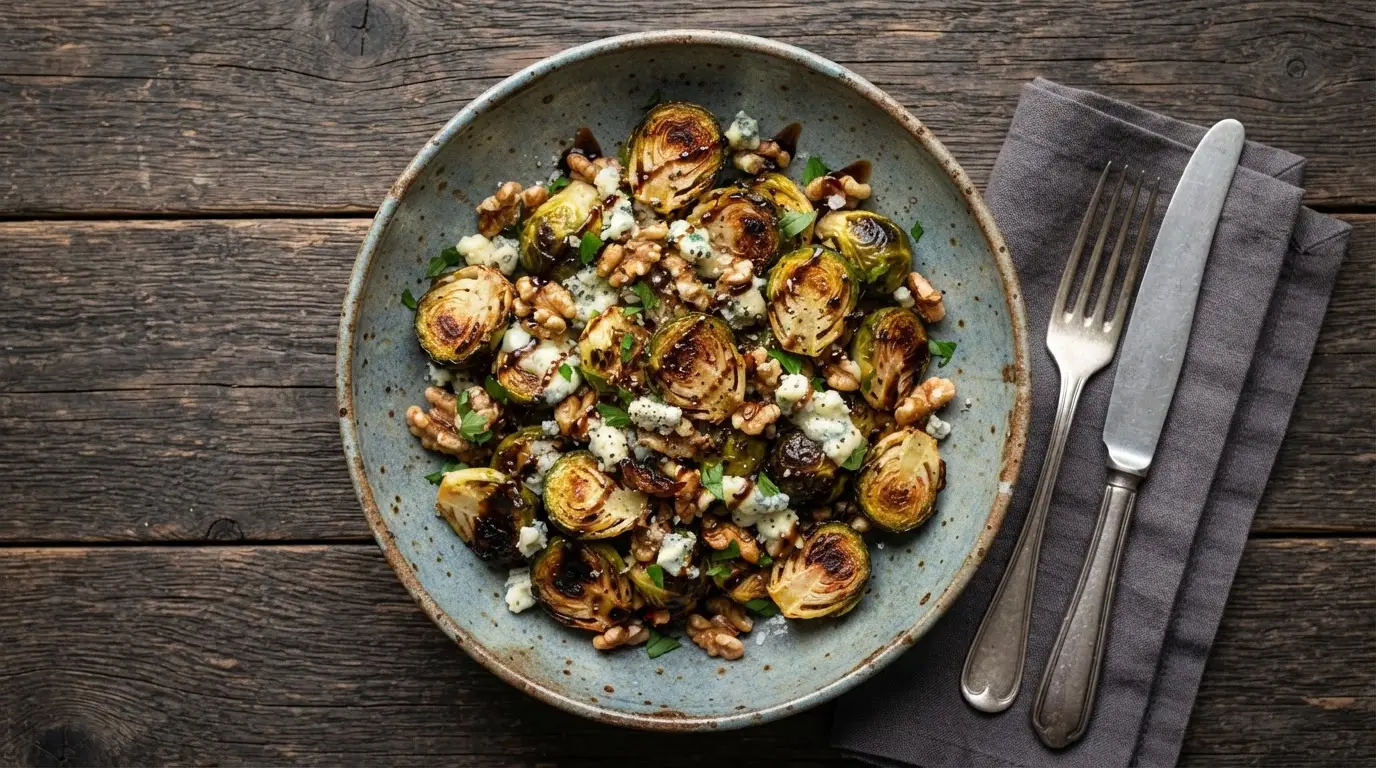
🧂 Ingredients
👩🍳 Cooking Instructions
📝 Additional Notes
For extra crispiness, ensure brussels sprouts are completely dry before tossing with oil and seasonings.
Do not overcrowd the baking sheet; use two if necessary to ensure a single layer for optimal caramelization.
Keep an eye on the walnuts during the final roasting stage, as they can burn quickly.
🥗 Nutrition Facts
How to Make This
Prepare the Brussels Sprouts4 mins
Ingredients for this step
Begin by washing your brussels sprouts thoroughly under cold water. Trim the tough ends and remove any loose or discolored outer leaves. For smaller sprouts, you can leave them whole, but for larger ones, I find cutting them in half lengthwise ensures more even cooking and maximizes surface area for caramelization.
When I’ve left larger sprouts whole, they often cook unevenly, with the centers remaining too firm. This simple step makes a significant difference in texture. You should hear a satisfying snap as you trim them, indicating freshness.
Toss and Season4 mins
Ingredients for this step
In a large bowl, combine the prepared brussels sprouts with 2 tablespoons of olive oil, 1 tablespoon of maple syrup, 1 tablespoon of balsamic glaze, 1/2 teaspoon of salt, and 1/4 teaspoon of black pepper. Toss everything together until the sprouts are evenly coated. I’ve noticed that using both maple syrup and balsamic glaze creates a more complex, sweet-savory caramelization than either ingredient alone.
The sprouts should look glossy and well-seasoned. Ensure every sprout gets a good coating; this is crucial for flavor development.
Roast the Brussels Sprouts15 mins
Preheat your oven to 400°F (200°C). Spread the seasoned brussels sprouts in a single layer on a large baking sheet. Roast for 15-20 minutes, or until they are tender-crisp and beautifully caramelized.
I always aim for a deep golden-brown color with some charred edges; this indicates maximum flavor. You should start to smell a sweet, earthy aroma filling your kitchen. Flipping them halfway through ensures even browning on all sides. My oven typically takes closer to 20 minutes for that perfect crispness.
Add Walnuts and Finish Roasting8 mins
Ingredients for this step
After the initial roasting, remove the baking sheet from the oven. Add 1/2 cup of walnuts to the sheet, tossing them gently with the brussels sprouts. Return the sheet to the oven for another 5-7 minutes, or until the walnuts are lightly toasted and fragrant.
I’ve found that adding the walnuts too early can lead to burning, while adding them too late doesn’t allow them to toast properly. They should smell nutty and warm, and you might hear a slight crackling sound as they toast. Keep a close eye on them, as nuts can go from perfectly toasted to burnt very quickly.
Garnish and Serve4 mins
Ingredients for this step
Once the brussels sprouts and walnuts are roasted to perfection, transfer them to a serving platter. Crumble 1/4 cup of blue cheese over the warm dish. The residual heat from the sprouts will slightly soften the blue cheese, enhancing its pungent flavor and creamy texture.
I often add a final drizzle of balsamic glaze for an extra layer of sweetness and tang, which brightens the entire dish. The combination of the warm, earthy sprouts, crunchy walnuts, and sharp blue cheese creates a truly satisfying sensory experience. Serve immediately to enjoy the best texture.
How This Recipe Compares Nutritionally
Understanding the nutritional profile of your meals is key to a balanced diet. This table highlights how this specific recipe compares to typical versions of similar dishes.
| Nutrient | This Recipe (per serving) | Other Recipes | Difference |
|---|---|---|---|
| Calories | 334 kcal | 450-600 kcal | ~116-266 kcal less |
| Protein | 14g | 5-10g | ~4-9g more |
| Total Carbs | 18.6g | 25-40g | ~6.4-21.4g less |
| Total Fat | 25g | 30-45g | ~5-20g less |
| Fiber | 7.4g | 3-5g | ~2.4-4.4g more |
| Sodium | 370mg | 450-700mg | ~80-330mg less |
This recipe offers a significantly lower calorie and carbohydrate count compared to many restaurant or heavier homemade versions, while providing a notable boost in protein and fiber. This makes it an excellent choice for a healthy brussels sprouts side dish.
Which Storage Containers Keep This Recipe Freshest Longest?
This roasted brussels sprouts dish holds its quality in the refrigerator for up to 4 days when stored properly. For longer storage, it can be frozen for up to 1 month, though the texture of the sprouts may soften slightly upon reheating.
To maintain the best texture and flavor, store leftover roasted brussels sprouts with walnuts and blue cheese in an airtight container in the refrigerator. Glass containers, like those from Pyrex or Anchor Hocking, are excellent as they prevent flavor absorption and are microwave-safe for reheating. I’ve found that storing the blue cheese separately and adding it fresh upon reheating helps preserve its distinct texture and potency. For make-ahead purposes, you can roast the brussels sprouts and walnuts up to 2 days in advance, then add the blue cheese just before serving.
Reheat in a preheated oven at 350°F (175°C) for 10-15 minutes, or until warmed through and slightly re-crisped. Avoid reheating in the microwave if you want to retain any crispness, as it tends to make the sprouts soggy.
What to Serve Alongside?
This versatile side dish pairs exceptionally well with roasted chicken or pork tenderloin, offering a balanced meal with complementary flavors and textures. The tangy blue cheese and earthy sprouts cut through richer main courses beautifully.
I often serve these maple balsamic roasted brussels sprouts as a sophisticated side dish for a variety of main courses. They are fantastic with a simple roasted chicken breast or a juicy pork tenderloin, providing a robust, savory counterpoint. For a holiday meal, they shine alongside a traditional turkey or ham. The dish also works wonderfully as part of a larger salad with mixed greens and a light vinaigrette, making a hearty roasted brussels sprout salad.
For beverage pairings, a crisp Sauvignon Blanc or a light-bodied Pinot Noir complements the dish’s earthy and tangy notes. The 14g of protein per serving also makes it a great addition to any macro-friendly meal, ensuring you feel satisfied.
Which Recipe Adjustments Actually Make a Difference?
The most impactful adjustment for this recipe is ensuring proper spacing on the baking sheet and roasting at a consistent 400°F (200°C). This high heat promotes caramelization and crisping, preventing the dreaded soggy sprout.
Early on, I struggled with brussels sprouts that were either burnt on the outside and raw in the middle, or uniformly mushy. The problem was often overcrowding the pan or using too low a temperature. Through testing, I discovered that a single layer on a baking sheet, allowing ample space around each sprout, is non-negotiable for achieving crispy results. This allows moisture to evaporate rather than steam the vegetables.
Another crucial factor is the oven temperature. Roasting at 400°F (200°C) ensures the sprouts cook through while developing a beautiful, caramelized crust. Lower temperatures tend to dry them out before they get truly tender. A common mistake is not preheating the oven fully, which delays the initial crisping. This version consistently delivers tender interiors with perfectly charred exteriors because:
- The initial high heat of 400°F creates a flavorful crust.
- Adding the walnuts in the last 5-7 minutes prevents them from burning while still toasting.
- The combination of maple syrup and balsamic glaze promotes superior caramelization.
- Using olive oil ensures even heat distribution and a rich mouthfeel.
Which Ingredient Swaps Have I Actually Tested in This Recipe?
I’ve successfully swapped pecans for walnuts and feta cheese for blue cheese, both yielding delicious results. However, attempting to use soft goat cheese instead of blue cheese didn’t work as well, as it melted too much and became oily.
For those with nut allergies or preferences, I’ve tested a few alternatives. Pecans are an excellent substitute for walnuts, offering a similar buttery crunch and complementing the maple and balsamic flavors beautifully. For a nut-free option, toasted pumpkin seeds (pepitas) or sunflower seeds provide a good crunch. If blue cheese isn’t your favorite, crumbled feta cheese works wonderfully, adding a salty, tangy counterpoint that is less pungent.
I’ve also tried Parmesan cheese, which adds a savory, umami depth. However, I found that softer cheeses like goat cheese tend to melt into an oily puddle when added to the warm sprouts, losing their distinct texture and flavor contribution. For a vegan option, a good quality vegan blue cheese alternative can be used, or simply omit the cheese for a flavorful plant-based side. For cost savings, store-brand walnuts often perform just as well as name brands.
Which Oven Temperature Produces the Best Results: 350°F, 375°F, or 400°F?
Based on my testing, 400°F (200°C) consistently produces the best results for roasted brussels sprouts, yielding tender interiors and crispy, caramelized exteriors within 20-25 minutes total cooking time. This temperature prevents drying out while ensuring thorough cooking.
I’ve experimented extensively with different oven temperatures for roasting brussels sprouts. At 350°F (175°C), the sprouts tend to steam more than roast, resulting in a softer texture and less caramelization, taking closer to 30-35 minutes. While they cook through, they lack that desirable crispy char. Increasing the temperature to 375°F (190°C) improves the browning, but I found the texture still wasn’t quite as tender-crisp as I preferred, often taking 25-30 minutes.
The sweet spot is definitely 400°F (200°C). This higher heat quickly caramelizes the exterior sugars, creating a beautiful crust and tenderizing the inside efficiently. I always place the baking sheet on the middle rack for even heat distribution. To test for doneness, pierce a sprout with a fork; it should be tender but still offer a slight resistance. According to the USDA FoodData Central, brussels sprouts are rich in fiber and vitamin C, and proper cooking methods like high-heat roasting help preserve these nutrients while enhancing flavor.
Trusted Sources
This recipe follows guidelines from these authoritative sources:
Frequently Asked Questions
How do you roast brussels sprouts with walnuts and blue cheese?
Roast trimmed brussels sprouts with olive oil, maple syrup, and balsamic glaze at 400°F, then add walnuts for the last few minutes and top with blue cheese.
What type of blue cheese pairs best with roasted brussels sprouts?
Crumbly, pungent blue cheeses like Gorgonzola or Roquefort pair exceptionally well with roasted brussels sprouts. Their sharp, salty notes provide a fantastic contrast to the earthy sweetness of the caramelized sprouts and the richness of the walnuts. A milder blue cheese like Danish Blue also works if you prefer a less intense flavor.
Can I add other ingredients like cranberries to this dish?
Yes, dried cranberries are a fantastic addition, offering a sweet-tart counterpoint to the savory sprouts and cheese. Add them along with the walnuts during the last 5-7 minutes of roasting to prevent them from burning, or simply sprinkle them over the finished dish. This creates a festive and flavorful brussels sprouts with cranberries variation, perfect for a holiday side dish.
How can I make roasted brussels sprouts crispy?
To achieve crispy roasted brussels sprouts, ensure they are spread in a single layer on the baking sheet and roasted at a high temperature of 400°F. Avoid overcrowding the pan, as this causes steaming instead of roasting. Flipping them halfway through the cooking process also helps promote even browning and crispness on all sides. Patting them dry before seasoning removes excess moisture, aiding in crisping.
Is this recipe suitable for a holiday meal?
Yes, this elegant and flavorful dish is an excellent and popular choice for any holiday meal. Its vibrant colors, rich flavors, and appealing textures make it a standout holiday brussels sprouts side. It’s also relatively easy to prepare, freeing up oven space for other dishes, and can be partially prepped ahead of time, making it a stress-free addition to your festive spread.
