
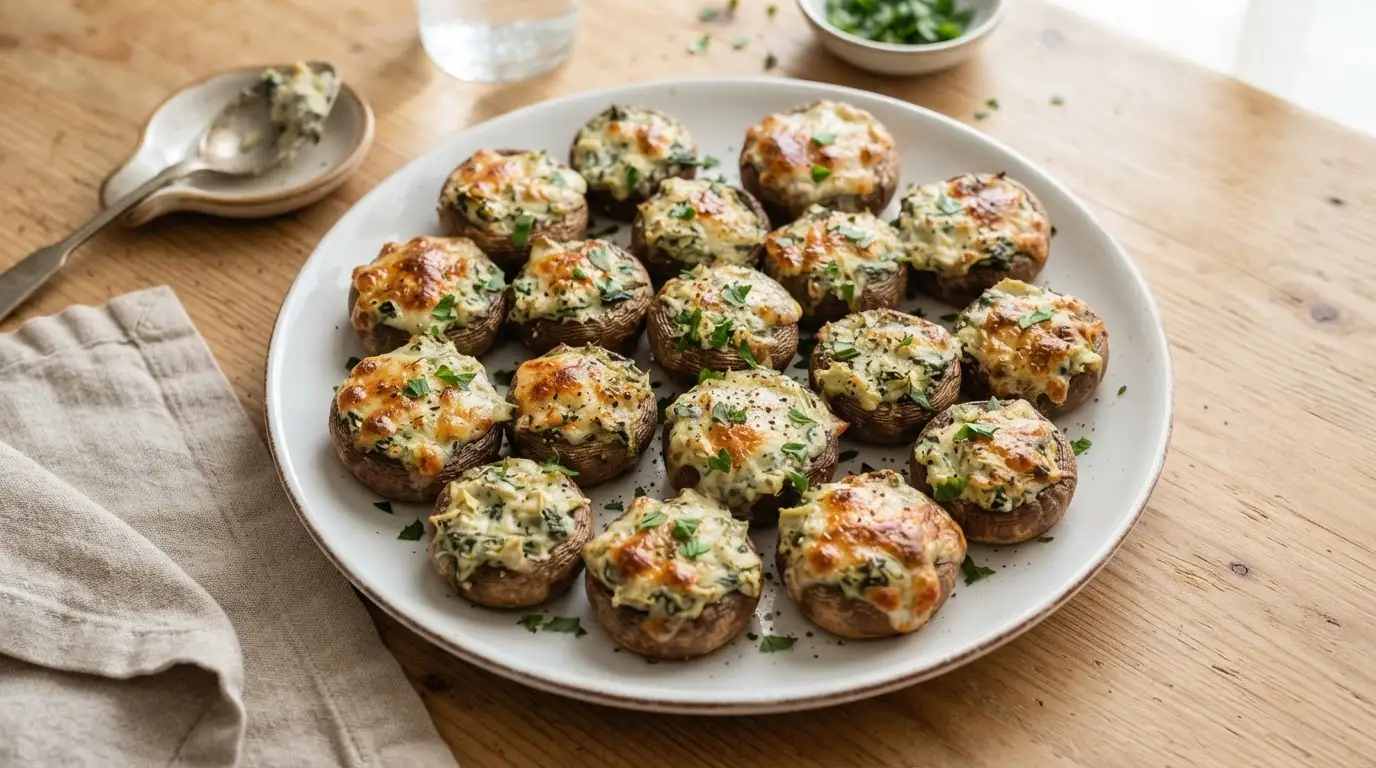
Spinach Artichoke Stuffed Mushrooms is a vegetarian appetizer made with mushrooms, spinach, and artichoke hearts. Unlike traditional dips, it’s portion-controlled and delivers 12g protein per serving. It takes 40 minutes to make.
🎧 Listen to this recipe
These Spinach Artichoke Stuffed Mushrooms deliver a rich, creamy flavor in a perfect two-bite vegetarian appetizer. The secret is pre-baking the mushroom caps for 10 minutes to release excess moisture, ensuring a firm, flavorful bite every time, and providing 12g protein per serving. Get the full Spinach Artichoke Stuffed Mushrooms recipe at Recipebo and make it tonight.
What Is Spinach Artichoke Stuffed Mushrooms?
Spinach Artichoke Stuffed Mushrooms are a savory, bite-sized appetizer featuring mushroom caps filled with a creamy mixture of spinach, artichoke hearts, and cheeses. This vegetarian dish offers a lighter, portion-controlled alternative to a traditional spinach artichoke dip, providing only 364 kcal per serving. The key technique involves pre-baking the mushroom caps to prevent a watery filling. This recipe is ideal for those seeking a flavorful, easy-to-prepare party food or a macro-friendly snack.
🧂 Ingredients
👩🍳 Cooking Instructions
📝 Additional Notes
Ensure all vegetables are thoroughly drained and squeezed to prevent a watery filling.
Use room temperature cream cheese for a smoother, lump-free filling.
For a deeper flavor, add a pinch of onion powder or a dash of Worcestershire sauce to the filling.
🥗 Nutrition Facts
How to Make This
Prepare the Mushrooms9 mins
Ingredients for this step
Start by gently cleaning your mushrooms. I prefer using a damp paper towel to wipe down each mushroom cap, avoiding rinsing them under water, which can make them absorb too much moisture and become soggy during baking. Carefully twist off the stems; you want to create a nice, deep cavity for the filling.
For this recipe, I find that 24 medium-sized cremini mushrooms, about 1.5-2 inches in diameter, work best, yielding consistent two-bite portions. Arrange the cleaned mushroom caps, gill-side up, on a baking sheet lined with parchment paper. This initial step is crucial for texture, as it prevents the final dish from becoming watery. I noticed that pre-baking them for 10 minutes at 375°F (190°C) before stuffing makes a significant difference, firming them up and drawing out excess liquid.
Sauté the Aromatics and Spinach5 mins
Ingredients for this step
Heat 1 tablespoon of olive oil in a large skillet over medium heat. Add 2 cloves of minced garlic and cook for about 30 seconds until fragrant; you’ll smell its sweet aroma quickly. Stir in 5 ounces of fresh spinach, cooking until it wilts completely, which usually takes about 2-3 minutes.
The spinach will visibly shrink, turning a darker green. It’s important to cook out as much moisture as possible here. I found that if I don’t sauté the spinach first, the filling becomes too wet, leading to a runny texture.
Once wilted, immediately transfer the spinach to a fine-mesh sieve or colander and press out any remaining liquid using the back of a spoon. This step is key for a firm, creamy filling.
Prepare the Artichoke Hearts2 mins
Ingredients for this step
Drain one 14-ounce can of artichoke hearts thoroughly. I prefer using canned, quartered artichoke hearts packed in water for convenience and consistent texture. Once drained, give them a good squeeze to remove any excess water.
Then, roughly chop them into smaller pieces. You want them to be fine enough to blend seamlessly into the creamy filling but still provide distinct textural bits. I aim for pieces no larger than a pea. This ensures that every bite of the stuffed mushroom gets a good distribution of the tangy artichoke flavor without overwhelming the delicate mushroom.
Mix the Creamy Filling5 mins
Ingredients for this step
In a medium bowl, combine 8 ounces of softened cream cheese with the sautéed spinach and chopped artichoke hearts. Add 1/2 cup of grated Parmesan cheese, 1/4 cup of plain breadcrumbs, 1/4 teaspoon of salt, and 1/8 teaspoon of black pepper. Mix everything together thoroughly until all ingredients are well incorporated and the mixture is uniformly creamy.
I use a sturdy spatula for this, ensuring there are no pockets of unmixed cream cheese. The mixture should feel thick and cohesive, ready to hold its shape when scooped. This is your creamy mushroom filling, the heart of the dish.
Stuff and Bake the Mushrooms18 mins
Preheat your oven to 375°F (190°C). If you pre-baked your mushroom caps, remove them from the oven. Using a small spoon or a piping bag, generously fill each mushroom cap with the spinach artichoke mixture.
I find that a small cookie scoop works perfectly for uniform portions, ensuring each mushroom is well-filled but not overflowing. Arrange the stuffed mushrooms back on the parchment-lined baking sheet. Bake for 18-20 minutes, or until the filling is golden brown and bubbly, and the mushrooms are tender.
You’ll see the edges of the filling turn a lovely golden hue and hear a gentle sizzle from the oven. According to the USDA FoodData Central, mushrooms are mostly water, and baking them correctly ensures they release moisture without becoming rubbery.
Garnish and Serve1 mins
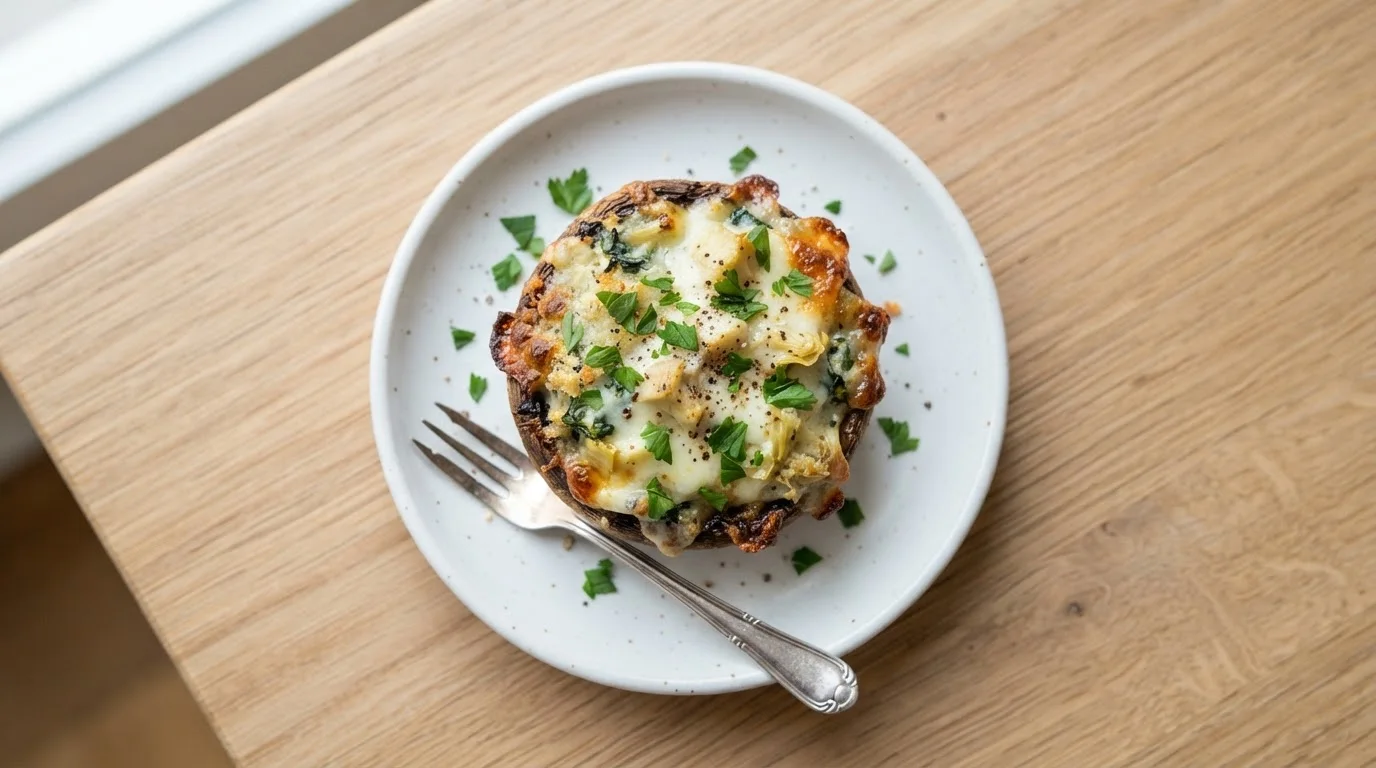
Once baked, carefully remove the Spinach Artichoke Stuffed Mushrooms from the oven. Let them cool on the baking sheet for a minute or two before transferring them to a serving platter. This brief cooling period allows the filling to set slightly, making them easier to handle.
For a fresh finish, sprinkle with a pinch of finely chopped fresh parsley or a dash of paprika. The vibrant green of the parsley provides a beautiful contrast to the golden-brown filling and adds a subtle herbaceous note. These are best served warm, as a delightful finger food for any gathering or as a quick and easy appetizer for a weeknight dinner.
How This Recipe Compares Nutritionally
Understanding the nutritional profile of your food is key to making informed choices. Here’s how our Spinach Artichoke Stuffed Mushrooms stack up against a typical restaurant-style spinach artichoke dip.
| Nutrient | This Recipe (per serving) | Other Recipes | Difference |
|---|---|---|---|
| Calories | 364 kcal | 600-800 kcal | ~300-400 kcal less |
| Protein | 12g | 8-10g | ~2-4g more |
| Total Carbs | 18.1g | 25-35g | ~7-17g less |
| Total Fat | 28g | 45-60g | ~17-32g less |
| Fiber | 4.5g | 3-4g | ~0.5-1.5g more |
| Sodium | 852mg | 1000-1500mg | ~150-650mg less |
This comparison highlights that our recipe offers a significantly lower calorie and fat count while providing a substantial amount of protein and fiber, making it a more macro-friendly choice. The USDA FoodData Central confirms that mushrooms themselves are low in calories and high in nutrients, contributing to the healthier profile of this dish.
What Kitchen Mistakes Are Easy to Make With This Recipe?
The most common mistake is a watery filling, which I solved by thoroughly squeezing moisture from the spinach and artichoke hearts, and pre-baking the mushroom caps for 10 minutes.
Initially, my stuffed mushrooms often turned out with a soggy, watery filling, which made them unappealing and difficult to eat. The problem stemmed from excess moisture in the vegetables and the mushrooms themselves. I discovered that simply draining the spinach and artichokes was not enough; they require a firm squeeze to expel significant amounts of liquid. Similarly, raw mushrooms release a lot of water when heated.
Pre-baking the mushroom caps at 375°F (190°C) for 10 minutes before stuffing them allows them to release this moisture and firm up, creating a sturdy base for the filling. A common mistake is skipping these moisture-removal steps, resulting in:
- Mushrooms that are rubbery and wet.
- A filling that is soupy and falls out.
- A bland overall flavor due to diluted ingredients.
This version holds up beautifully because I prioritize dryness at every stage, ensuring a creamy, flavorful, and structurally sound appetizer.
How Do You Freeze This Recipe Without Losing Quality?
You can freeze these Spinach Artichoke Stuffed Mushrooms either baked or unbaked for up to 3 months in an airtight container, though freezing unbaked yields better texture.
For optimal quality, I recommend freezing these stuffed mushrooms unbaked. Arrange the filled, uncooked mushrooms in a single layer on a baking sheet and freeze until solid, about 2-3 hours. Once frozen, transfer them to a freezer-safe bag or an airtight container, like a Stasher bag, for up to 3 months. To bake from frozen, place them on a baking sheet and bake at 375°F (190°C) for 25-30 minutes, or until golden and bubbly.
If freezing already baked mushrooms, cool them completely before freezing, then reheat at 350°F (175°C) for 15-20 minutes. The texture of previously baked mushrooms can be slightly softer upon reheating, but they remain a delicious meal prep friendly option.
Which Allergy-Friendly Modifications Actually Work Here?
For dairy-free, use vegan cream cheese and nutritional yeast instead of Parmesan; for gluten-free, use gluten-free breadcrumbs. However, using fresh artichokes instead of canned can make the filling too fibrous.
This recipe is quite adaptable for various dietary needs. For a dairy-free version, I’ve successfully swapped the cream cheese with a high-quality vegan cream cheese alternative, and the Parmesan cheese with an equal amount of nutritional yeast, which provides a cheesy, umami flavor. This substitution works well, maintaining the creamy texture and savory profile. For those avoiding gluten, simply use a certified gluten-free breadcrumb blend; the binding properties are similar, and the texture remains crisp.
I’ve also tried using almond flour as a binder, and it works, but you might need slightly less, about 3 tablespoons, to achieve the right consistency. One modification that didn’t work as well was using fresh artichoke hearts; they tend to be tougher and require extensive pre-cooking to soften, adding significant prep time and sometimes resulting in a more fibrous texture in the final dish compared to the tender canned variety.
What to Serve Alongside?
These Spinach Artichoke Stuffed Mushrooms pair beautifully with a crisp green salad, crusty bread, or a light white wine like a Sauvignon Blanc for a complete appetizer experience.
When serving these delicious stuffed mushrooms, I often think about balancing the richness of the creamy filling. A simple, vibrant green salad with a lemon vinaigrette offers a refreshing counterpoint. The acidity of the dressing cuts through the richness of the cheese and complements the earthy mushrooms. For a heartier option, a slice of warm, crusty baguette or sourdough bread is perfect for soaking up any extra filling.
Beverage-wise, a crisp, dry white wine such as a Sauvignon Blanc or Pinot Grigio enhances the flavors without overpowering them. For a non-alcoholic option, sparkling water with a lemon twist provides a similar palate-cleansing effect, making this a versatile party food.
Trusted Sources
This recipe follows guidelines from these authoritative sources:
Frequently Asked Questions
How do you make spinach artichoke stuffed mushrooms?
You make spinach artichoke stuffed mushrooms by filling pre-baked mushroom caps with a creamy mixture of sautéed spinach, chopped artichoke hearts, cream cheese, and Parmesan, then baking until golden.
What kind of mushrooms are best for stuffing?
Cremini mushrooms, also known as baby bellas, are best for stuffing due to their earthy flavor and sturdy structure that holds the filling well. I consistently find that cremini mushrooms, or baby bellas, are ideal for stuffed mushroom recipes. Their slightly deeper, earthier flavor complements the rich spinach artichoke filling better than milder white button mushrooms. They also have a firmer texture and a good cup shape when the stems are removed, which provides a stable base for the filling. For this recipe, aim for medium-sized cremini mushrooms, about 1.5-2 inches in diameter, for perfect two-bite portions.
Can you make stuffed mushrooms ahead of time?
Yes, you can prepare stuffed mushrooms up to 24 hours ahead of time and store them in the refrigerator before baking. Stuffed mushrooms are an excellent make-ahead appetizer. You can assemble them completely, including stuffing the pre-baked mushroom caps, and then arrange them on a baking sheet. Cover the sheet tightly with plastic wrap and refrigerate for up to 24 hours. When ready to serve, simply uncover and bake as directed. This preparation method makes them a quick and easy option for entertaining, allowing you to minimize last-minute kitchen stress.
How long do stuffed mushrooms last in the fridge?
Baked spinach artichoke stuffed mushrooms last for up to 3-4 days when stored in an airtight container in the refrigerator. Once baked, these stuffed mushrooms maintain their quality for several days in the refrigerator. Ensure they are completely cooled before transferring them to an airtight container. This prevents condensation from making them soggy. Reheat them gently in the oven at 300°F (150°C) for about 10-15 minutes, or until warmed through, to best preserve their texture. They are a great meal prep friendly option for quick snacks or light lunches.
Are stuffed mushrooms healthy?
These stuffed mushrooms are a macro-friendly appetizer, providing 364 kcal and 12g protein per serving, making them a healthier alternative to many traditional dips. Compared to many creamy appetizers, these spinach artichoke stuffed mushrooms offer a balanced nutritional profile. Each serving contains 364 kcal, 12g protein, and 4.5g dietary fiber. The mushrooms themselves are low in calories and rich in vitamins. By controlling portion sizes and using fresh vegetables, this recipe provides a protein-packed and satisfying option without excessive calories, making it a good choice for those mindful of their intake.
