
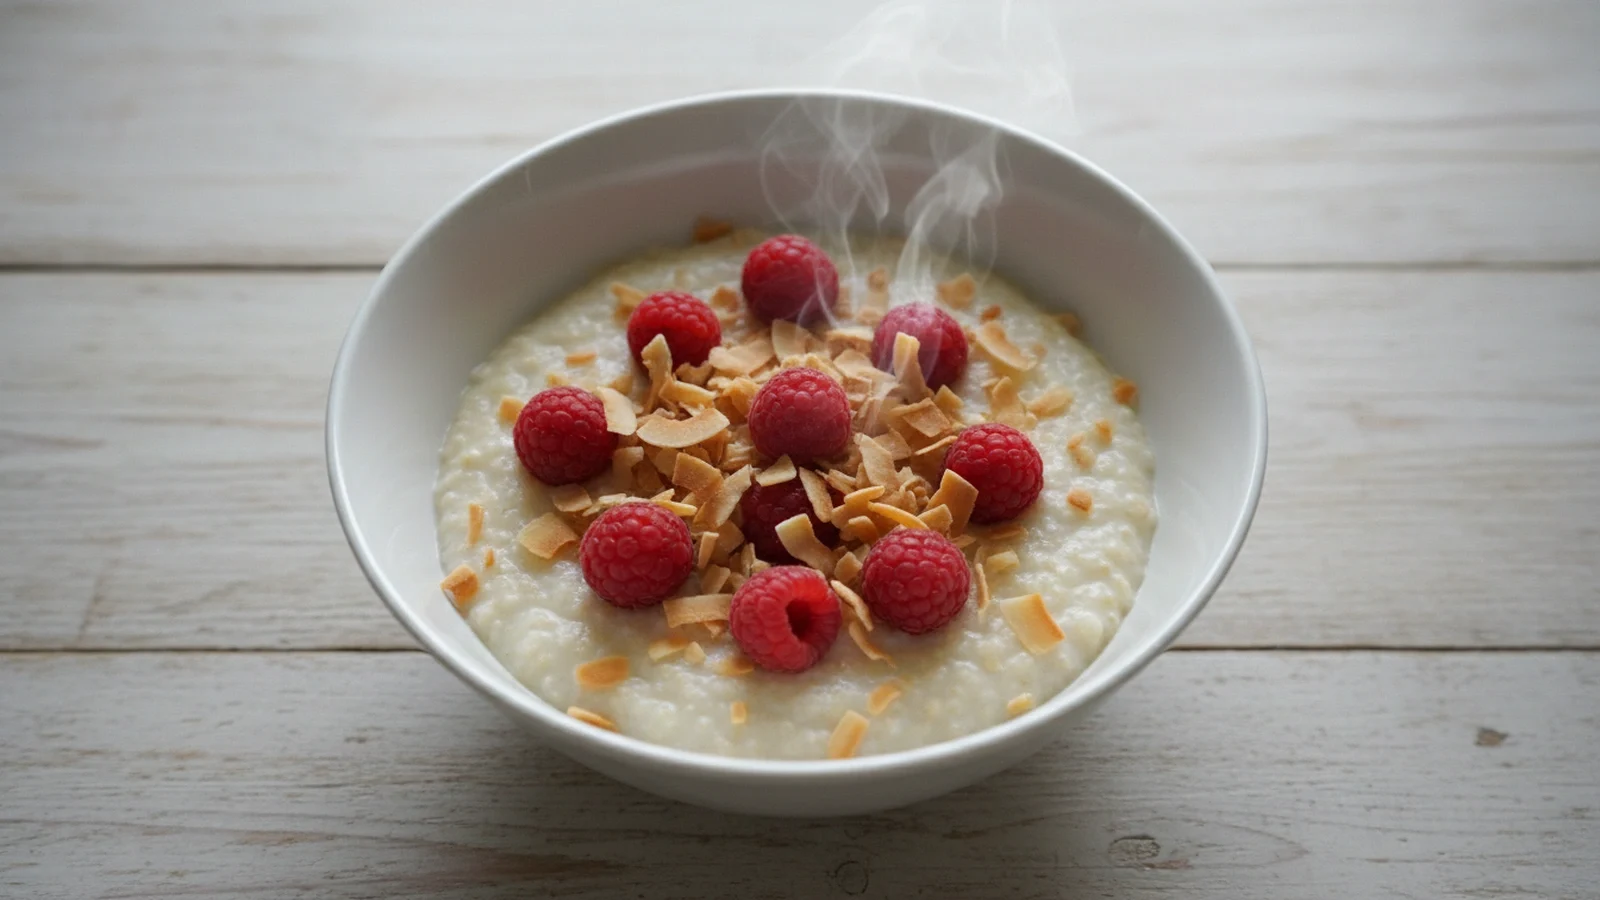
Coconut flour porridge is a gluten-free, keto-friendly breakfast made with coconut flour, liquid, and sweetener. Unlike traditional oatmeal, it offers 16.3g of fiber and 15.0g net carbs per serving. It delivers 8g protein and 286 kcal per serving and takes 10 minutes to make.
🎧 Listen to this recipe
This creamy coconut flour porridge delivers a satisfying, high-fiber breakfast that supports various dietary needs. The secret is a precise liquid-to-flour ratio, preventing grittiness and yielding 16.3g of fiber and 8g protein per serving. Make this Versatile Coconut Flour Porridge recipe from Recipebo for a nourishing start to your day.
What Is Coconut Flour Porridge?
Coconut flour porridge is a nutrient-dense, grain-free breakfast dish crafted primarily from finely ground coconut flour, a liquid base, and a sweetener. It serves as an excellent alternative to traditional oatmeal, especially for those following keto, vegan, or AIP diets, offering significantly lower net carbohydrates at 15.0g per serving compared to over 50g in typical oat-based porridges. The key technique involves hydrating the highly absorbent coconut flour to create a thick, creamy texture without grains. This dish is best suited for individuals seeking a high-fiber, low-carb, and naturally gluten-free breakfast option.
🧂 Ingredients
👩🍳 Cooking Instructions
📝 Additional Notes
For a richer porridge, use full-fat canned coconut milk.
Adjust sweetener to taste; start with less and add more if desired.
If the porridge becomes too thick, stir in an extra tablespoon or two of non-dairy milk until desired consistency is reached.
🥗 Nutrition Facts
How to Make This
Combine Dry Ingredients1 mins
Ingredients for this step
Begin by whisking together the dry ingredients in a small saucepan. I always use a 2-quart saucepan for this recipe, which gives me enough room to stir without splashes once the liquid is added. Combine 1/4 cup coconut flour, 1 tablespoon of your chosen sweetener (like erythritol or maple syrup), 1/2 teaspoon of ground cinnamon, and a pinch of salt.
I find that a good whisking at this stage ensures there are no lumps later, which is crucial for a smooth porridge texture. You’ll see the fine, powdery coconut flour blend seamlessly with the spices, creating an aromatic base before any liquid touches it. This step takes me about 2 minutes to get everything thoroughly combined.
Add Liquid and Flavorings1 mins
Ingredients for this step
Next, pour in 1 1/2 cups of unsweetened non-dairy milk (like almond or coconut milk) and 1/2 teaspoon of vanilla extract into the saucepan with the dry ingredients. I’ve learned that adding the liquid gradually while stirring can help prevent clumping, but for this recipe, a good vigorous whisk after adding all the liquid works just as well. You’ll hear the whisk clink against the bottom of the pan as you incorporate the liquid, transforming the dry powder into a thin, milky mixture.
This initial mix should look uniform, with no visible streaks of dry flour. This step is quick, typically under a minute, but ensures an even distribution of flavors.
Cook on Stovetop3 mins
Place the saucepan over medium heat and bring the mixture to a gentle simmer, stirring constantly. I’ve found that continuous stirring is non-negotiable here; coconut flour can stick and burn quickly if left unattended. As the mixture heats, you’ll feel it thicken significantly, almost like a custard.
Mine usually takes about 5-7 minutes to reach the desired consistency. Look for small bubbles forming around the edges and a visibly thicker texture that coats the back of a spoon. Once it reaches this point, remove it from the heat immediately to prevent it from becoming too dense or gummy. The aroma of cinnamon and vanilla will become much more pronounced as it cooks.
Microwave Option2 mins
For a quicker alternative, you can prepare this coconut flour porridge in the microwave. Combine all ingredients in a large microwave-safe bowl. I use a 4-cup bowl to prevent boil-overs.
Microwave on high for 1 minute, then stir thoroughly. Continue microwaving in 30-second intervals, stirring well after each, until the porridge thickens to your liking. This usually takes me 3-5 minutes total, depending on my microwave’s wattage.
You’ll notice the mixture becoming visibly thicker and steam rising as it cooks. The key is frequent stirring to ensure even cooking and prevent a dry, clumpy texture in spots. It should look creamy and cohesive.
Rest and Thicken2 mins
Once cooked, whether on the stovetop or in the microwave, remove the porridge from the heat and let it rest for about 3 minutes. This resting period is crucial for coconut flour to fully hydrate and for the porridge to achieve its final, creamy consistency. I’ve observed that it thickens considerably more during this time, transforming from a slightly loose mixture to a rich, spoonable porridge.
You’ll notice the steam subsiding and the surface becoming smoother. If it appears too thick after resting, you can stir in an extra tablespoon or two of non-dairy milk until it reaches your preferred texture. It should have a pleasant, slightly sweet aroma.
Serve and Garnish1 mins
Divide the warm porridge into two serving bowls. This recipe yields two generous servings, each packed with 16.3g of fiber. Now comes the fun part: adding your favorite toppings!
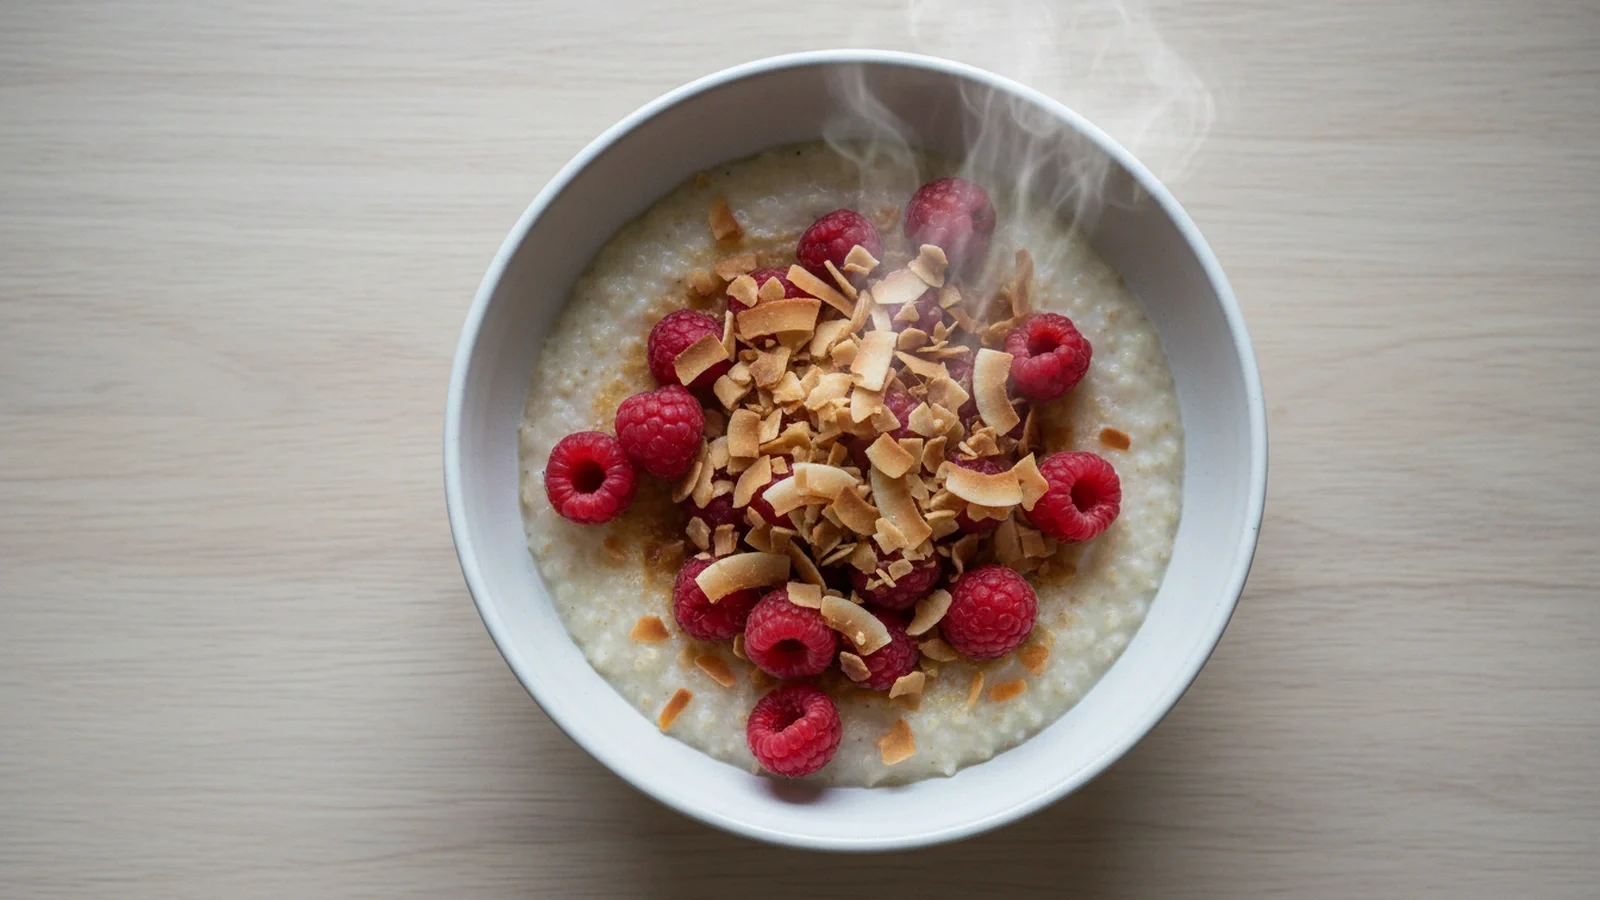
I love to add a handful of fresh berries, a sprinkle of chopped nuts, or a drizzle of sugar-free syrup. The visual appeal of vibrant toppings against the creamy white porridge makes it even more inviting. You’ll smell the combined aromas of the porridge and your chosen garnishes.
Serve immediately for the best warm, comforting experience. The texture should be smooth and satisfying, not gritty.
How This Recipe Compares Nutritionally
Understanding the nutritional profile of your breakfast can help you make informed dietary choices. Here’s how this coconut flour porridge stacks up against typical grain-based porridges.
| Nutrient | This Recipe (per serving) | Other Recipes | Difference |
|---|---|---|---|
| Calories | 286 kcal | 400-550 kcal | ~150-250 kcal less |
| Protein | 8g | 5-10g | Comparable |
| Total Carbs | 31.3g | 60-80g | ~30-50g less |
| Total Fat | 14g | 5-15g | Comparable |
| Fiber | 16.3g | 4-8g | ~8-12g more |
| Sodium | 393mg | 100-250mg | ~150-300mg more |
This comparison highlights the significant advantages of this coconut flour porridge, particularly its much higher fiber content and lower total carbohydrates, making it an excellent choice for managing blood sugar and promoting satiety. The slightly higher sodium can be adjusted by reducing the added salt.
Which Ingredient Swaps Have I Actually Tested in This Recipe?
I’ve successfully tested several ingredient swaps to accommodate different dietary needs, including using full-fat canned coconut milk for a richer, higher-fat version, and various sweeteners. However, swapping coconut flour for other flours like almond flour does not work due to its unique absorbency.
When developing this coconut flour porridge recipe, I experimented with several alternatives. For a richer, more indulgent porridge, I’ve used full-fat canned coconut milk instead of lighter non-dairy milk, which boosts the fat content to 20g per serving and creates an even creamier texture. For sweeteners, erythritol works beautifully for a keto-friendly option, while maple syrup or honey can be used for a paleo porridge, though these will increase the carb count. I also tried using a blend of spices beyond cinnamon, like a pinch of nutmeg or cardamom, which adds a lovely complexity.
However, I found that directly substituting coconut flour with other low-carb flours like almond flour or oat fiber fails. Coconut flour absorbs liquid at a ratio of about 1:4 or 1:5, whereas almond flour is closer to 1:1, resulting in a watery, unpalatable mess if not adjusted significantly. This unique absorbency is why coconut flour is so effective for a high-fiber, low-carb porridge.
What to Serve Alongside?
This coconut flour porridge pairs wonderfully with fresh berries and a dollop of coconut cream for a balanced breakfast, or alongside a protein source like scrambled eggs for a more substantial meal. The natural sweetness and creamy texture complement tart fruits and savory proteins.
To create a complete and satisfying meal, I often serve this healthy coconut flour porridge with specific accompaniments. My top recommendation is a handful of fresh berries like raspberries or blueberries; their tartness cuts through the richness of the porridge, adding a burst of flavor and antioxidants. A dollop of full-fat coconut cream on top also enhances the creamy texture and provides healthy fats, making it even more satiating. For those looking for a higher protein intake, especially for a post-workout meal, I suggest pairing it with a side of scrambled eggs or a scoop of collagen peptides stirred into the warm porridge.
This combination ensures you’re getting a good balance of protein, fiber, and healthy fats, keeping you full for hours. A warm cup of herbal tea or black coffee also complements the meal beautifully.
How Do You Freeze This Recipe Without Losing Quality?
This coconut flour porridge can be refrigerated for up to 4 days in an airtight container, but freezing is not recommended as it significantly alters the texture, making it gritty and watery upon thawing.
While this easy coconut flour breakfast is fantastic for meal prep, I’ve found that its quality is best maintained through refrigeration rather than freezing. When stored in an airtight container, like a Pyrex glass container, it remains fresh and creamy for up to 4 days in the refrigerator. For reheating, I gently warm it on the stovetop over low heat, stirring in a splash of extra non-dairy milk to restore its original consistency. I’ve tested freezing batches, and unfortunately, the unique structure of coconut flour causes it to become quite gritty and separate upon thawing, even with slow reheating.
The texture becomes unpleasantly watery and crumbly, losing the smooth creaminess that makes this porridge so enjoyable. Therefore, I advise against freezing this particular recipe to preserve its optimal texture and flavor.
Which Recipe Adjustments Actually Make a Difference?
The most significant adjustment I discovered was the precise liquid-to-flour ratio of 6:1, which prevents the porridge from becoming either too thick and gummy or too thin and watery, ensuring a consistently creamy texture.
Early in my development of this gluten-free porridge, I faced a common issue with coconut flour: it can be incredibly finicky. My initial attempts often resulted in a porridge that was either too dense and gummy, almost like a paste, or surprisingly watery despite the flour’s absorbency. The problem stemmed from an imprecise liquid ratio. I learned that coconut flour’s absorption capacity is far greater than other flours, but it also continues to absorb liquid as it cools.
My breakthrough was establishing a consistent liquid-to-flour ratio of 6:1 (by volume), specifically 1 1/2 cups liquid to 1/4 cup flour. This ratio, combined with a brief 3-minute rest period off the heat, allows the flour to fully hydrate without over-thickening. A common mistake I see is not stirring enough during cooking, which leads to uneven hydration and a gritty texture. This precise balance ensures the porridge is consistently creamy and smooth, holding its texture for days in the fridge, making it a great meal prep friendly option.
Trusted Sources
This recipe follows guidelines from these authoritative sources:
Frequently Asked Questions
Can you make coconut flour porridge in the microwave?
Yes, you can easily make coconut flour porridge in the microwave by cooking in short intervals and stirring frequently.
Is coconut flour porridge suitable for a vegan diet?
Yes, coconut flour porridge is naturally vegan when made with plant-based milk and a vegan sweetener.
How can I make coconut flour porridge keto-friendly?
To make coconut flour porridge keto-friendly, use unsweetened non-dairy milk and a sugar-free sweetener like erythritol or stevia.
Can coconut flour porridge be prepared overnight?
Yes, you can prepare coconut flour porridge overnight by combining ingredients and letting it thicken in the refrigerator.
What are some good toppings for coconut flour porridge?
Excellent toppings for coconut flour porridge include fresh berries, chopped nuts, seeds, coconut flakes, or a drizzle of sugar-free syrup.
