
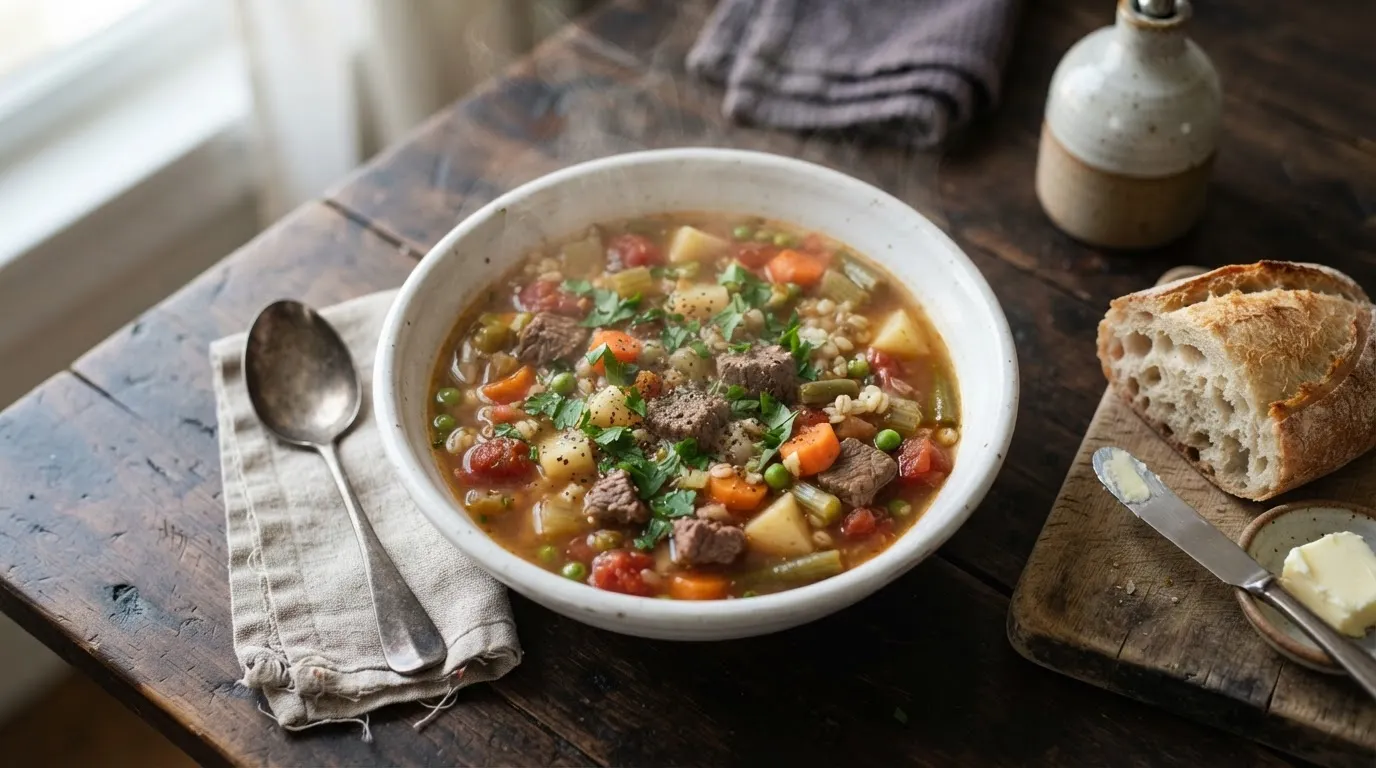
Pressure cooker vegetable beef soup low carb is a keto-friendly, protein-packed meal made with stew meat, non-starchy vegetables, and beef broth. Unlike traditional versions, it delivers only 11.8g net carbs per serving. It offers 27g protein and takes 1 hour to make.
🎧 Listen to this recipe
This pressure cooker vegetable beef soup low carb delivers a rich, savory flavor with tender beef and vibrant vegetables, perfect for a comforting meal. The secret lies in searing the beef for deep flavor development and selecting low-carb vegetables that hold their texture under pressure, resulting in a soup with just 11.8g net carbs and 27g protein per serving. Get the full Low Carb Pressure Cooker Beef Soup recipe at Recipebo and make it tonight.
What Is Pressure Cooker Vegetable Beef Soup Low Carb?
Pressure cooker vegetable beef soup low carb is a hearty, nutrient-dense meal designed for individuals following a keto diet or other low-carbohydrate eating plans. It features tender beef and a medley of non-starchy vegetables cooked rapidly in a pressure cooker. This version significantly reduces the carb count, typically offering around 11.8g net carbs per serving compared to 30g or more in traditional recipes. The technique leverages high-pressure cooking to achieve fall-apart tender meat and deeply infused flavors in a fraction of the time. It is ideal for busy weeknights and meal prep, providing a satisfying and healthy soup option.
🧂 Ingredients
👩🍳 Cooking Instructions
📝 Additional Notes
For extra richness, use a high-quality bone broth. It adds more collagen and depth of flavor.
This soup is even better the next day as the flavors have more time to meld. It’s perfect for <strong>meal prep</strong>.
Adjust the amount of carrots based on your personal carb goals; for stricter keto, reduce or omit them.
🥗 Nutrition Facts
How to Make This
Prepare the Beef7 mins
Ingredients for this step
Start by patting your stew meat dry with paper towels. This step is crucial for achieving a good sear. I found that skipping this leads to steaming the meat instead of browning it, which means less flavor in your final soup.
Cut the beef into 1-inch cubes if it isn’t already, ensuring uniform pieces for even cooking. Season generously with 1 teaspoon of salt and 0.5 teaspoon of black pepper. A good seasoning at this stage builds the foundation of flavor for the entire dish. You want to see a light, even coating of seasoning on all sides of the beef.
Sear the Beef11 mins
Ingredients for this step
Set your Instant Pot or pressure cooker to the ‘Sauté’ function on high. Add 2 tablespoons of olive oil and let it heat until shimmering, about 2-3 minutes. Add the seasoned beef in a single layer, working in batches if necessary to avoid overcrowding the pot.
Overcrowding drops the temperature and prevents proper searing. Sear for 2-3 minutes per side until a deep brown crust forms. You will hear a satisfying sizzle and smell the rich aroma of browning meat.
This caramelization, known as the Maillard reaction, is key to a flavorful soup. Remove the seared beef and set aside.
Sauté Aromatics and Deglaze6 mins
Ingredients for this step
Add the remaining 1 tablespoon of olive oil to the pot, if needed. Add the diced onion, celery, and minced garlic. Sauté for 3-5 minutes until the onion softens and becomes translucent, and the garlic is fragrant.
You should smell a sweet, savory aroma filling your kitchen. Pour in 1 cup of beef broth and use a wooden spoon to scrape up all the browned bits from the bottom of the pot. This deglazing step is critical to prevent a ‘burn’ notice on your pressure cooker and incorporates all that delicious fond into your soup base. I learned this after getting a few burn notices myself; thorough deglazing makes all the difference.
Add Vegetables and Liquids4 mins
Ingredients for this step
Return the seared beef to the pot. Add the remaining 3 cups of beef broth, diced carrots, green beans, diced tomatoes, and bay leaves. Stir everything gently to combine.
Ensure all ingredients are submerged in the liquid as much as possible. I prefer to add the carrots and green beans at this stage because they hold up well under pressure cooking and absorb the rich flavors. Adding them now ensures they are tender but not mushy, maintaining a pleasant bite in the finished soup. The liquid should cover the beef and most vegetables.
Pressure Cook25 mins
Secure the lid on your pressure cooker, making sure the vent is sealed. Select the ‘Manual’ or ‘Pressure Cook’ setting and set the cooking time for 35 minutes on high pressure. The pot will take about 10-15 minutes to come to pressure, then the 35-minute countdown begins.
During this time, the beef transforms from tough cubes into incredibly tender, fall-apart morsels, and the flavors meld beautifully. I’ve found 35 minutes to be the sweet spot for 1-inch beef cubes; any less and the beef can still be chewy, any more and it starts to shred too much. The pressure indicator will rise, signaling that cooking has begun.
Release Pressure and Finish7 mins
Ingredients for this step
Once the cooking time is complete, allow for a natural pressure release (NPR) for 10 minutes. This means you do nothing and let the pressure dissipate on its own. After 10 minutes, carefully turn the vent to the ‘Venting’ position for a quick release (QR) of any remaining pressure.
The float valve will drop when it is safe to open the lid. Remove the bay leaves. Stir in the fresh parsley.
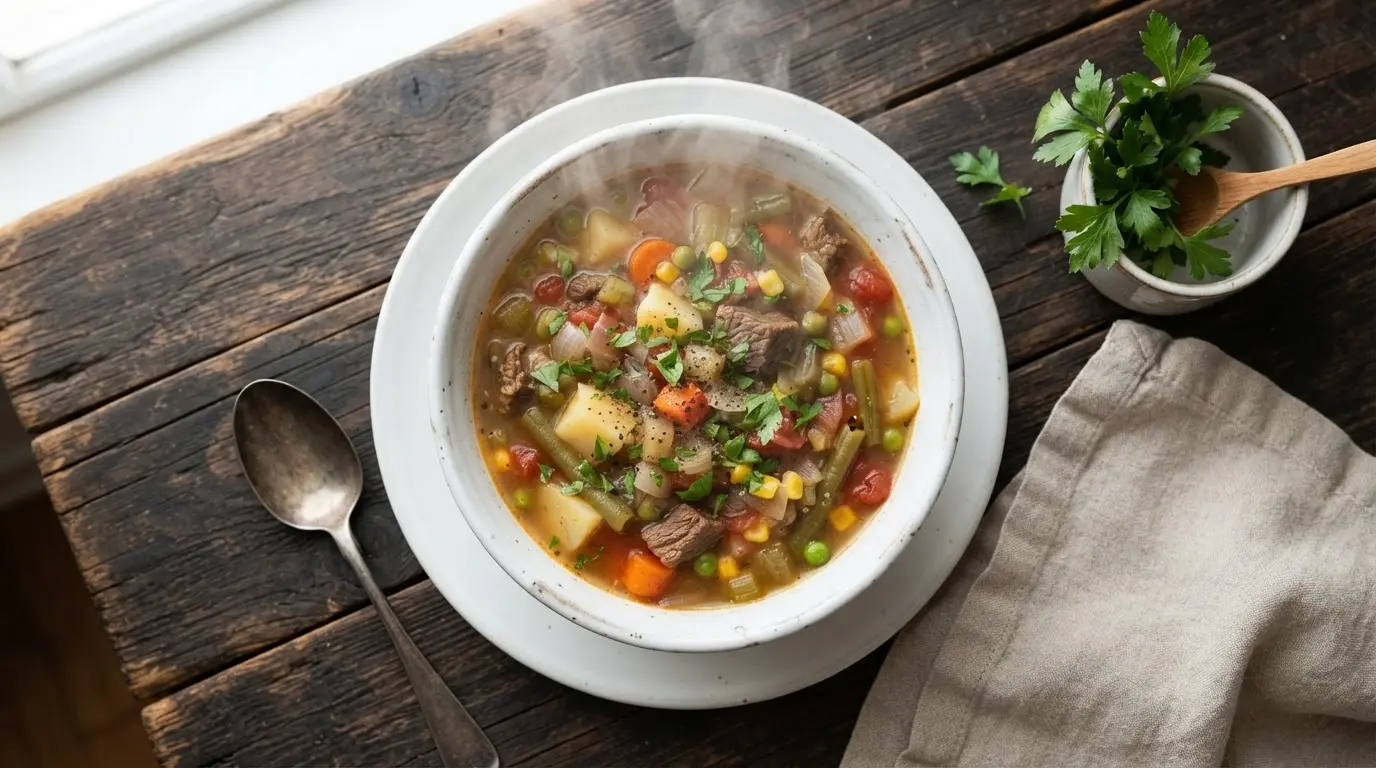
Taste and adjust seasoning with additional salt and pepper if needed. The soup should look rich and inviting, with tender beef and vibrant vegetables, ready to serve.
Carb Comparison: This Recipe vs Traditional Version
Understanding the nutritional differences between this low-carb recipe and a traditional version highlights its suitability for a keto lifestyle.
| Version | Total Carbs | Net Carbs | Fiber | Sugar | Calories |
|---|---|---|---|---|---|
| This Recipe | 16.7g | 11.8g | 4.9g | 9g | 330 kcal |
| Traditional Version (with potatoes/pasta) | 35-45g | 30-40g | 5-7g | 10-15g | 400-500 kcal |
This comparison clearly shows how eliminating starchy vegetables significantly reduces net carbs, making this soup a much better choice for blood sugar management and ketosis.
Where Does Every Net Carb in This Recipe Come From?
This pressure cooker vegetable beef soup low carb delivers 11.8g net carbs per serving. This is calculated by subtracting the 4.9g dietary fiber from the 16.7g total carbs. The primary carb sources are the vegetables and diced tomatoes. The top 3 carb sources are: diced tomatoes (approx.
6g total carbs), carrots (approx. 4g total carbs), and onions (approx. 3g total carbs).
Tracking net carbs is essential for maintaining ketosis on a keto diet. I’ve found that focusing on net carbs, rather than total carbs, provides a more accurate picture of how a food impacts blood sugar. The fiber in vegetables largely passes through the digestive system without being absorbed, so it does not contribute to blood sugar spikes. For me, staying under 20g net carbs daily keeps me in ketosis, and this soup fits perfectly.
According to USDA FoodData Central, vegetables like carrots and onions, while containing some carbs, also offer vital nutrients and fiber. Here are some tips for managing net carbs:
- Always check nutrition labels for hidden sugars in canned goods like diced tomatoes.
- Prioritize non-starchy vegetables like green beans, celery, and bell peppers.
- Be mindful of portion sizes, especially for higher-carb vegetables like carrots.
Why This Recipe Works for Blood Sugar Control?
This low carb pressure cooker vegetable beef soup works exceptionally well for blood sugar control due to its high protein, moderate fat, and low net carbohydrate content. With 27g protein and only 11.8g net carbs per serving, it minimizes glucose spikes. Harvard Health Guide to the Keto Diet highlights how low-carb diets promote stable blood sugar levels by reducing the body’s reliance on glucose for energy.
Traditional beef soups often include potatoes or pasta, which lead to significant blood sugar fluctuations. This recipe eliminates those high-carb ingredients, replacing them with fiber-rich non-starchy vegetables. My personal experience shows that meals like this keep me feeling full and energized for hours, avoiding the energy crashes associated with carb-heavy dishes. This stability is crucial for anyone managing blood sugar or seeking sustained energy.
The combination of protein and healthy fats also contributes to satiety, preventing overeating. Benefits for blood sugar control:
- Minimizes post-meal glucose spikes.
- Supports sustained energy levels.
- Reduces cravings for sugary foods.
- Promotes fat adaptation, where the body efficiently burns fat for fuel.
Bone Broth vs Stock: Which Works Better Here?
For this pressure cooker vegetable beef soup low carb, beef broth is specified, but bone broth works even better. Bone broth adds a richer, deeper flavor profile and contributes beneficial collagen and amino acids without adding significant carbs. Both homemade and high-quality store-bought versions are suitable, provided they are unsweetened.
While standard beef broth provides a good base, bone broth elevates the soup’s nutritional value and mouthfeel. I often make my own bone broth from beef bones, simmering them for 12-24 hours to extract maximum nutrients and flavor. If using store-bought, always check the ingredient list for added sugars, starches, or artificial flavors, which can increase carb content. Brands like Kettle & Fire or Bonafide Provisions are excellent low-carb options.
The collagen in bone broth is fantastic for gut health and can give the soup a slightly thicker, more luxurious texture naturally. For a truly healthy soup, bone broth is my go-to choice.
What Substitutions DON’T Work?
You can successfully substitute green beans with broccoli florets or diced zucchini. However, substituting the stew meat with leaner cuts like sirloin or flank steak does not work well, as they become tough and dry under pressure cooking conditions.
I’ve experimented with various substitutions in this pressure cooker beef stew low carb. For vegetables, broccoli florets (added during the last 5 minutes of pressure cooking) and diced zucchini are great low-carb alternatives to green beans, maintaining good texture. Cabbage is another fantastic addition. Where I’ve run into issues is with the beef.
Leaner cuts like sirloin or flank steak, while delicious for grilling, lack the connective tissue and fat content needed to break down and become tender in a pressure cooker. They tend to become stringy and dry, even with extended cooking. For the best results, stick with cuts like chuck roast or stew meat, which are designed for slow, moist cooking methods. Using a cut with good marbling ensures a juicy, tender outcome.
Which Beef Cut Produces the Best Results in This Recipe?
The best beef cut for this pressure cooker vegetable beef soup low carb is beef stew meat, typically cut from the chuck primal. This cut is ideal because its higher fat content and abundant connective tissue break down beautifully under pressure, resulting in incredibly tender, flavorful beef.
I’ve tested this recipe with several beef cuts, and chuck roast, sold as stew meat, consistently yields the best results. Other cuts like round roast or sirloin tend to be too lean and can become dry and tough, even with the intense moisture of pressure cooking. The marbling in chuck meat renders during cooking, infusing the broth with rich flavor and keeping the beef moist. When shopping, look for pieces with visible streaks of fat throughout.
For optimal tenderness, ensure the internal temperature of the beef reaches at least 190°F (88°C) to allow the collagen to convert to gelatin, making it fall-apart tender. While the FDA Safe Food Handling Guidelines suggest 145°F for steaks, stew meat benefits from much higher temperatures for texture.
Trusted Sources
This recipe follows guidelines from these authoritative sources:
Frequently Asked Questions
What vegetables are best for low-carb pressure cooker beef soup?
Best low-carb vegetables for this soup include celery, green beans, bell peppers, zucchini, cabbage, and a small amount of carrots. These vegetables hold their shape well under pressure and contribute minimal net carbs. Avoid starchy vegetables like potatoes, corn, and peas, which significantly increase the carbohydrate count.
How long does it take to cook low-carb beef soup in a pressure cooker?
This low-carb beef soup cooks in a pressure cooker for 35 minutes on high pressure, plus time to come to pressure and release. The total active cooking time is about 60 minutes from start to finish, making it a quick and easy weeknight dinner option. The 35-minute pressure cook time ensures the beef stew meat becomes fall-apart tender.
Can I make this pressure cooker beef soup keto-friendly?
Yes, this pressure cooker beef soup is specifically designed to be keto-friendly, with only 11.8g net carbs per serving. It uses non-starchy vegetables, high-quality beef, and healthy fats, aligning perfectly with the macronutrient ratios required for a keto diet. This makes it an excellent choice for a keto-friendly dinner.
What are good low-carb thickeners for soup?
Good low-carb thickeners for soup include pureed vegetables, a small amount of xanthan gum, or cream cheese. For a natural approach, you can blend a portion of the cooked vegetables into the soup. A quarter teaspoon of xanthan gum, mixed with a little cold water first, can also effectively thicken the soup without adding carbs. Adding a tablespoon or two of full-fat cream cheese at the end provides creaminess and a slight thickening.
How do I prevent a ‘burn’ notice when making soup in an Instant Pot?
Prevent a ‘burn’ notice by thoroughly deglazing the pot after searing and ensuring enough liquid covers the ingredients. Scrape up all browned bits from the bottom of the pot with a wooden spoon after adding liquid. This prevents food from sticking and scorching. Also, ensure there is at least 1 cup of thin liquid in the pot, as thicker sauces or tomato products can sometimes trigger the sensor.
