
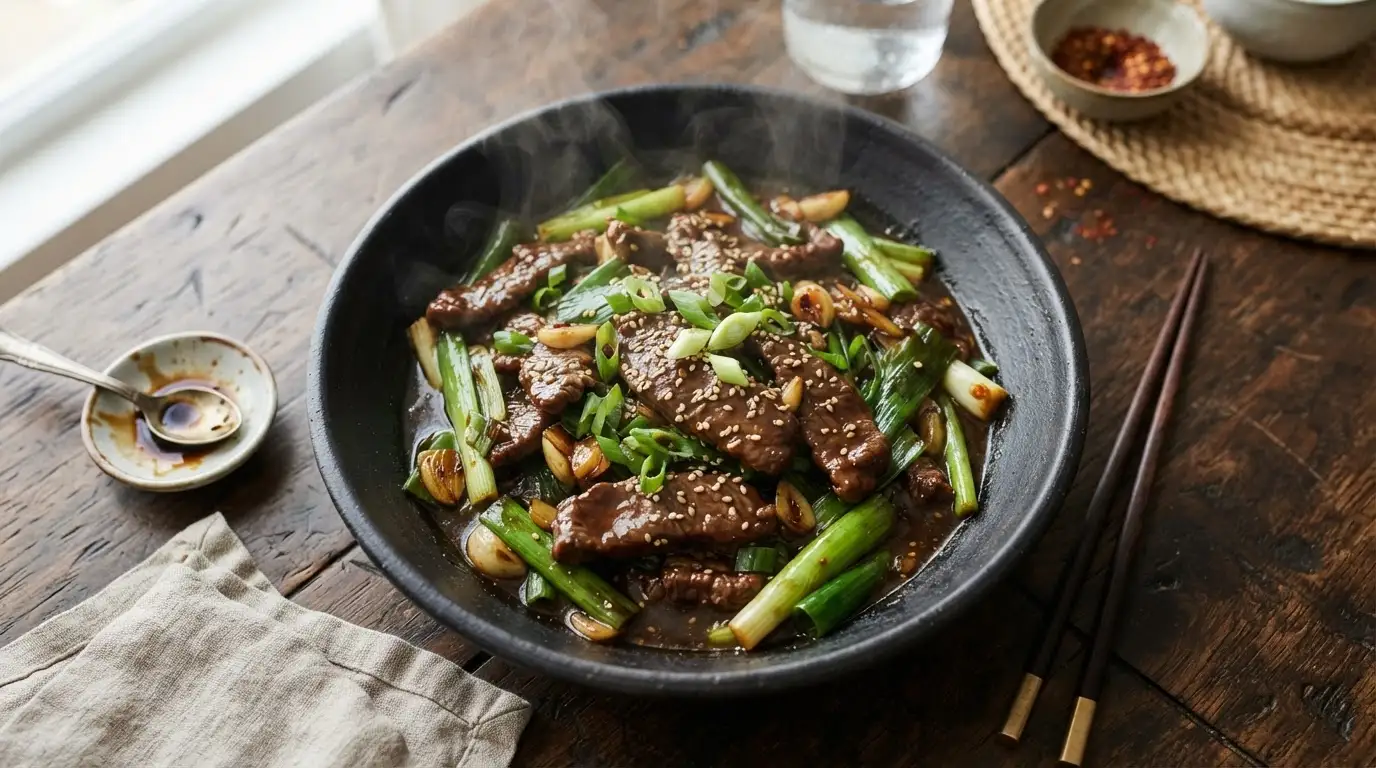
One-Pan Mongolian Beef is a quick and easy weeknight meal made with tender beef, a savory sauce, and fresh green onions. Unlike traditional stir-fries, it cooks entirely in one skillet in under 20 minutes. It delivers 35g protein and 480 calories per serving.
🎧 Listen to this recipe
This One-Pan Mongolian Beef delivers rich, savory flavors with tender beef, perfect for a quick weeknight meal. The secret is velveting the beef with cornstarch and searing it quickly in a hot skillet, ensuring a juicy texture and a perfectly caramelized sauce that boasts 35g protein per serving. Make this One-Pan Mongolian Beef recipe from Recipebo for an easy weeknight dinner.
What Is One-Pan Mongolian Beef?
One-Pan Mongolian Beef is a simplified, yet flavorful, take on the classic Chinese-American dish, designed for maximum taste with minimal cleanup. This version streamlines the traditional multi-step process into a single skillet, combining thinly sliced beef with a rich, sweet, and savory sauce. It’s a quick and easy weeknight dinner, delivering 35g protein per serving in under 20 minutes of active cooking. This recipe is ideal for busy home cooks seeking a satisfying meal without a pile of dishes.
🧂 Ingredients
👩🍳 Cooking Instructions
📝 Additional Notes
For extra tender beef, partially freeze the flank steak for 15-20 minutes before slicing.
Do not overcrowd the pan when searing the beef; cook in batches to achieve a good crust.
Fresh ginger and garlic are key for authentic flavor; avoid powdered versions if possible.
🥗 Nutrition Facts
How to Make This
Prep the Beef12 mins
Ingredients for this step
Begin by thinly slicing your beef, ideally flank steak, against the grain into 1/4-inch thick pieces. This step is crucial for tenderness; slicing with the grain results in chewy beef, a discovery I made early in my recipe development. In a medium bowl, combine the sliced beef with cornstarch, soy sauce, and a pinch of black pepper.
Toss everything together until the beef is evenly coated. The cornstarch creates a protective layer, known as ‘velveting,’ which locks in moisture and ensures a succulent texture when cooked. I noticed the beef takes on a slightly opaque, almost powdery look when properly coated, indicating it’s ready for searing.
Whisk the Sauce4 mins
Ingredients for this step
While the beef marinates briefly, prepare your easy Mongolian Beef sauce. In a small bowl, whisk together soy sauce, brown sugar, water, rice vinegar, sesame oil, and the remaining cornstarch. I found that dissolving the brown sugar completely at this stage prevents a grainy sauce later.
The mixture should be smooth and slightly thickened from the cornstarch. This step is quick, but essential for a cohesive sauce. You should see a uniform, light brown liquid, ready to transform into that signature glossy finish. This pre-mixing prevents lumps and ensures even distribution of flavors in the hot pan.
Sear the Beef6 mins
Ingredients for this step
Heat 1 tablespoon of vegetable oil in a large skillet or wok over medium-high heat until shimmering. Add half of the beef in a single layer, ensuring not to overcrowd the pan. Overcrowding drops the pan temperature, steaming the beef instead of searing it, which leads to a gray, tough texture.
Sear for 2-3 minutes per side until beautifully browned and caramelized. You will hear a distinct sizzle and see a rich, golden-brown crust forming. Remove the first batch to a plate and repeat with the remaining beef, adding another 1 tablespoon of vegetable oil if needed. According to FDA Safe Food Handling Guidelines, beef should reach an internal temperature of 145°F for medium-rare, but for this dish, the quick searing and subsequent sauce cooking ensures it’s safely cooked through.
Sauté Aromatics2 mins
Ingredients for this step
Reduce the heat to medium. Add 1 tablespoon of vegetable oil to the same skillet. Add the minced ginger and garlic.
Sauté for about 1 minute, stirring constantly, until fragrant. The kitchen will fill with a warm, spicy aroma. Be careful not to burn the garlic, as burnt garlic turns bitter and can ruin the entire flavor profile.
I learned that keeping the heat moderate here prevents scorching while still allowing the aromatics to release their full potential. You should see the garlic turn a light golden color, not dark brown.
Combine and Thicken4 mins
Ingredients for this step
Pour the whisked sauce mixture into the skillet with the aromatics. Bring the sauce to a gentle simmer, stirring constantly. As the sauce heats, the cornstarch will activate, and you will see it begin to thicken rapidly, transforming from a thin liquid to a glossy, syrupy consistency within 1-2 minutes.
Once the sauce has thickened to your desired consistency, return all the seared beef to the skillet. Toss the beef gently to coat it completely in the rich, caramelized sauce. The sauce should cling to the beef, creating a beautiful sheen. This step is where the magic happens, bringing all the flavors together into a cohesive one-pan meal.
Finish and Serve2 mins
Ingredients for this step
Remove the skillet from the heat. Stir in the sliced green onions. The residual heat from the beef and sauce will slightly soften the green onions, adding a fresh, mild onion flavor and a pop of color without making them mushy.
I prefer adding them at the very end to maintain their vibrant green hue and a slight crunch. Serve immediately over steamed rice, cauliflower rice for a low carb option, or noodles. This quick and easy dish is best enjoyed fresh, when the beef is most tender and the sauce is perfectly glossy. The aroma of sweet and savory sauce with fresh green onions signals a delicious meal is ready.
Cooking Method Comparison
While this recipe focuses on a single-skillet approach, here’s a comparison of how different cooking methods might alter the outcome for a similar dish, providing flexibility for your kitchen setup.
| Method | Temp | Time | Result Quality | Calories | Best For |
|---|---|---|---|---|---|
| Stovetop Skillet | Medium-High | 15-20 mins | Tender, caramelized beef, glossy sauce | 480 kcal | Quick weeknight meals, minimal cleanup |
| Oven (Sheet Pan) | 400°F (200°C) | 25-30 mins | Slightly less tender beef, less caramelized sauce | ~480 kcal | Hands-off cooking, large batches |
| Slow Cooker | Low | 3-4 hours | Fall-apart tender beef, thinner sauce | ~480 kcal | Meal prep, busy days (set and forget) |
This table illustrates how different cooking methods impact the texture, cooking time, and overall calories for a dish similar to Mongolian Beef. The stovetop method remains optimal for achieving the signature tender beef and caramelized sauce in a one-pan meal.
Which Beef Cut Produces the Best Results in This Recipe?
For this One-Pan Mongolian Beef, flank steak consistently yields the most tender and flavorful results. Its lean profile and distinct grain make it ideal for quick cooking methods like searing.
I’ve experimented with several cuts, and flank steak stands out for its balance of tenderness and beefy flavor when sliced correctly. Skirt steak is a close second, offering a similar texture but often requiring a bit more trimming. Sirloin can work in a pinch, but I find it sometimes lacks the depth of flavor that flank steak provides. Cuts like chuck roast are too tough for this quick and easy preparation, requiring slow cooking to break down connective tissues.
When shopping, look for flank steak with a deep red color and minimal marbling. Slicing against the grain, as detailed in the recipe, is non-negotiable for tenderness. The USDA FoodData Central indicates that a 3-ounce serving of flank steak contains approximately 23g of protein and 5g of fat, making it a lean choice that still delivers on flavor. Resting the seared beef for a minute or two before combining with the sauce also helps redistribute juices, contributing to its overall tenderness.
Which Budget-Friendly Alternatives Work in This Recipe?
For budget-friendly options, chicken breast or pork tenderloin can be substituted for beef, offering a similar texture with minor adjustments to cooking time. For the sauce, coconut aminos work as a gluten-free, lower-sodium alternative to soy sauce.
I’ve successfully made this dish with both chicken and pork. Thinly sliced chicken breast or pork tenderloin cooks just as quickly as beef, though chicken might need slightly less searing time to prevent drying out. When using chicken, ensure it reaches an internal temperature of 165°F as per FDA guidelines. For the sauce, if you’re looking for a low carb or gluten-free option, coconut aminos can replace soy sauce, though you might need to slightly reduce the brown sugar as coconut aminos are naturally sweeter.
I also tested a version using a sugar substitute like erythritol for the brown sugar, which worked well for a sugar-free option, though it didn’t achieve quite the same caramelization. What didn’t work well was using ground beef; it became crumbly and didn’t absorb the sauce in the same way, losing the signature texture of Mongolian Beef.
Which Side Dishes Pair Perfectly With This Recipe?
This One-Pan Mongolian Beef pairs wonderfully with simple, neutral side dishes like steamed white rice, brown rice, or cauliflower rice to soak up the rich sauce. Steamed or stir-fried green vegetables also offer a refreshing contrast.
For a classic pairing, fluffy steamed white rice is always a winner, providing a soft base for the savory sauce. If you’re aiming for a low carb Mongolian Beef, cauliflower rice is an excellent substitute, absorbing the flavors beautifully without adding significant carbohydrates. I’ve also enjoyed this dish with quick stir-fried broccoli or green beans, which add a welcome crunch and freshness. A simple side salad with a light vinaigrette also cuts through the richness of the sauce.
For a complete weeknight meal, consider adding a sprinkle of toasted sesame seeds and a side of quick-pickled cucumbers to balance the flavors and textures. The goal is to complement the bold flavors of the beef without overpowering them.
How Do You Time Stovetop Cooking for Perfect Results?
A heavy-bottomed cast iron skillet or stainless steel skillet is best for achieving perfect searing. Use medium-high heat to ensure the beef browns quickly without stewing, and avoid overcrowding the pan.
I’ve found that the type of pan significantly impacts the outcome. A cast iron skillet or a good quality stainless steel skillet retains heat exceptionally well, which is crucial for getting that beautiful sear on the beef. Non-stick pans can work, but they often don’t achieve the same level of browning. I always preheat my skillet over medium-high heat for at least 3-4 minutes before adding oil; a hot pan is key to preventing sticking and achieving a good crust.
When the oil shimmers and a drop of water evaporates instantly, it’s ready. Stirring frequency is important during the aromatic stage, but for searing the beef, let it sit undisturbed for 2-3 minutes per side to develop a crust. If you hear a gentle sizzle, the heat is just right; a frantic sizzle means it’s too high. Overcrowding the pan is the most common mistake, leading to a steamed, gray beef instead of a seared, tender one. Cook in batches if necessary to maintain consistent heat.
Trusted Sources
This recipe follows guidelines from these authoritative sources:
Frequently Asked Questions
How do you make an easy one-pan Mongolian beef sauce from scratch?
An easy one-pan Mongolian Beef sauce combines soy sauce, brown sugar, water, rice vinegar, sesame oil, and cornstarch. Whisk these ingredients together until smooth before adding to the pan. The cornstarch acts as a thickener, creating that signature glossy, rich consistency as it simmers with the aromatics. This method ensures a perfectly balanced, flavorful sauce that clings beautifully to the beef.
What cut of beef is best for a tender and flavorful one-pan Mongolian beef?
Flank steak is the best cut for tender and flavorful one-pan Mongolian Beef due to its lean nature and ability to sear quickly. Always slice it thinly against the grain to ensure maximum tenderness. Other good options include skirt steak or sirloin, but flank steak consistently delivers the ideal texture and flavor profile for this quick and easy dish.
Can I make this one-pan Mongolian beef recipe low carb or gluten-free?
Yes, you can make this one-pan Mongolian Beef recipe low carb by using cauliflower rice and a sugar substitute, and gluten-free with tamari or coconut aminos.
What kind of pan is best for making one-pan Mongolian beef to ensure even cooking?
A heavy-bottomed cast iron skillet or stainless steel skillet is best for making one-pan Mongolian Beef to ensure even cooking and proper searing. These pans retain heat exceptionally well, which is crucial for developing a caramelized crust on the beef without overcrowding. A wok also works wonderfully, as its sloped sides allow for efficient stir-frying and sauce reduction, making it an excellent choice for this beef stir fry one pan recipe.
How can I ensure my one-pan Mongolian beef is truly easy and quick to prepare with minimal cleanup?
Ensure your one-pan Mongolian Beef is easy and quick by prepping all ingredients before cooking and using a single large skillet for all steps.
