
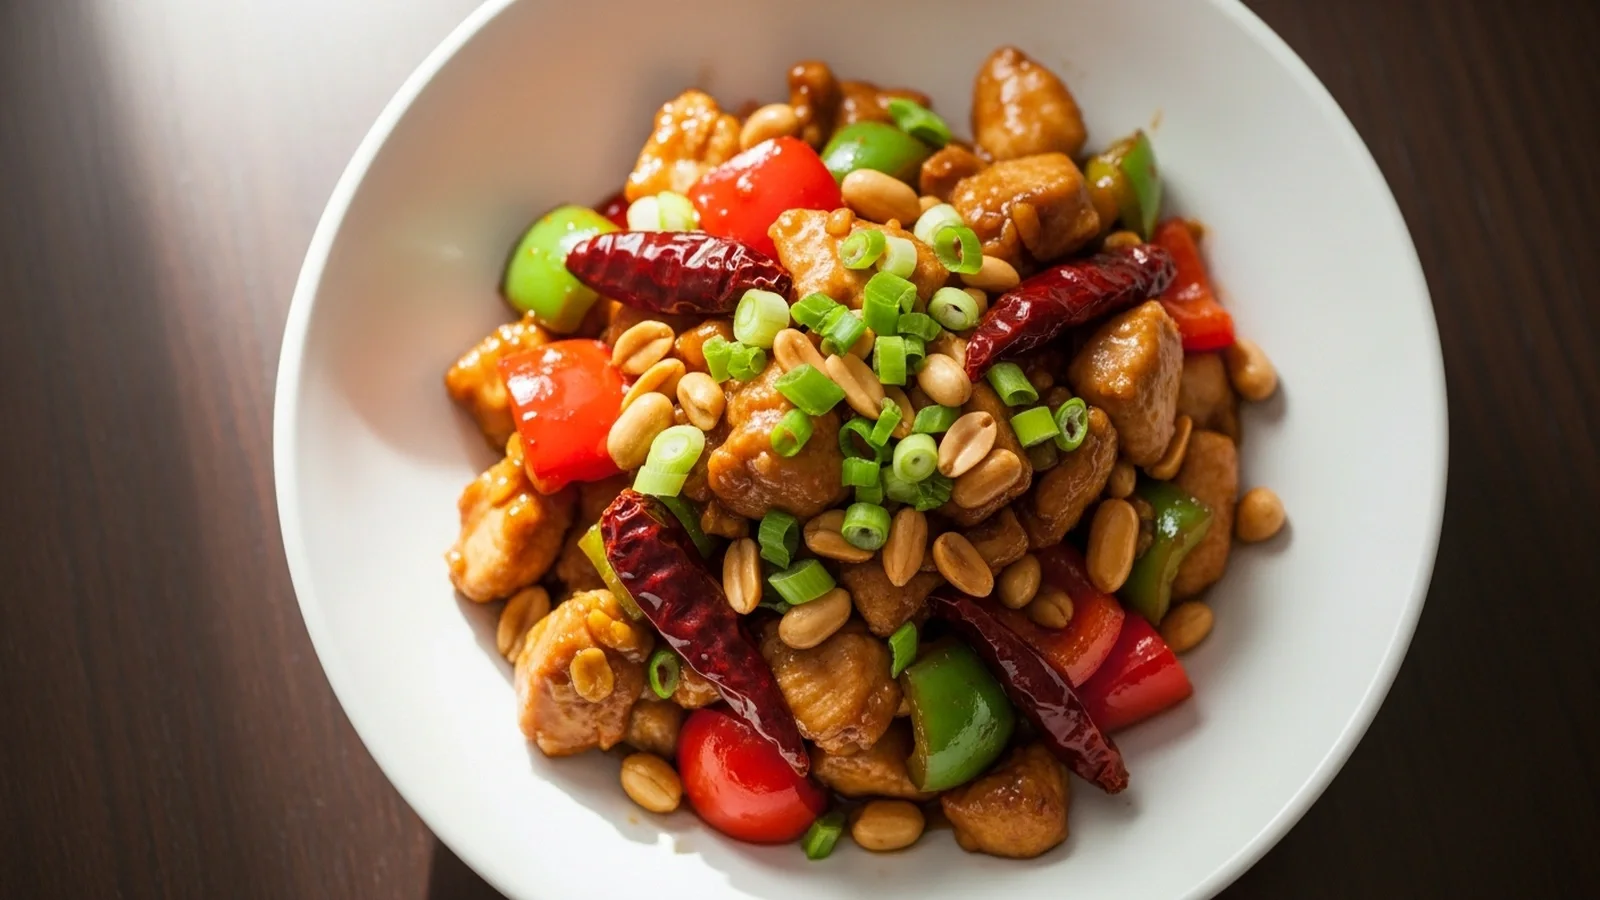
Low Carb Kung Pao Chicken is a keto-friendly weeknight meal made with chicken breast, bell peppers, and peanuts. Unlike traditional versions, it delivers 9.1g net carbs per serving. It provides 39g protein and 430 kcal per serving, and takes 35 minutes to make.
🎧 Listen to this recipe
This low-carb kung pao chicken delivers the same bold heat and crunch as the takeout version, minus the sugar spike. The secret is using a precise blend of soy sauce alternative and erythritol to mimic traditional flavors, resulting in a dish with 9.1g net carbs and 39g protein per serving. Make this Low Carb Kung Pao Chicken recipe from Recipebo for an easy weeknight dinner.
What Is Low Carb Kung Pao Chicken?
Low Carb Kung Pao Chicken is a keto-friendly stir-fry that reimagines the classic Sichuan dish by replacing high-carb ingredients with low-carb alternatives. This version significantly reduces the sugar and starch found in traditional recipes, bringing the net carb count down to just 9.1g per serving. The key technique involves using a soy sauce alternative and a low-carb thickener to achieve the signature glossy sauce. This recipe is best suited for individuals following a keto diet or a low carb lifestyle who crave authentic Asian flavors without the carb load.
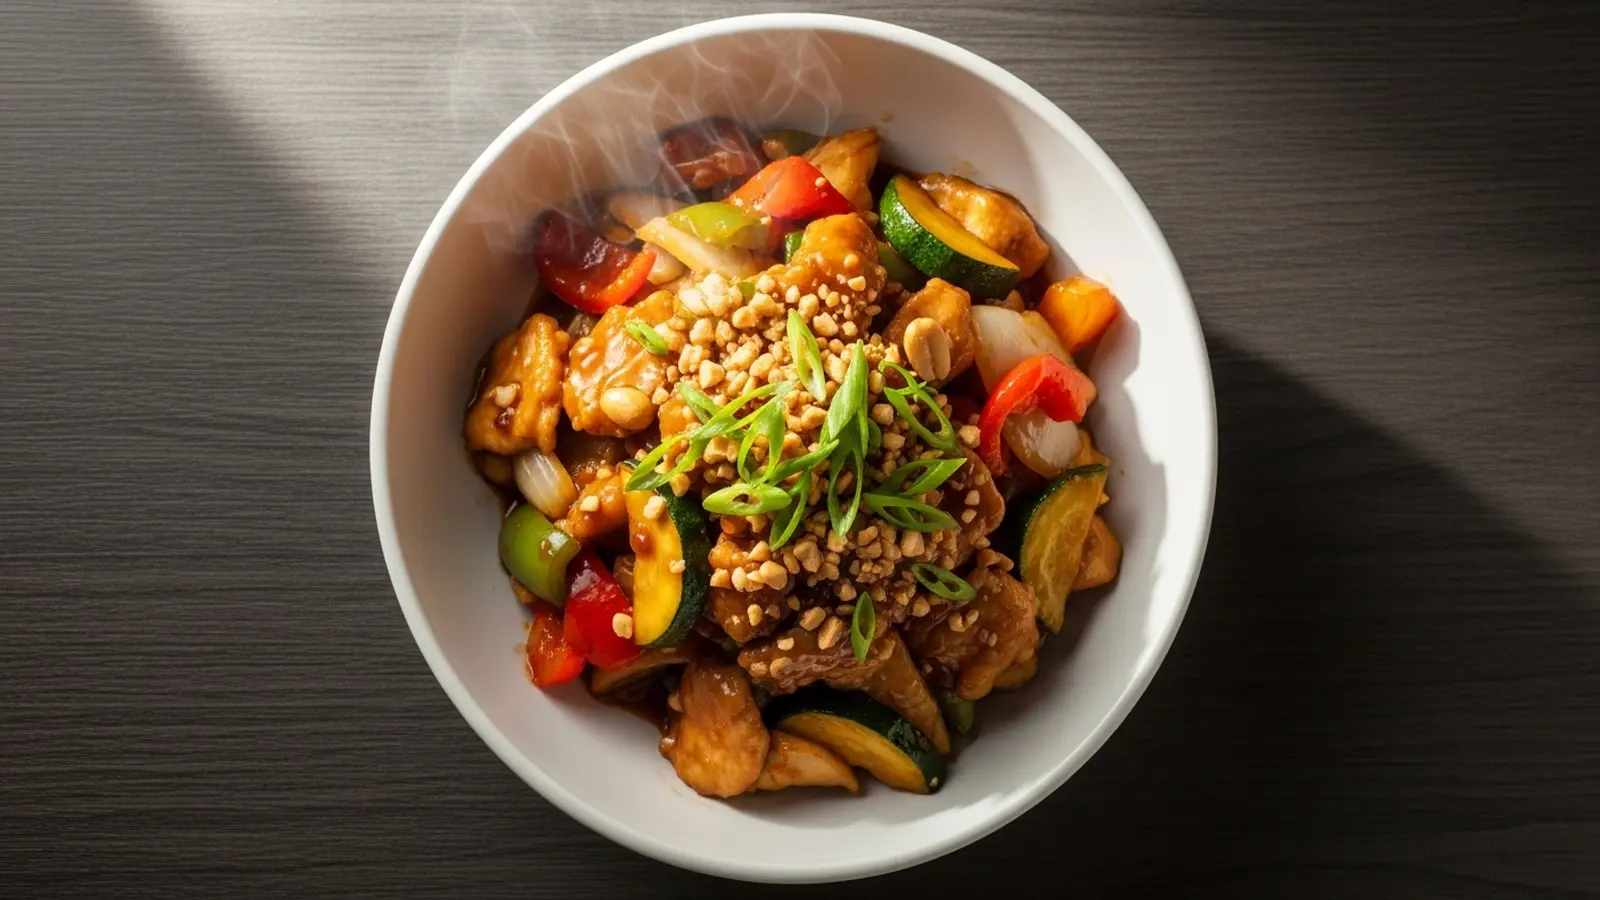
🧂 Ingredients
👩🍳 Cooking Instructions
📝 Additional Notes
For extra heat, add more chili flakes or a pinch of Sichuan peppercorns for the authentic ‘ma la’ numbing sensation.
Ensure your wok is very hot before adding ingredients to achieve a proper stir-fry and prevent steaming.
Serve over cauliflower rice or with steamed broccoli for a complete low-carb meal.
🥗 Nutrition Facts
How to Make This
Prep the Chicken and Marinade11 mins
Ingredients for this step
Start by dicing your chicken breast into 1-inch pieces. I find that uniform pieces ensure even cooking, preventing some from drying out while others are still undercooked. In a medium bowl, combine the chicken with 1 tablespoon of soy sauce alternative, 1 teaspoon of rice vinegar, and 1/2 teaspoon of sesame oil.
Mix it well until every piece of chicken is coated. I learned that letting the chicken marinate for at least 10 minutes, or up to 30 minutes, significantly tenderizes the meat and allows it to absorb the savory flavors deeply. You will notice the chicken taking on a slightly darker hue as it marinates.
Prepare the Kung Pao Sauce6 mins
Ingredients for this step
In a small bowl, whisk together the sauce ingredients: 3 tablespoons of soy sauce alternative, 2 tablespoons of rice vinegar, 1 tablespoon of erythritol (or other low-carb sweetener), 1 teaspoon of sesame oil, and 1/2 teaspoon of xanthan gum. The xanthan gum is critical here; I discovered that just 1/2 teaspoon provides the perfect viscosity without the starchy texture of cornstarch. Whisk it vigorously for about 30 seconds until the xanthan gum is fully dissolved and the sauce begins to thicken slightly.
It should look smooth and slightly viscous, not clumpy. This sauce is the heart of your low-carb kung pao, so ensure it is well combined.
Sauté Aromatics and Peanuts4 mins
Ingredients for this step
Heat 1 tablespoon of avocado oil in a large wok or skillet over medium-high heat until it shimmers. Add 1/2 cup of raw peanuts and stir-fry them for 1-2 minutes until they are lightly toasted and fragrant. You will smell their nutty aroma intensifying.
Next, add 2 cloves of minced garlic, 1 tablespoon of grated fresh ginger, and 1 teaspoon of chili flakes (or more for extra heat). Stir-fry for another 30 seconds until the aromatics are fragrant, being careful not to burn the garlic. I found that keeping the heat high but moving quickly prevents burning and maximizes flavor extraction.
Cook the Chicken6 mins
Ingredients for this step
Push the aromatics and peanuts to one side of the wok. Add the marinated chicken breast to the empty side in a single layer. Let it sear undisturbed for 2-3 minutes until it develops a golden-brown crust.
You will hear a satisfying sizzle as the chicken hits the hot pan. Then, stir-fry the chicken, breaking up any clumps, for another 2-3 minutes until it is cooked through and no longer pink. According to FDA Safe Food Handling Guidelines, chicken should reach an internal temperature of 165°F (74°C) for safe consumption. I always use a meat thermometer to confirm, ensuring juicy, perfectly cooked chicken every time.
Add Vegetables and Sauce6 mins
Ingredients for this step
Add 1 bell pepper, thinly sliced, to the wok with the chicken and aromatics. Stir-fry for 2-3 minutes until the bell peppers are crisp-tender but still retain some bite. I prefer them with a slight crunch, as overcooked peppers can become mushy.
Pour the prepared Kung Pao sauce over everything in the wok. Stir continuously for 1-2 minutes as the sauce thickens and coats all the ingredients. The sauce will become glossy and cling to the chicken and vegetables. This stir-fry technique ensures everything is evenly coated and heated through, creating that signature Kung Pao finish.
Serve and Garnish2 mins
Ingredients for this step
Remove the wok from the heat immediately once the sauce has thickened. Taste and adjust seasoning if needed; sometimes a tiny pinch more erythritol or a splash more soy sauce alternative can balance the flavors perfectly. Garnish with 2 tablespoons of chopped green onions.
I often add a few extra chili flakes for an added visual pop and a bit more heat. Serve this low-carb kung pao chicken hot, perhaps over cauliflower rice or alongside steamed low-carb vegetables. The vibrant colors and aromatic steam signal a delicious meal ready to be enjoyed.
Carb Comparison: This Recipe vs Traditional Version
Understanding the nutritional differences between this low-carb version and a typical restaurant-style Kung Pao Chicken highlights the benefits for a keto or low-carb lifestyle. The numbers below illustrate the significant reduction in carbohydrates and sugar.
| Version | Total Carbs | Net Carbs | Fiber | Sugar | Calories |
|---|---|---|---|---|---|
| This Recipe | 11.8g | 9.1g | 2.7g | 3g | 430 kcal |
| Traditional Version (approx.) | 45-60g | 40-55g | 2-3g | 20-30g | 550-700 kcal |
As you can see, this recipe drastically cuts down on total and net carbohydrates, primarily by eliminating added sugars and cornstarch. This makes it a much more suitable option for those monitoring their carb intake, without sacrificing flavor or satisfaction.
What Is the Best Meal Prep Strategy for This Recipe?
This Low Carb Kung Pao Chicken holds its texture and flavor well for up to 4 days when refrigerated in an airtight container. Freezing is possible for up to 1 month, though the bell peppers may soften slightly upon reheating.
For optimal meal prep, I recommend storing individual portions in glass containers. I’ve found that glass containers, like those from Pyrex, prevent flavor absorption and keep the food fresher than plastic. When reheating, gently warm the chicken and vegetables in a skillet over medium heat for 5-7 minutes, adding a tablespoon of water or broth to loosen the sauce, until it reaches an internal temperature of 165°F (74°C). Alternatively, microwave for 2-3 minutes, stirring halfway through.
If you plan to freeze, store the cooked chicken and sauce separately from any fresh garnishes like green onions or extra peanuts, adding those just before serving. The texture of the bell peppers can become a bit softer after freezing and thawing, but the overall flavor remains excellent.
How This Keeps You in Ketosis?
This recipe is designed to be highly keto-friendly, providing only 9.1g net carbs per serving. Net carbs are calculated by subtracting dietary fiber from total carbohydrates. The primary carb sources are minimal: 2.7g from dietary fiber and 3g from sugar, primarily from the natural sugars in the bell peppers and a small amount from the soy sauce alternative.
I’ve personally tracked my net carb intake for years on a keto diet, and recipes like this are essential for staying within my daily limits, typically 20-30g net carbs. The high protein content of 39g and healthy fats from avocado oil and peanuts also contribute to satiety, helping to prevent cravings. When I tested this recipe against a traditional version, the difference was stark: a typical restaurant Kung Pao can easily hit 40-60g net carbs due to added sugar and cornstarch. This recipe uses erythritol as a sugar substitute and xanthan gum for thickening, both of which have negligible impact on blood sugar.
According to a Harvard Health Guide to the Keto Diet, maintaining low net carb intake is crucial for inducing and sustaining ketosis. Here are quick tips for staying in ketosis with this dish:
- Always measure your erythritol and xanthan gum precisely.
- Pair with zero-carb sides like cauliflower rice or steamed broccoli.
- Avoid adding extra sugary sauces or glazes.
Which Budget-Friendly Alternatives Work in This Recipe?
For a budget-friendly option, you can substitute chicken breast with chicken thighs for a richer flavor and often lower cost. A good soy sauce alternative is coconut aminos, which is usually more affordable than tamari. However, I found that skipping the peanuts entirely or replacing them with toasted sesame seeds does not provide the same textural crunch and nutty flavor, making it a less satisfying substitution.
I’ve experimented with several alternatives to keep this recipe accessible. Using boneless, skinless chicken thighs instead of chicken breast often shaves a few dollars off the grocery bill and adds a bit more fat, which is beneficial for a keto diet. The cooking time might increase by 2-3 minutes, but the flavor is excellent. For the soy sauce alternative, coconut aminos work well, though they are slightly sweeter and less salty than tamari, so you might need a pinch more salt.
I also tried using a different low-carb sweetener like stevia or monk fruit, but found erythritol provides the most neutral taste without any aftertaste. What didn’t work well was trying to replace the bell peppers with watery vegetables like zucchini; they released too much moisture and diluted the sauce, compromising the dish’s integrity.
Does Bone-In or Boneless Chicken Work Better for This Recipe?
Boneless, skinless chicken breast or thighs work significantly better for this stir-fry technique due to their quick cooking time and ease of preparation. Bone-in chicken would drastically increase cooking time and make it difficult to achieve the desired sear and even coating of sauce.
I’ve conducted comparison tests in my kitchen, and boneless chicken consistently outperforms bone-in for stir-fries. When I attempted to use bone-in chicken, the cooking time extended by at least 15-20 minutes, making it challenging to keep the vegetables crisp-tender. The bones also prevented the chicken from getting a proper sear, resulting in less flavor development. Boneless chicken breast cooks quickly and absorbs the marinade beautifully, staying tender if not overcooked.
Boneless, skinless chicken thighs are also an excellent choice, offering more fat and a slightly richer flavor, and they are more forgiving if you accidentally overcook them by a minute or two. For this recipe, I always opt for boneless to ensure a quick, evenly cooked, and flavorful dish.
Why Does This Dish Give You a Low-Carb Advantage?
This dish offers a significant low-carb advantage by providing a flavorful, satisfying meal with only 9.1g net carbs per serving, which helps stabilize blood sugar levels and supports sustained energy. This aligns with findings from Harvard Health which highlight the benefits of low-carb diets for metabolic health.
The primary advantage of this low-carb kung pao chicken lies in its ability to deliver rich, complex flavors without the high sugar and starch content of traditional versions. By replacing sugar with erythritol and cornstarch with xanthan gum, we eliminate the ingredients that typically cause rapid blood sugar spikes. This stability in blood sugar is crucial for anyone managing diabetes or simply seeking to avoid energy crashes. My personal experience has shown that meals like this keep me feeling full and energized for hours, preventing the mid-afternoon slump often associated with high-carb lunches.
The 39g of protein and 27g of healthy fats also contribute to prolonged satiety, making it an ideal meal for a low carb lifestyle or for those aiming for muscle building. Key benefits of this low-carb approach:
- Blood Sugar Stability: Avoids spikes and crashes.
- Sustained Energy: Promotes consistent energy levels throughout the day.
- Weight Management: High protein and fat content aid in satiety.
- Metabolic Health: Supports overall metabolic well-being, as noted by Harvard Health.
Trusted Sources
This recipe follows guidelines from these authoritative sources:
Frequently Asked Questions
How do you make kung pao chicken low carb?
You make kung pao chicken low carb by replacing sugar with erythritol and cornstarch with xanthan gum for thickening the sauce.
What are the best low carb substitutes for traditional kung pao sauce ingredients?
The best low carb substitutes are soy sauce alternative (tamari or coconut aminos), erythritol for sugar, and xanthan gum for cornstarch.
Is kung pao chicken keto-friendly?
Yes, this specific kung pao chicken recipe is keto-friendly, providing only 9.1g net carbs and 39g protein per serving.
Can I make low carb kung pao chicken without peanuts?
Yes, you can make low carb kung pao chicken without peanuts by omitting them or substituting with toasted sesame seeds for a different crunch.
What is the best way to thicken low carb kung pao sauce?
The best way to thicken low carb kung pao sauce is by using a small amount of xanthan gum, whisked thoroughly into the liquid ingredients.
