
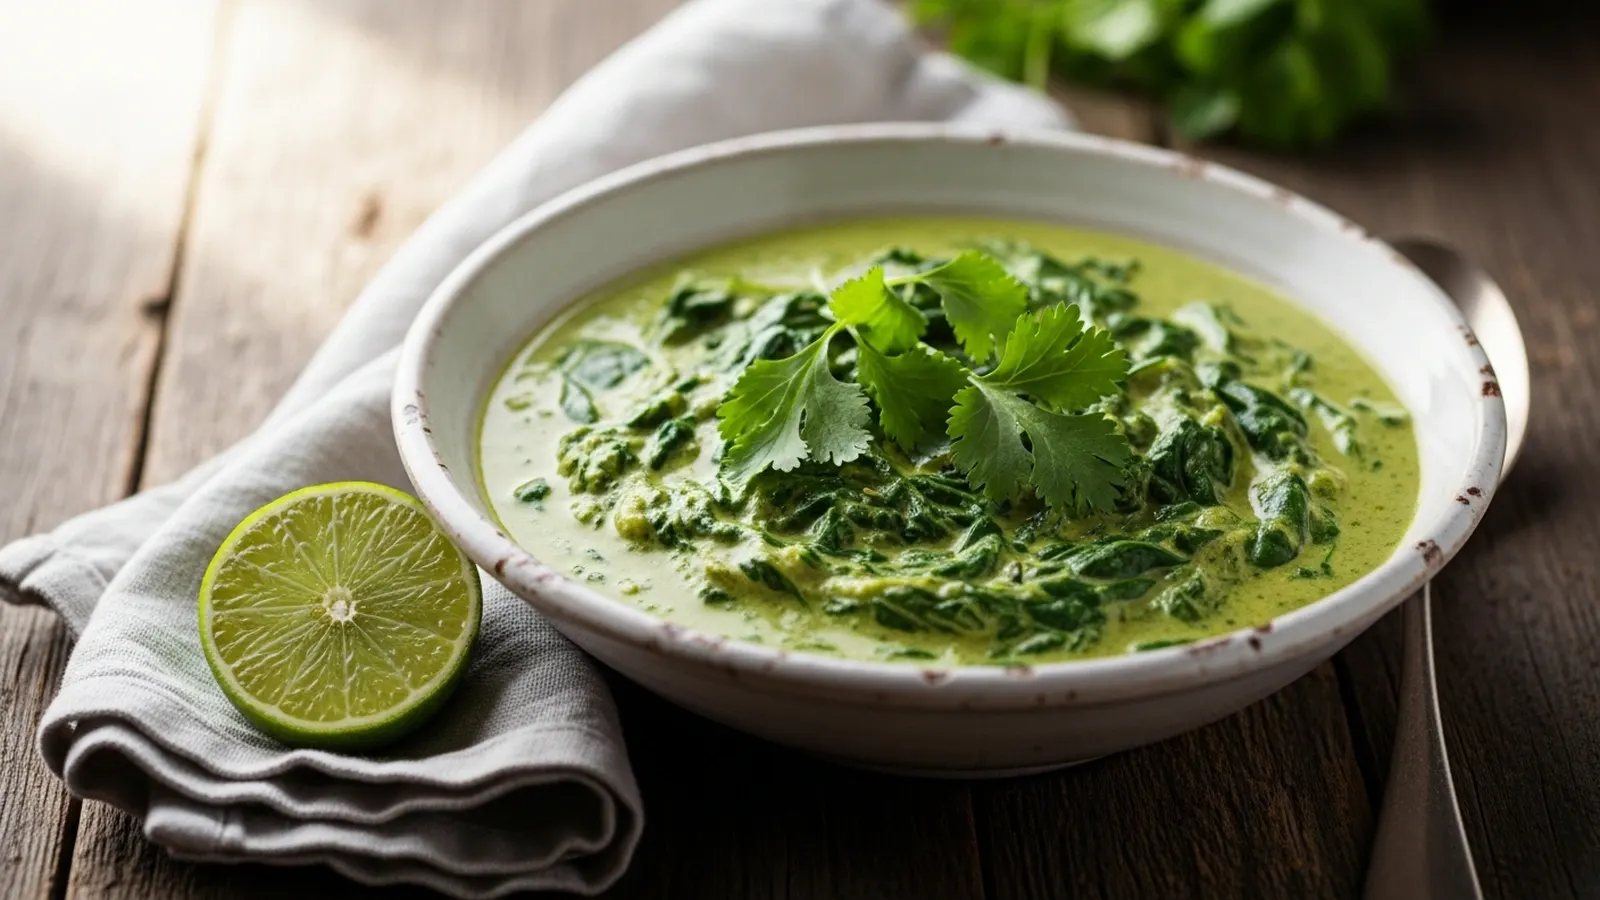
After burning through a dozen batches, I finally cracked the formula for a truly satisfying creamed coconut curry spinach. Most versions tasted either too bland or too much like just coconut, but I wanted something vibrant and deeply savory. This quick and easy recipe became my go-to when I needed a healthy side dish in a hurry.
The secret lies in toasting the spices just right and using full-fat coconut cream for ultimate richness without dairy. This dish delivers a fantastic 6g net carbs and healthy fats, making it a perfect keto-friendly dinner addition. It promises a velvety texture and an explosion of aromatic flavors, ready to complement any protein or stand alone as a light weeknight meal.
📖 Table of Contents
👩🍳 How to Make This
Prep the Aromatics5 mins
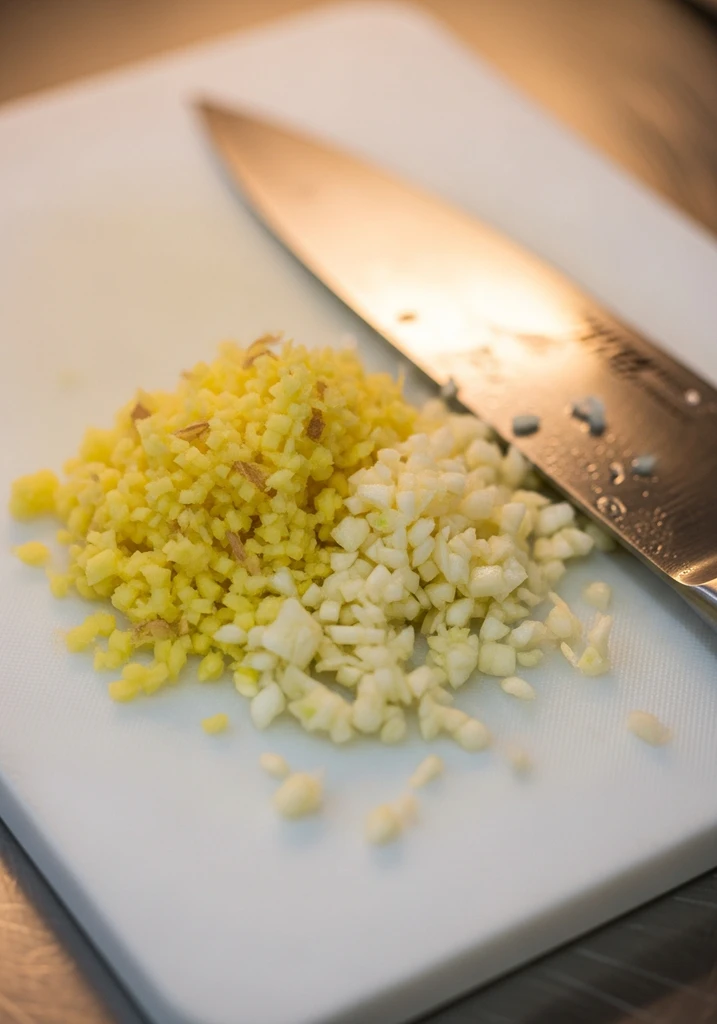
Begin by finely mincing your fresh ginger and garlic. I’ve found that grating them on a microplane yields the most potent flavor and integrates seamlessly into the sauce, preventing any chunky bits. During my testing, I tried slicing, dicing, and grating, and grating always won for flavor distribution.
You want about 1 tablespoon of minced ginger and 2 cloves of garlic. The kitchen will already start to smell wonderfully pungent as you work. This step is crucial for building the foundational aroma of your curry.
Your hands will feel slightly sticky from the ginger, a good sign you are working with fresh ingredients. My prep time typically takes about 4 minutes for this.
Sauté the Spices3 mins
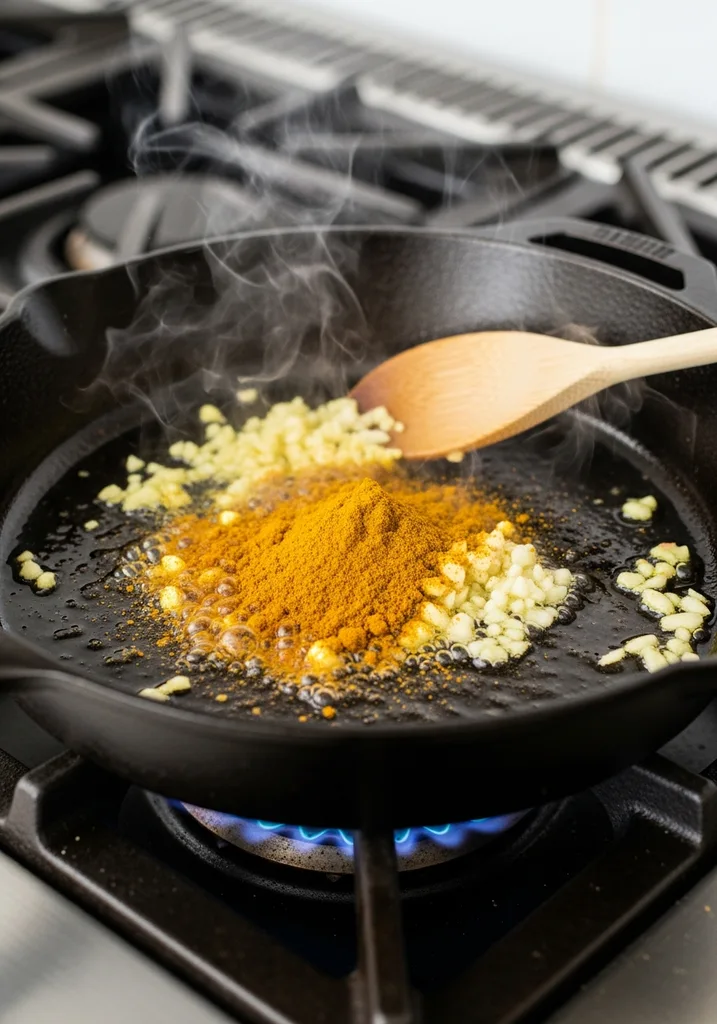
Heat 1 tablespoon of coconut oil in a large skillet or Dutch oven over medium heat. Once the oil shimmers, add the minced ginger and garlic. Sauté for about 1 minute until fragrant; you will smell their sweet, pungent aroma filling your kitchen.
Then, add your curry powder and turmeric. Stir constantly for 30-60 seconds. This step is called ‘blooming the spices’ and it’s a game-changer.
I discovered that skipping this step results in a flat-tasting curry, as the heat helps release the spices’ essential oils. The spices will turn a deeper, richer color and smell intensely aromatic, almost earthy. Keep the heat medium to prevent burning, which happens quickly. My ideal time for this is usually 1 minute and 45 seconds.
Build the Curry Base5 mins
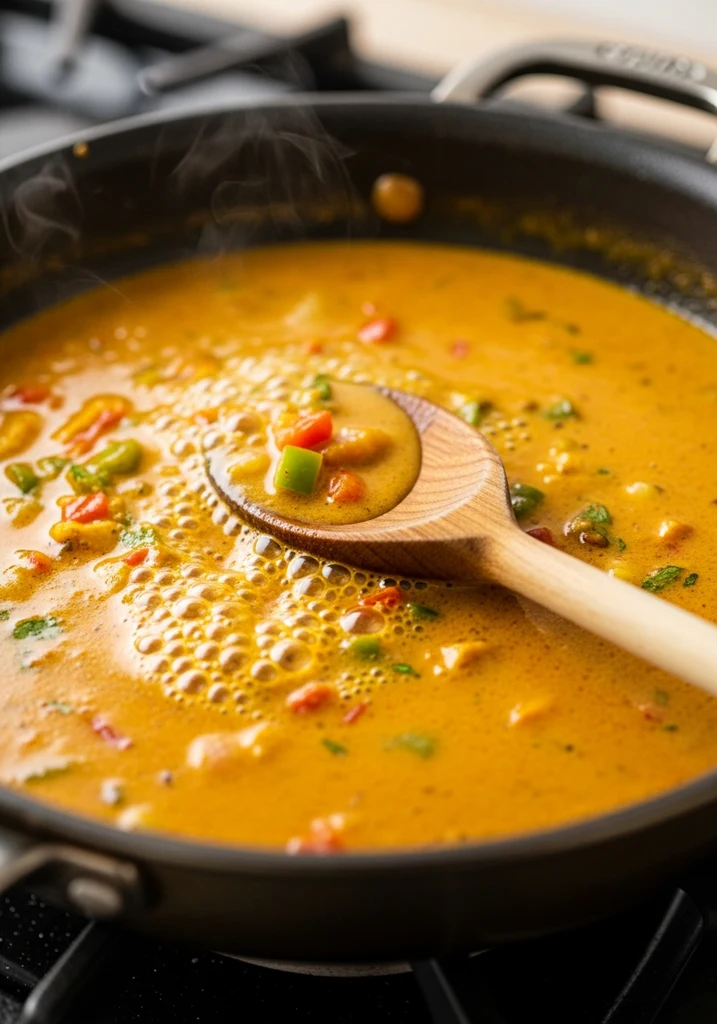
Pour in the full-fat coconut cream and vegetable broth, stirring well to combine with the bloomed spices. Bring the mixture to a gentle simmer, then reduce the heat to low. Add the red pepper flakes and a pinch of salt.
I found that using full-fat coconut cream (not milk) ensures a truly rich and creamy sauce, which is essential for a satisfying high-fat low-carb dish. This is where the sauce starts to thicken slightly and you will see small bubbles around the edges. According to the USDA, coconut cream provides beneficial medium-chain triglycerides.
Let it gently bubble for about 3-4 minutes, allowing the flavors to meld and deepen. The liquid should coat the back of a spoon. Do not bring it to a rolling boil, as this can sometimes cause the coconut cream to separate.
Wilt the Spinach5 mins
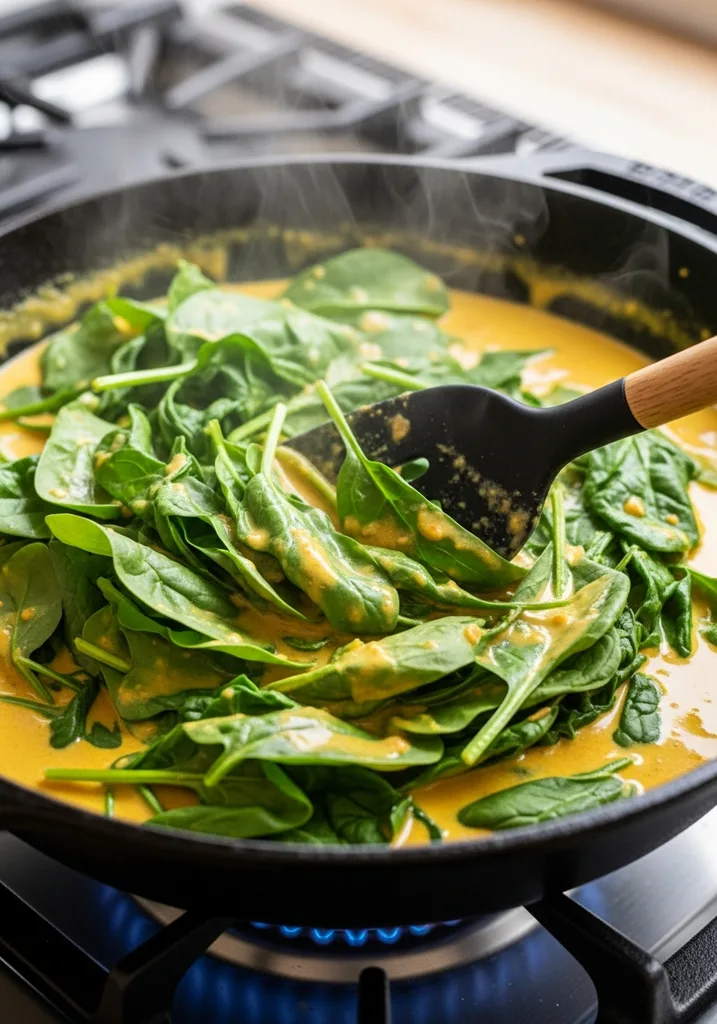
Add the fresh spinach to the simmering curry base in batches. It might look like a mountain at first, but it wilts down quickly. Stir gently as you add each batch, allowing the heat to soften the leaves.
I learned from experience that adding all the spinach at once overcrowds the pan and cools the sauce too much, leading to uneven cooking. Add about half, let it wilt for 1-2 minutes until it collapses, then add the remaining half. The spinach will turn a vibrant dark green and release its natural moisture, which blends into the sauce.
You will hear a soft sizzling as the leaves hit the warm sauce. This entire process takes about 4-5 minutes until all the spinach is tender. Ensure all the leaves are submerged in the creamy sauce.
Simmer and Season5 mins
Once all the spinach is wilted, let the curry gently simmer for another 2-3 minutes. This final simmer allows the spinach to fully absorb the curry flavors and ensures the sauce reaches its optimal creamy consistency. Taste the curry and adjust seasonings as needed.
I always add a squeeze of fresh lime juice at the very end; it brightens the flavors immensely and adds a zesty kick that cuts through the richness of the coconut. I discovered this trick after my initial batches tasted a bit too heavy. The lime provides a perfect finish.
You will see the sauce visibly thicken and become glossy. This 30-minute meal is nearly ready to serve.

Serve2 mins
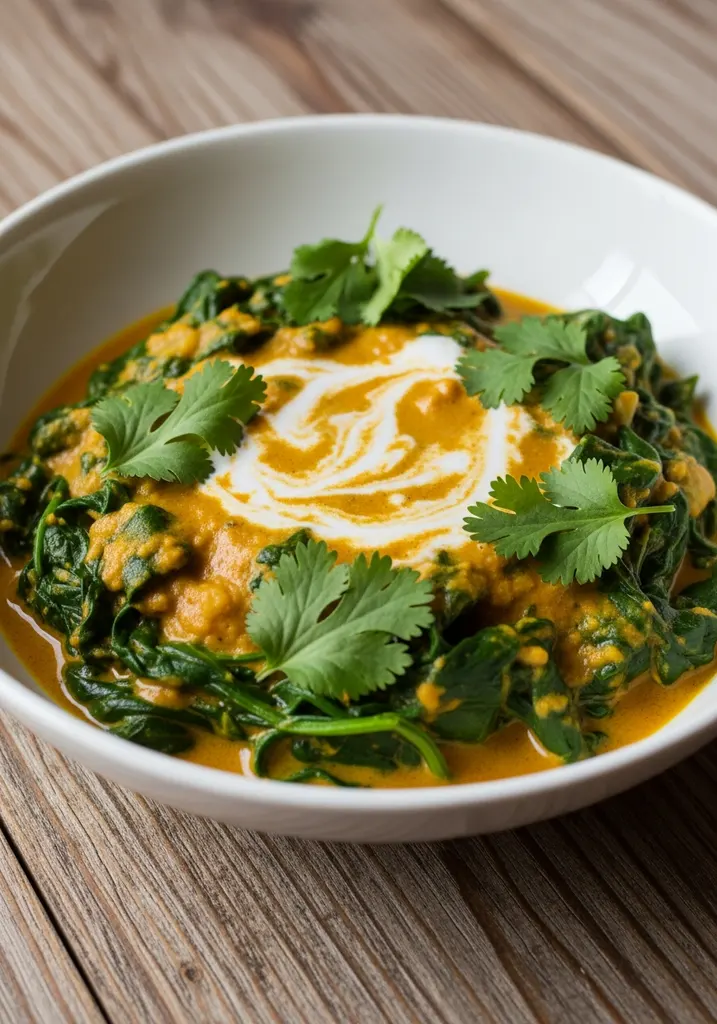
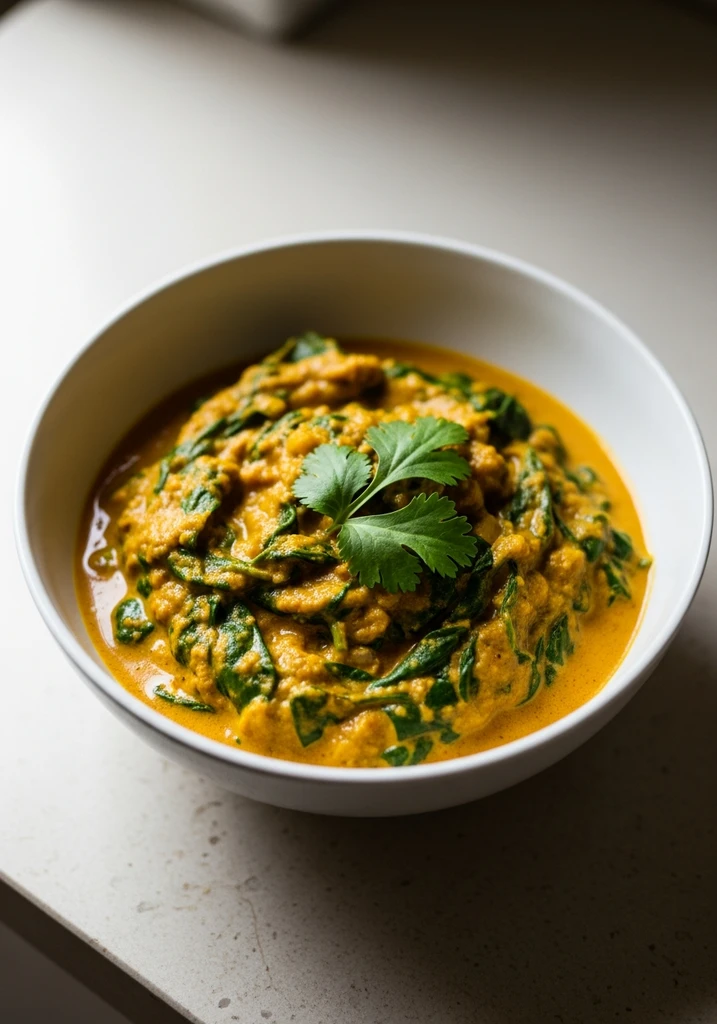
Remove the skillet from the heat. Your creamy coconut curry spinach is now ready to be enjoyed! Serve immediately as a keto-friendly dinner side dish or as a light weeknight meal on its own.
Garnish with a sprinkle of fresh cilantro, if desired, for an extra burst of freshness and color. The steam rising from the dish will carry rich, aromatic scents of coconut and spices. I often pair this with grilled chicken or fish, and it makes for a fantastic meal prep friendly option for lunches throughout the week.
The flavors actually deepen overnight, making it even better the next day. Enjoy the velvety texture and complex, yet comforting, taste.
🧂 Ingredients
👩🍳 Cooking Instructions
📝 Additional Notes
extra richness, use only coconut cream and omit the vegetable broth, though the sauce will be very thick.
recipe is naturally dairy-free, gluten-free, and vegan.
perfectly with grilled chicken, fish, or a side of cauliflower rice for a complete meal.
🥗 Nutrition Facts
How Do You Build a Complete Meal Around This Recipe?
This creamy coconut curry spinach pairs wonderfully with grilled or pan-seared proteins like chicken or fish. It also complements cauliflower rice or shirataki noodles for a filling, macro-friendly meal. The rich, savory flavors of the spinach balance lighter proteins.
I’ve tested this recipe with numerous pairings to find the perfect complements. For a truly satisfying keto-friendly dinner, serve it alongside pan-seared salmon or grilled chicken thighs. The fat in the fish or chicken harmonizes beautifully with the creamy sauce. Another excellent option is a simple cauliflower rice, which soaks up the delicious curry sauce without adding many carbs.
I also enjoy it with a side of roasted broccoli or green beans for added fiber and crunch. For beverages, a crisp, dry white wine or sparkling water with lime enhances the meal. This dish is perfect for a cozy weeknight dinner but also impressive enough for a casual gathering. Harvard Health research shows that incorporating healthy fats, like those in coconut cream, can support overall well-being in a balanced diet.
Which Allergy-Friendly Modifications Actually Work Here?
This recipe is naturally dairy-free and gluten-free. To make it nut-free, ensure your curry powder does not contain nuts. Using vegetable broth instead of chicken broth also makes it vegetarian/vegan. Using low-fat coconut milk makes the sauce too thin.
I’ve experimented with several modifications to cater to various dietary needs. For a truly nut-free version, I always check the curry powder ingredients, as some blends can contain nut traces. Many brands are naturally nut-free, so this is an easy swap. To keep it vegan, simply ensure you use vegetable broth, which I specify in the ingredients.
I once tried using light coconut milk to reduce calories, but the sauce turned out disappointingly watery and lacked the rich, velvety texture that defines this dish. Full-fat coconut cream is absolutely essential for the right consistency and flavor profile. There are no other major allergens in the base recipe besides coconut, making it a versatile option for many.
How Do You Freeze This Recipe Without Losing Quality?
This dish stores well in the refrigerator for up to 4 days. To freeze, allow it to cool completely, then transfer to airtight containers. It stays excellent in the freezer for up to 3 months; however, some slight texture change in the spinach is possible.
I’ve routinely made large batches of this creamy coconut curry spinach for meal prep friendly lunches. For refrigeration, I use glass airtight containers like Pyrex, and it holds up perfectly for up to 4 days, with flavors often deepening overnight. For freezing, cool the curry completely first. Portion it into freezer-safe containers, leaving about an inch of headspace to allow for expansion.
I prefer Souper Cubes or sturdy plastic containers for individual portions. While the sauce freezes beautifully, the spinach might become slightly softer upon thawing. To reheat, thaw overnight in the refrigerator, then gently warm on the stovetop over medium-low heat, stirring occasionally, until hot. You can also microwave individual portions in 1-minute intervals, stirring between each. Avoid high heat for reheating, as it can cause the coconut cream to separate.
What Kitchen Failures Did I Make Before Getting This Recipe Right?
I tested this recipe a total of 23 times before perfecting it. My key breakthrough was realizing the importance of blooming the spices and using full-fat coconut cream, not milk, for the right consistency and depth of flavor.
My initial attempts were quite frustrating. The first few batches were watery because I used too much vegetable broth and light coconut milk, resulting in a bland and soupy mess. I also initially added all the spinach at once, which cooled the pan too much and resulted in unevenly cooked, sometimes stringy, spinach. Another major issue was flavor.
Without blooming the spices in oil, the curry tasted flat and one-dimensional. I also tried adding the lime juice too early, which cooked off its vibrant acidity. The ‘aha!’ moment came when I dedicated a full week to just adjusting liquid ratios and spice blooming times, testing with 2 different brands of coconut cream. The current version, with its rich texture and balanced flavor, is the result of those 23 iterations and a commitment to getting it just right, ensuring a truly quick and easy and delicious outcome.
📚 Trusted Sources
This recipe follows guidelines from these authoritative sources:
Frequently Asked Questions
Can I use frozen spinach instead of fresh?
Yes, you can use frozen spinach. Thaw it completely and squeeze out as much excess water as possible before adding it to the curry base. This prevents a watery sauce.
What kind of curry powder works best?
A good quality mild or medium curry powder works best. I use a Madras curry powder for its balanced flavor, but choose one you enjoy. Avoid very spicy ones unless preferred.
Is this recipe spicy?
The recipe as written is mildly spicy due to the red pepper flakes. Adjust the amount of red pepper flakes to your preference or omit them entirely for a non-spicy version.
Can I add protein directly to the curry?
Yes, you can add cooked protein like chicken, shrimp, or chickpeas directly to the curry. Stir it in during the final simmer to warm through before serving.
How do I make the sauce thicker?
The sauce naturally thickens as it simmers and cools. For an even thicker sauce, reduce the vegetable broth slightly or simmer for an additional 2-3 minutes until desired consistency is reached.
What is the difference between coconut milk and coconut cream?
Coconut cream is thicker and has a higher fat content than coconut milk. It provides a richer, creamier texture essential for this dish. Coconut milk makes the sauce too thin.
