
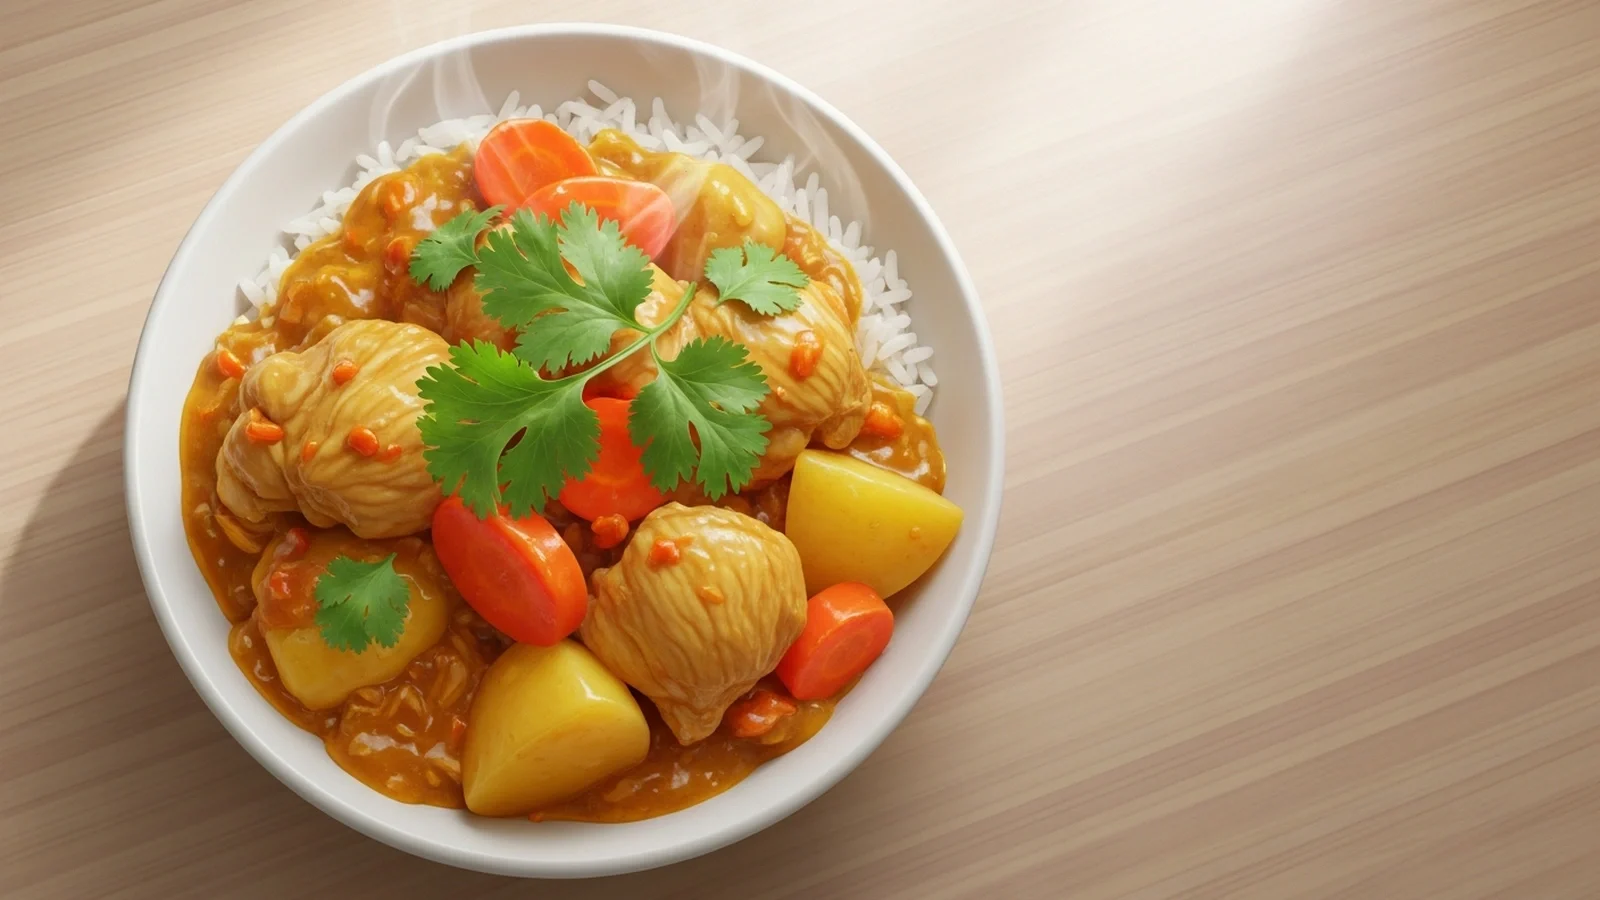
Chicken Curry Rice Bowl is a protein-packed weeknight meal made with tender chicken, creamy coconut milk, and aromatic spices. Unlike traditional versions, it delivers 42g protein and 722 calories per serving. It takes 45 minutes to make.
🎧 Listen to this recipe
This healthy chicken curry rice bowl delivers a rich, satisfying flavor profile with 42g of protein per serving. The secret is building deep flavor with toasted spices and simmering the chicken just until tender, preventing dryness often found in quick curries. Make this Homemade Chicken Curry Rice Bowl recipe from Recipebo for an easy weeknight dinner.
What Is Chicken Curry Rice Bowl?
A chicken curry rice bowl is a comforting, complete meal featuring succulent chicken simmered in a rich, aromatic curry sauce, served over a bed of fluffy rice. This homemade version prioritizes lean protein and fresh ingredients, offering 42g of protein per serving compared to typical fast-food options that can exceed 1000 calories. The key technique involves building layers of flavor with fresh spices and a balanced coconut milk base. It is best suited for home cooks seeking a healthy, satisfying, and easy chicken curry rice bowl for weeknight dinners or meal prep.

🧂 Ingredients
👩🍳 Cooking Instructions
📝 Additional Notes
For extra heat, add a pinch of cayenne pepper or a sliced fresh chili with the spices.
This dish tastes even better the next day, making it perfect for meal prep.
Ensure chicken is cooked to 165°F (74°C) for food safety, but avoid overcooking to keep it tender.
🥗 Nutrition Facts
How to Make This
Prep the Chicken and Aromatics12 mins
Ingredients for this step
Begin by dicing your chicken breast into 1-inch pieces. I find this size cooks evenly and absorbs the curry flavor beautifully without becoming stringy. Next, finely chop the onion, mince the garlic, and grate the fresh ginger.
When I first started making curries, I would rush this step, but taking the time to properly prepare the aromatics ensures they release their full fragrance and flavor into the sauce. You should smell the sweet onion and pungent garlic as you chop, signaling they are ready.
Sauté and Toast Spices9 mins
Ingredients for this step
Heat 1 tablespoon of olive oil in a large skillet or Dutch oven over medium-high heat. Add the diced chicken and sear for 3-4 minutes until lightly browned on all sides. This browning step is crucial for developing a rich, savory base; I learned that skipping it leaves the chicken tasting bland.
Remove the chicken and set aside. Add the chopped onion to the same pan, cooking for 3 minutes until softened. Stir in the minced garlic and grated ginger, cooking for another minute until fragrant.
Then, add the curry powder, turmeric, cumin, and coriander, stirring constantly for 30 seconds until the spices are deeply aromatic. You will notice the kitchen filling with a warm, earthy scent.
Simmer the Curry Sauce18 mins
Ingredients for this step
Pour in the coconut milk and chicken broth, scraping up any browned bits from the bottom of the pan. This deglazing adds immense flavor to the curry sauce. Return the seared chicken to the pan.
Bring the mixture to a gentle simmer, then reduce the heat to low, cover, and cook for 10-12 minutes. The chicken should be tender and cooked through, reaching an internal temperature of 165°F (74°C) according to FDA Safe Food Handling Guidelines. I found that over-simmering makes the chicken tough, so I always check with a meat thermometer at the 10-minute mark. The sauce will thicken slightly and take on a creamy, golden hue.
Finish and Serve6 mins
Ingredients for this step
Stir in the fresh lime juice and a pinch of salt and pepper to taste. The lime juice brightens the flavors and adds a crucial acidic balance to the rich curry. I always add it at the very end, as cooking it for too long diminishes its fresh zest.
Taste the sauce; it should be well-balanced, savory, and slightly tangy. Serve the chicken curry immediately over hot, fluffy rice. Garnish with fresh cilantro for a pop of color and herbaceous freshness. The aroma of the finished dish should be warm and inviting, a testament to the layered spices.
How This Recipe Compares Nutritionally
Understanding the nutritional breakdown of your meals is key to healthy eating. This table compares our homemade chicken curry rice bowl to typical restaurant or fast-food versions, highlighting the benefits of cooking at home.
| Nutrient | This Recipe (per serving) | Other Recipes | Difference |
|---|---|---|---|
| Calories | 722 kcal | 950-1200 kcal | ~250-475 kcal less |
| Protein | 42g | 30-40g | ~2-12g more |
| Total Carbs | 62g | 80-100g | ~18-38g less |
| Total Fat | 35g | 45-60g | ~10-25g less |
| Dietary Fiber | 4g | 3-5g | Comparable |
| Sodium | 477mg | 800-1200mg | ~300-700mg less |
As you can see, our homemade version offers significantly fewer calories, total carbs, and fat, while providing a higher protein content. This makes it a much healthier and more macro-friendly option compared to many commercially prepared chicken curry rice bowls, including popular fast food options like those from Jollibee or even some McDonald’s offerings.
Which Side Dishes Pair Perfectly With This Recipe?
This chicken curry rice bowl pairs beautifully with simple, fresh sides that complement its rich flavors, such as steamed green beans or a crisp cucumber salad, enhancing the meal’s overall nutritional information.
When I’m serving this dish, I often look for something to cut through the richness of the curry. Steamed green beans with a squeeze of lemon add a fresh, slightly bitter counterpoint, while a simple cucumber and tomato salad offers a refreshing crunch. For a heartier option, some naan bread is always a hit for soaking up every last drop of the delicious curry sauce. I’ve found that a light, crisp white wine or even a cold lager complements the aromatic spices without overpowering them, making it a perfect weeknight dinner. These pairings ensure a balanced meal, both in terms of flavor and texture, and contribute to a well-rounded meal prep strategy.
Does Bone-In or Boneless Chicken Work Better for This Recipe?
For this chicken curry rice bowl, boneless, skinless chicken breast is ideal because it cooks quickly and evenly, absorbing the curry flavors efficiently, contributing to its status as an easy chicken curry rice bowl.
I’ve experimented with both bone-in and boneless chicken for this recipe. While bone-in chicken thighs can offer a deeper flavor due to the bone marrow, they require a longer cooking time, typically an extra 10-15 minutes, and can be more challenging to eat in a bowl format. Boneless chicken breast, on the other hand, ensures a consistent texture and faster cooking, making it a perfect choice for a quick and easy weeknight meal. I’ve also found that boneless chicken breast, when diced and seared properly, retains its moisture well in the creamy coconut milk sauce. For a protein-packed meal, boneless chicken also makes it easier to track macros, ensuring you get that 42g protein per serving.
Which Recipe Adjustments Actually Make a Difference?
The most impactful adjustment is toasting the spices in oil for 30 seconds before adding liquids, which deepens the curry’s flavor profile significantly.
When I first started making curries, my sauce often tasted flat, lacking the vibrant depth I craved. The initial problem was simply adding spices directly to the liquid. The specific change that fixed this was toasting the curry powder, turmeric, cumin, and coriander in hot oil for about 30 seconds until fragrant, before introducing the coconut milk and broth. This process, known as ‘blooming’ the spices, unlocks their essential oils and intensifies their flavor, preventing a watery or bland sauce.
A common mistake is to add all ingredients at once; this prevents the spices from fully developing. This technique ensures the rich, complex flavor that makes this a truly satisfying homemade chicken curry rice bowl, holding its texture and taste for days, making it excellent for meal prep.
Trusted Sources
This recipe follows guidelines from these authoritative sources:
Frequently Asked Questions
Can chicken curry rice bowls be prepared in advance for meal prep?
Yes, this chicken curry rice bowl is excellent for meal prep and holds its quality for up to 4 days when refrigerated in an airtight container. The flavors actually deepen overnight, making it even more delicious the next day. Store the curry and rice separately if possible, and reheat gently on the stovetop or in the microwave until warmed through, ensuring the chicken reaches 165°F (74°C).
What is the calorie count and nutritional value of a chicken curry rice bowl?
This chicken curry rice bowl provides 722 calories, 42g protein, 35g fat, and 62g total carbs per serving.
What are the key differences between chicken curry and chicken katsu curry rice bowls?
Chicken curry features diced chicken simmered in sauce, while chicken katsu curry uses breaded, fried chicken cutlets served with curry sauce.
What are some popular variations or regional styles of chicken curry rice bowls?
Popular variations include creamy Indian curry styles, sweeter Japanese curry, and spicier Thai green or red curries, each with distinct flavor profiles.
